
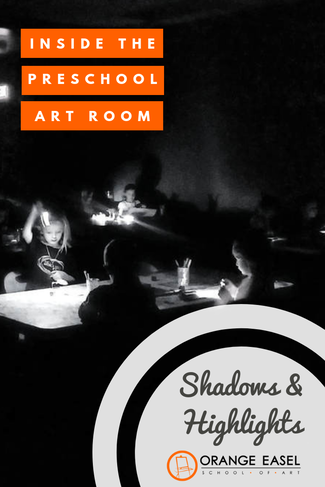
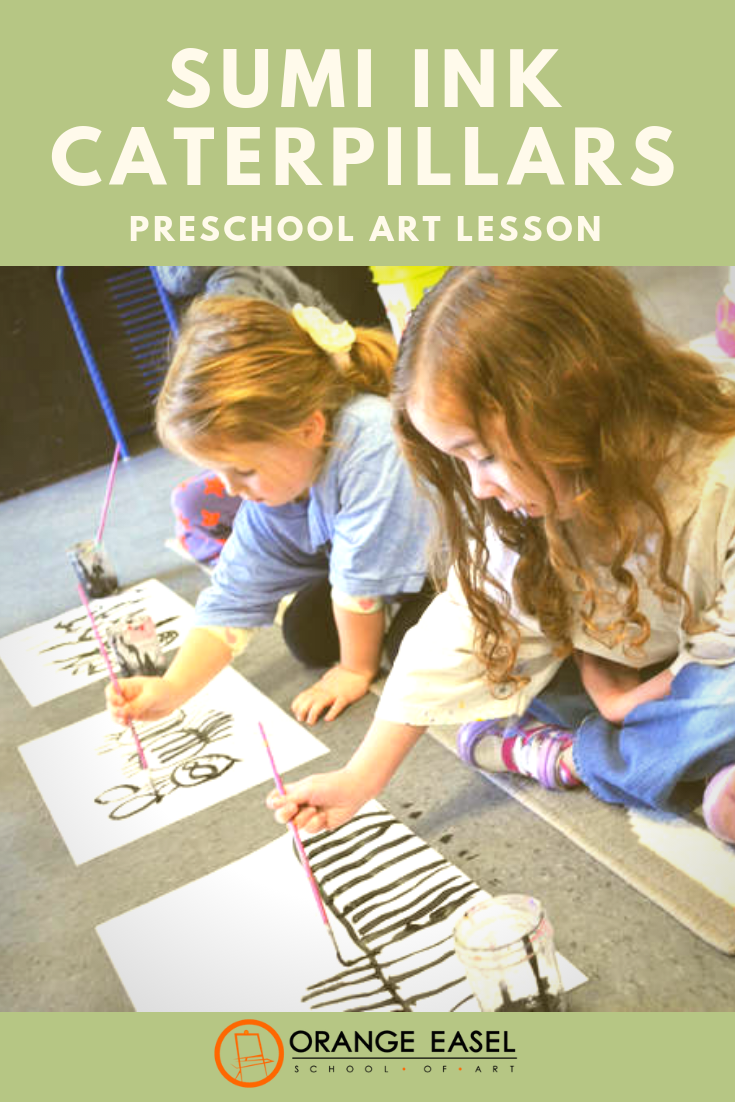
Process Art is not about us. It's about them.
TIP #1: Set the expections up front
At the beginning on the year, send home a flyer about the types of activities you'll be doing in your room and WHY. If you need a template to get you started, I've got you. Click here to download a one-page document that you can personalize for your class.
TIP #2: Take pictures
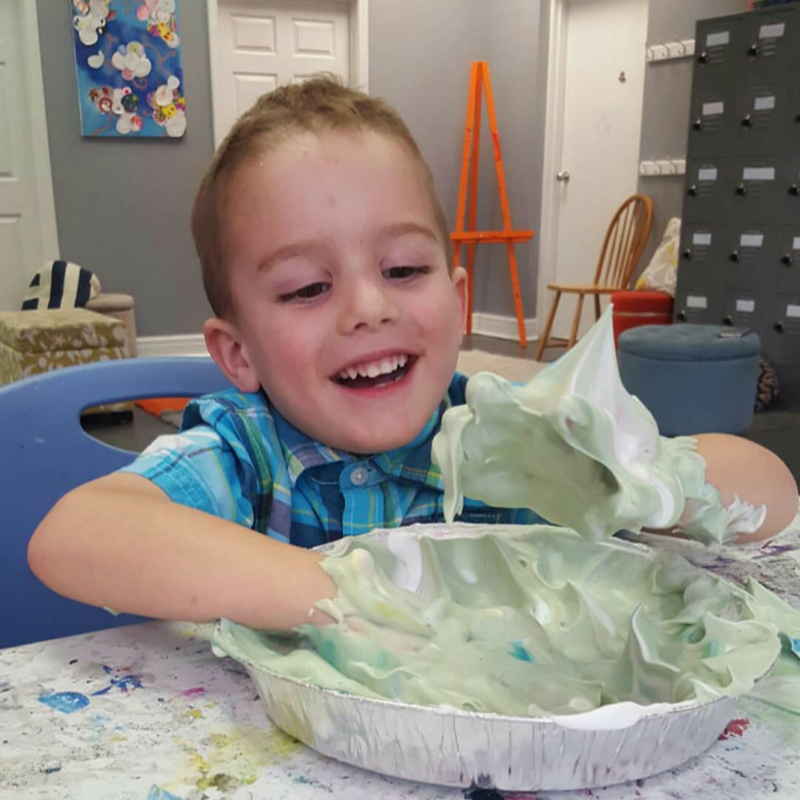
Capturing the actual creation will help parents to visualize what exactly happened. Video is even better. See how focused they are? See how they are smiling?
TIP #3: Stop sending the art home
Stop worrying about HAVING something to send home. It's okay if they don't take something home. If the process is what really matters, the product created isn't needed as proof. Don't feel like you need to keep everything. Often times in our art centers, those small quarter sheets of paper get used and left there, with no name or way of knowing who it belongs to. We usually pile them all up and save them until the end of the day JUST IN CASE someone comes back for it. If not, it get's thrown away. If the kids don't care, why should you?
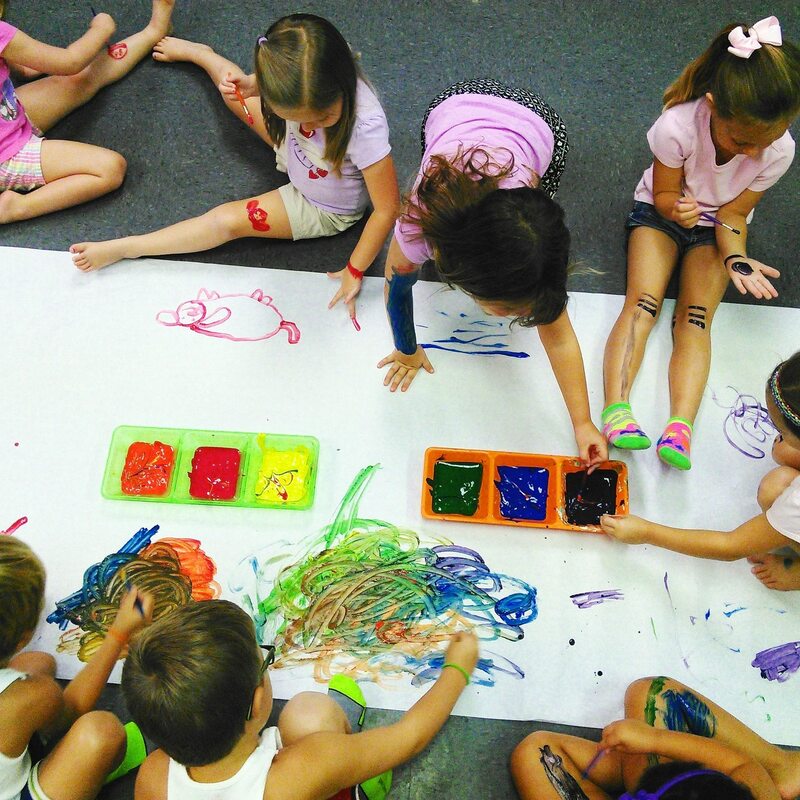
TIP #4: Make collaborative art instead
Giant collaborative art is wonderful for the classroom because it's easier to prepare, uses fewer resources, and encourages communication skills between students. Plus, when the art stays in the classroom, it can be revisited over and over (and none of the parents have to figure out what to do with the day's art.)
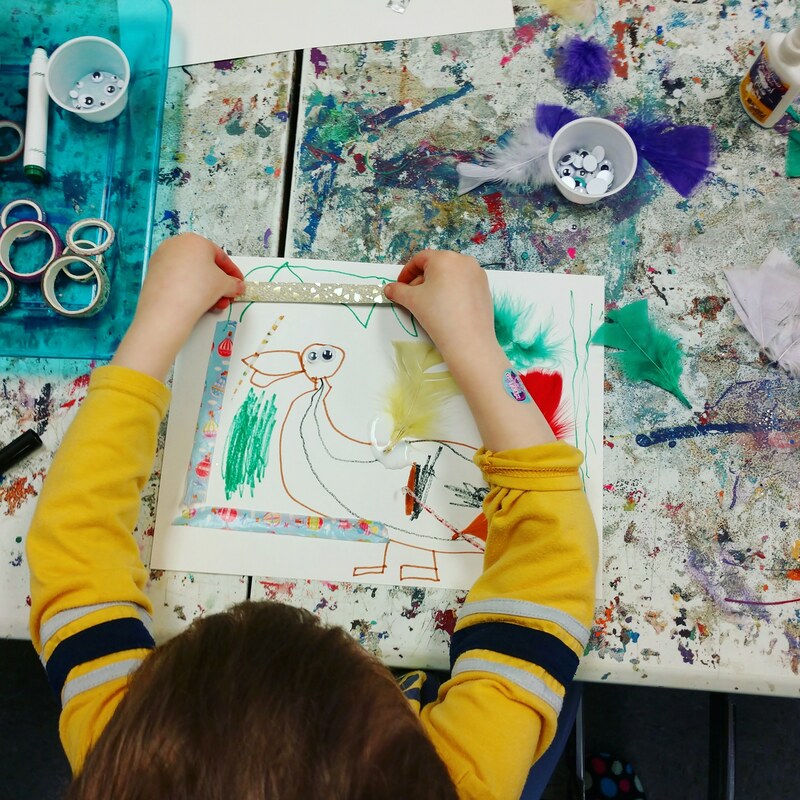
TIP #5: Document what the children say about their art
Write a note quoting the child's explanation of their art. Drawing for preschoolers is more about communication than it is about making something pretty. This way parents can continue the conversation at home.
I hope that those tips are helpful. What's your best tip for advocating for more PROCESS ART in the preschool classroom? I'd love to know!

FIND US ON SOCIAL MEDIA
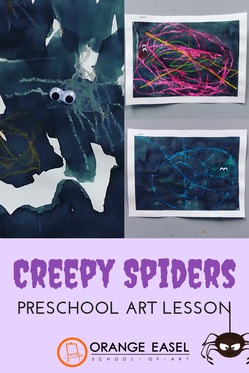
More Process Art for Preschoolers
DISCLAIMER: This post contains affiliate links.
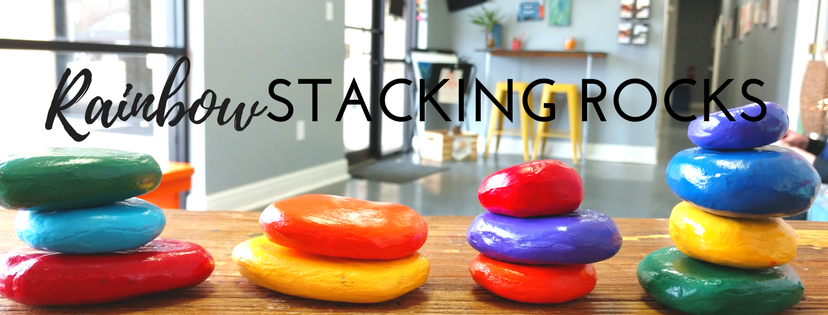
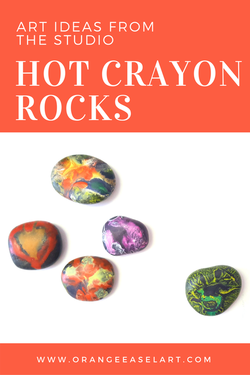
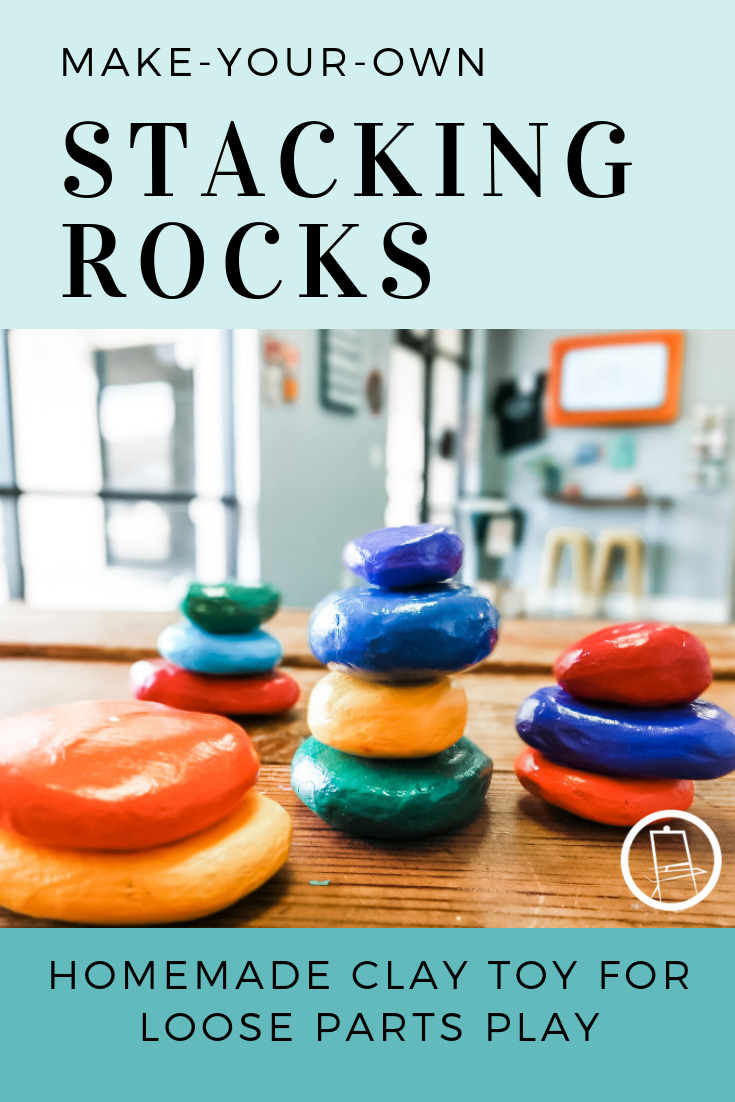
We've got this new fun toy on the front desk. Have you see them?
They totally ROCK! (<----cheesy pun)
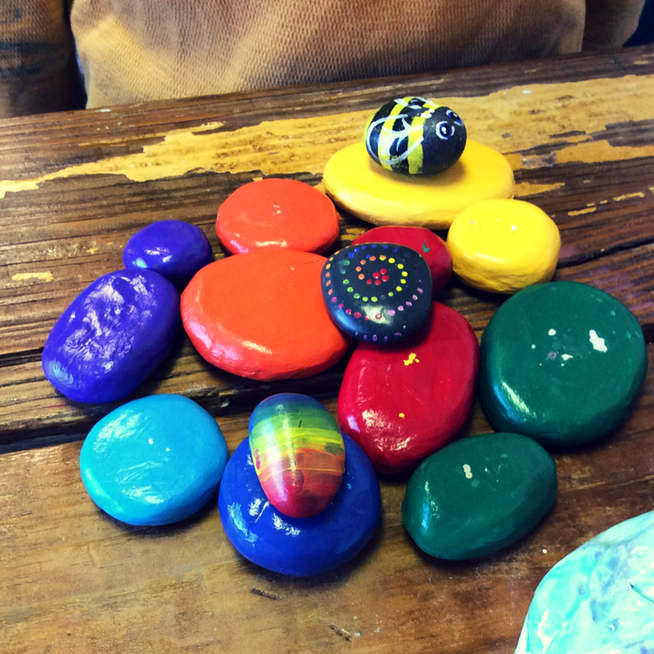
We were inspired by these wooden stacking stones by Grimm's Spiel and Holz Design. As beautiful as they are, we couldn't justify almost 60 dollars for a set of 12 stacking stones.
So we set out to make our own. And we think you should too. DIY instructions at the bottom of this post. How to play with rainbow rocks
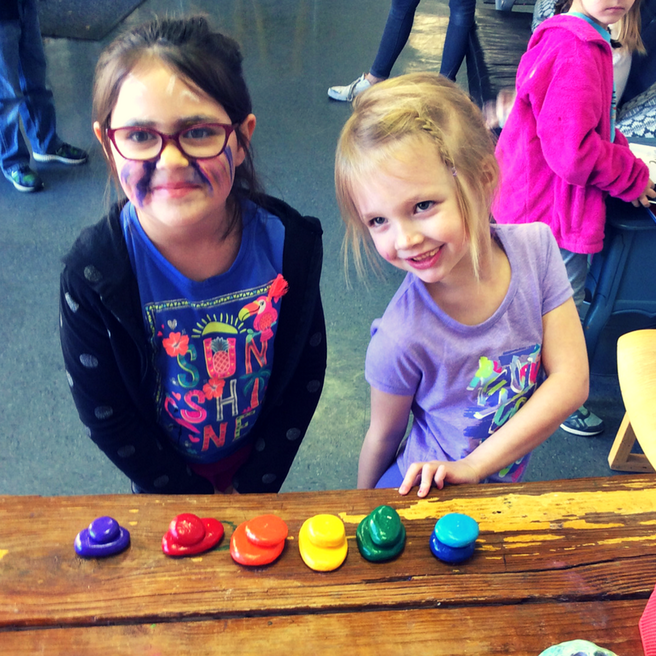
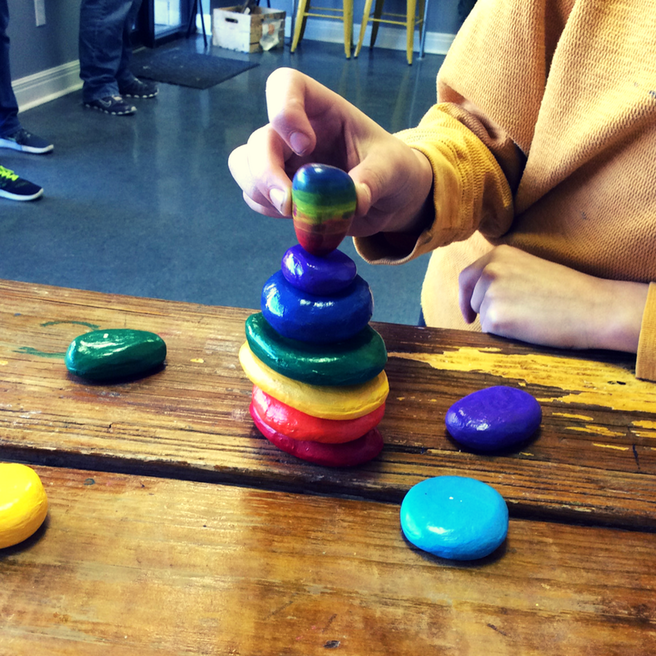
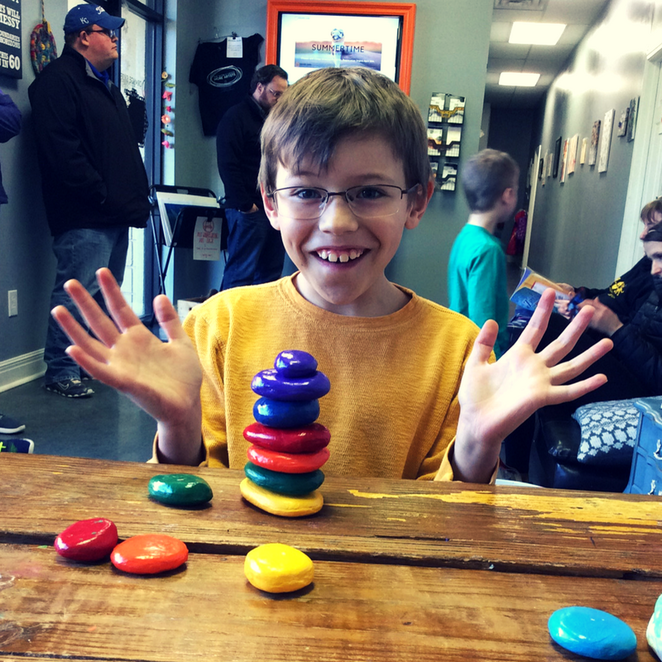
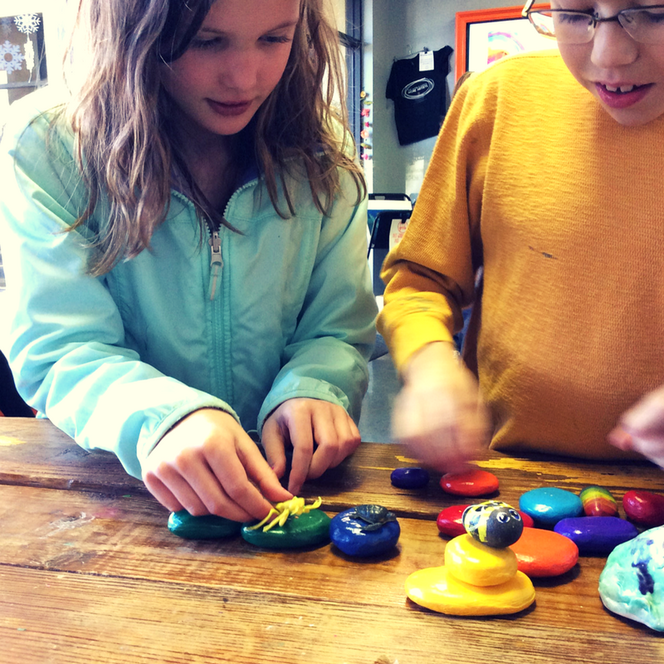
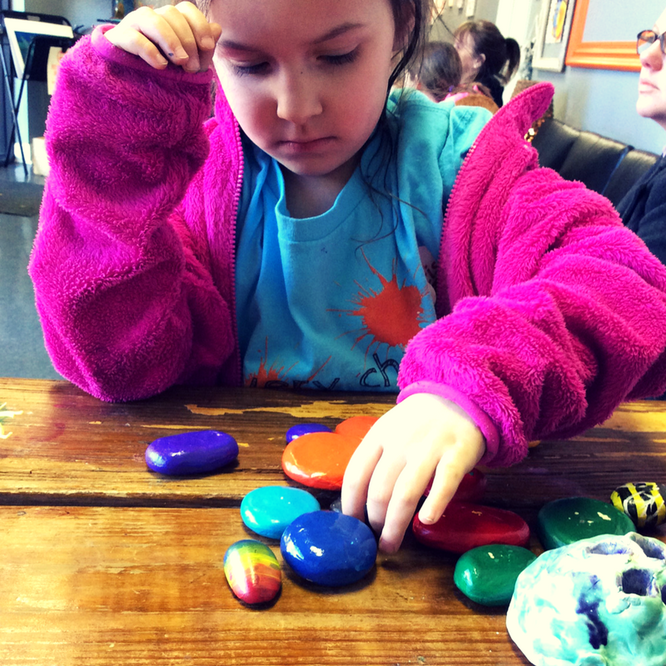
The most delightful part of having these toys on the front desk is seeing how each child plays with them differently. Some line them up into a train or a path. Some immediately begin building towers (though, four rocks is as high as we've been able to get them to balance). Some arrange them into a circle. Some match up the colors. Some hand out to the other guests in the lobby and pretend they are handing out candy.
There's no wrong way. And every child--of varying ages--seems enticed to touch, move, and PLAY with them somehow.
All of these candid and casual photos were snapped in one evening by our front desk staff.
THE IMPORTANCE OF LOOSE PARTS IN PLAY
In our experience, manipulatives like these rocks are some of the best toys. They are "loose parts" that will empower our creativity and challenge our problem solving skills.
In early childhood education settings, loose parts mean alluring, beautiful, found objects and materials that children can move, manipulate, control, and change while they play. Children can carry, combine, redesign, line up, take apart, and put loose parts back together in almost endless ways. The materials come with no specific set of directions, and they can be used alone or combined with other materials. Children can turn them into whatever they desire: a stone can become a character in a story; an acorn can become an ingredient in an imaginary soup. These objects invite conversations and interactions, and they encourage collaboration and cooperation.
If you're interested in learning more about loose parts, check out pinterest board for resources and inspirations.
STEP ONE: Shape
If your clay is too tough, break it into small pieces and gently condition it with the hands. You can also spray it with a mist of water to help soften it (but not too much!). Our rocks are varying sizes...round or oval and in between 1-3 inches in diameter. You can make your rocks any size, but be sure that they have a pretty flat top and bottom surface so that they can stack.
STEP TWO: Smooth
Once you have the general shape of your rocks, you can smooth out the clay by dipping your finger in water and rubbing it along the surface.
STEP THREE: Dry
Place the rocks on parchment paper or wax paper and let them dry completely for about a week. We flipped ours over halfway through just to make sure that some air got to the underside.
STEP FOUR: Paint
Acrylic paint works best. You can use any colors. We went with the rainbow on our first set, but the next one we made (for the Platte Woods studio front desk), we painted with blues and greens, and we even added some design details. On both sets, we made sure to get a couple good coats of paint and to wait for one side to dry before flipping them over. If you're impatient, a hair dyer works to speed up the drying time. 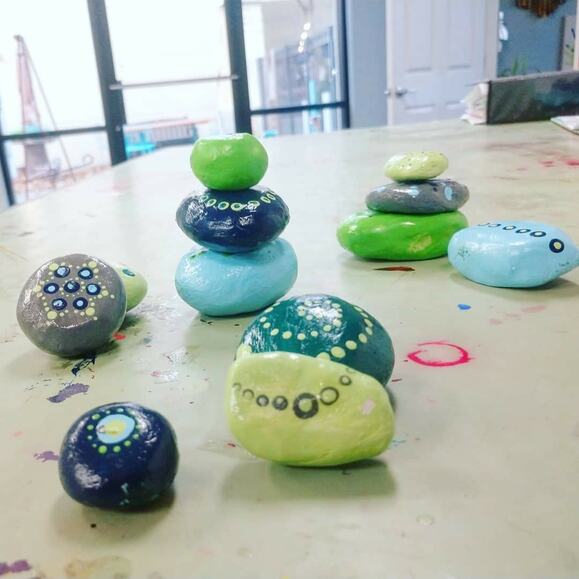
STEP FIVE: Spray
The clear coat will protect the paint. If you want your rocks to be shiny, use a glossy clear spray. Otherwise, a matte would be beautiful too. Watch our Video Tutorial
We went Live on Facebook recently to show how to make these popular clay rocks!
CARING FOR YOUR "ROCKS"
Obviously, these aren't really rocks. Clay will break if it is dropped on a hard surface. We've got our rocks sitting on the desk for easy accessibility. They have tumbled quite a few times and hit the tiles below. So far, aside from a few chips in the paint, our rocks seem to be doing pretty well. We anticipate that they will eventually split or break after enough falls. But, that's okay, we'll just make more. :)
For home use, we could recommend stacking your rocks on a surface above a rug or carpet to ensure longevity of your new toy. Or, just play with them directly on the floor to avoid the three-foot drop all together. ;) If you make rocks for your home, classroom, or to gift to a friend, please send me a picture or tag me on social media! I'd love to see! 
DISCLAIMER: This post contains affiliate links.
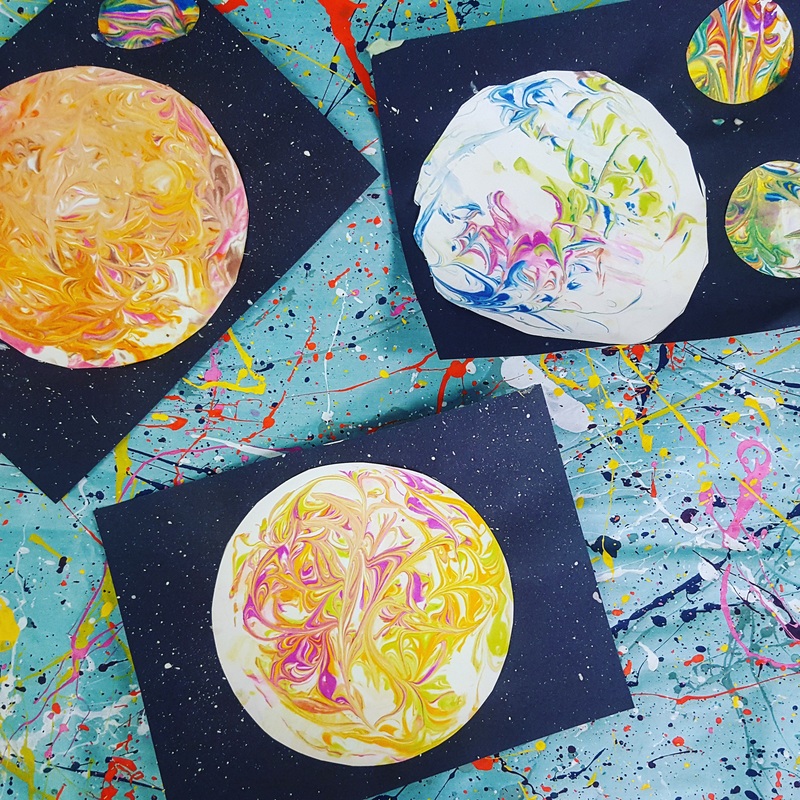
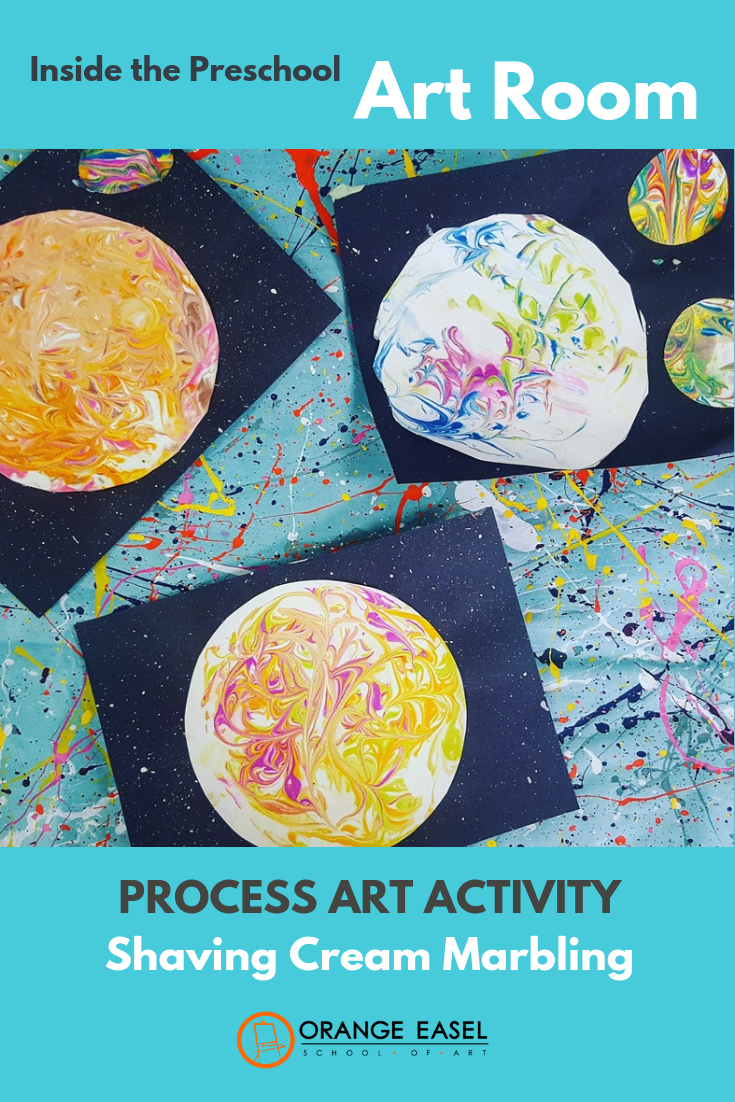
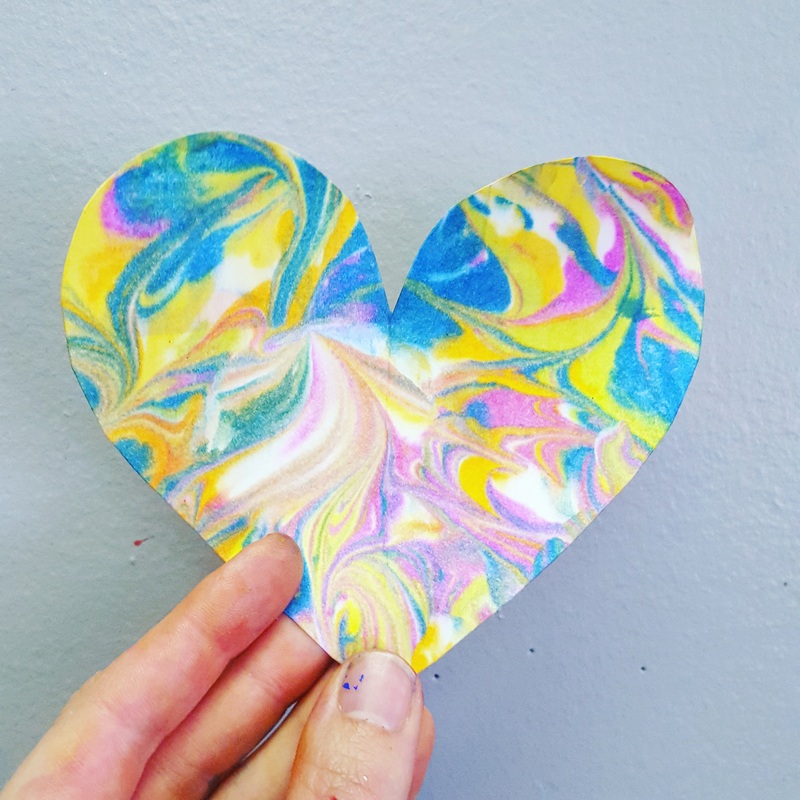
For older artist, the results are stunning and the design possibilities are endless. For younger artists, the process of squirting out the shaving cream and dropping the color is great for fine motor development (not to mention, it's fun to play in the colored shaving cream when your done!).
For a edible version, try whipped cream instead of shaving cream. The colors aren't as bright, but it's safe for the really young artists to put in their mouths. Quick Video
See below for detailed, written instructions. But here's a super quick tutorial that we did live on our Facebook page.
Step-by-Step
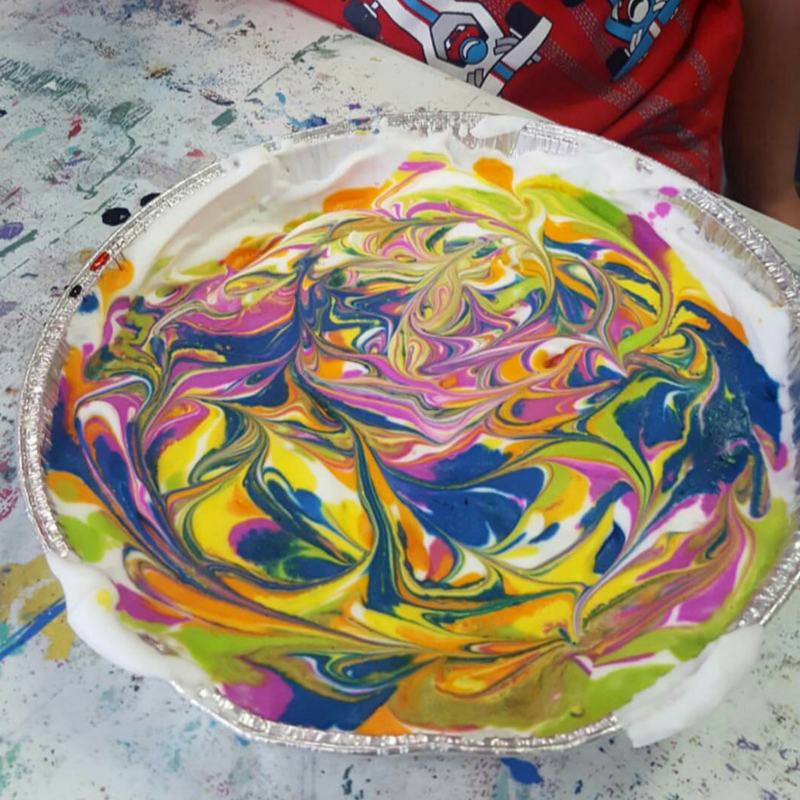
Step One: Squirt the shaving cream into the pie plate.
You need complete coverage but it doesn't need to be deep. We usually look for about half an inch. You can use a spatula to spread it evenly around when your done squirting it out.
Afterward, you can drop in more color, swirl again, and repeat the printing process. Or, you can just enjoy the shaving cream as a sensory play invitation.
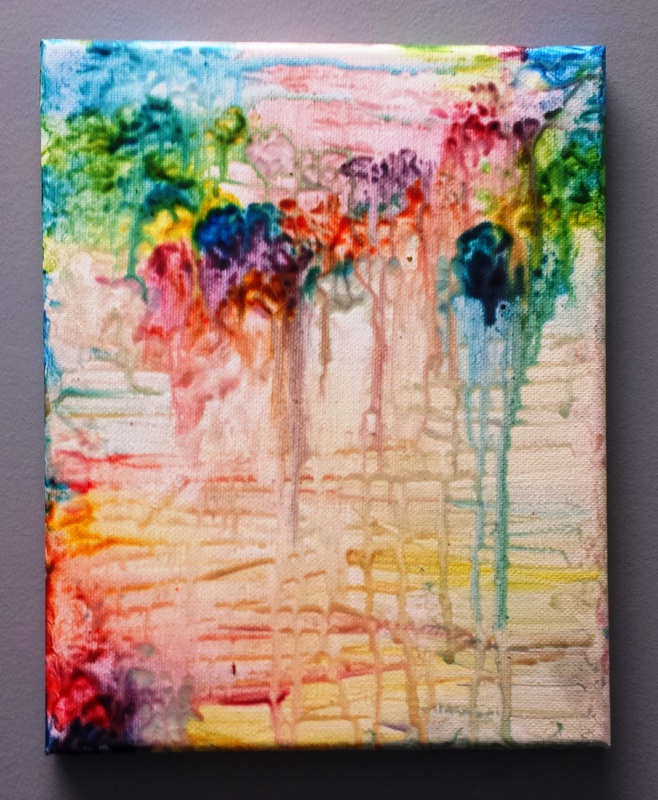
We recently use our shaving cream prints to make planets. We splatter painted a piece of black construction paper with white paint and then glued on the marbled planets.
These printed papers are perfect for collages (think spring flowers, fall leaves, etc). They also make a beautiful set of notecards!
Supplies used:
I do. We do. You do. We think the "We do" step is really the most important (and the hardest) so this blog post is going to focused pretty heavily on that stage. We've outlined some tips below. Be sure to watch our YouTube video too, where Miss Allison explains more about these three stages. What can you teach ?Our job as parents is to make little productive adults, right? So, what can we teach? Well, everything we know. We need to teach them everything that they'll need to be successful on their own. All those life skills from tying their shoes to doing their own laundry to checking the tire pressure in their car tires. There are many checklists floating around blogs and pinterests boards that can give you an idea of what kinds of tasks your children are ready to learn. Do a google search. Or just take our word for it, and check out this one from FamilyEducation.com We generally believe that kids are much more capable than we give them credit for. Given the proper TEACHING, they can be responsible for many jobs around the house. And teaching is what we do here. So, let us help you out. ![Six magic word for teaching anything [Orange Easel School of Art]](/uploads/3/5/4/0/35406067/8124914_orig.jpg) I do. We do. You do.These are the steps. There's no timeline for them. There's no magic number of times you have to show them and do it with them before they "get it." There's nothing that says that just because you've made it successfully to YOU DO that you don't have to revisit the WE DO stage when the bathroom cleaning gets a little lax. Just know that when your little ones (or big ones) are struggling with something that they SHOULD know how to do, it's time to go back to WE DO. The Importance of We Do.That means together. Like side-by-side. Fully supportive. This is hard because whatever it is that you're trying to teach is going to take twice as long with someone else tagging along. Gah. It's going to be frustrating. This is going to test your patience. For you control freaks out there, this is going to test your ability to let go a little bit. The goal with WE DO is to teach them these new skills through cooperation not through coercion. Everyone's experience will be better if your kiddos actually want learn it. The pace of the learner matters. In no particular order, here's are best advice on WE DO.
But, what if they just don't want to?Honestly, who really WANTS to do laundry? We get it. It's hard to make these chores attractive.
If you've got a little one who has dug in their heels on something, pick a different battle. Start with something they're interested in. Go slow. Especially if they haven't had many responsibilities leading up to this point. That WE DO stage might need to last a good long while. Hang in there, parents. You're raising responsible adults and that's not an easy task.
See the complete list:
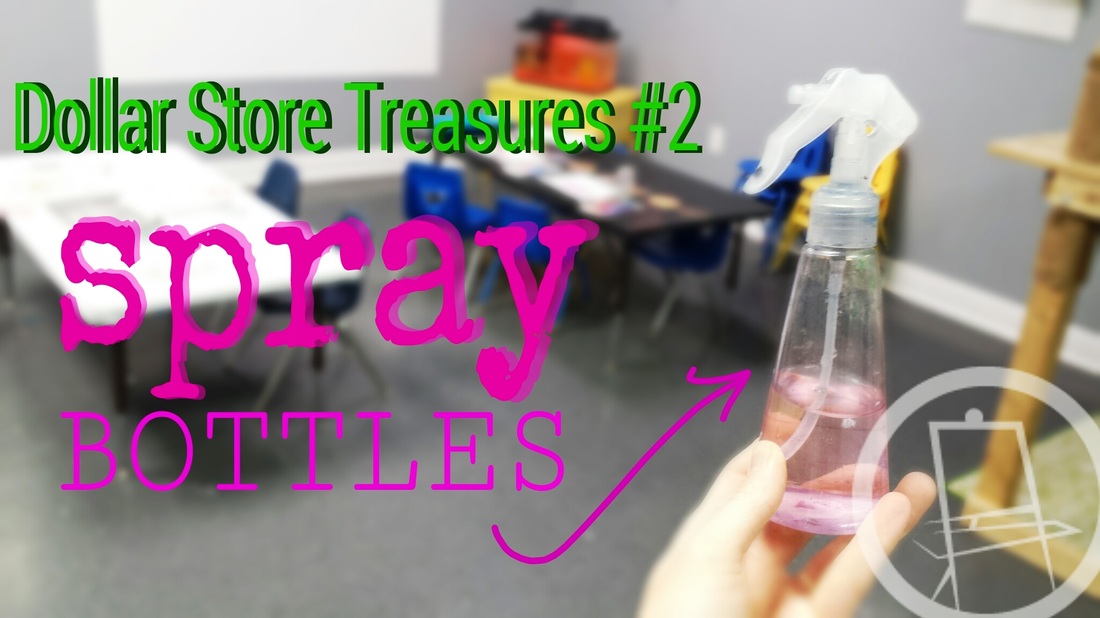
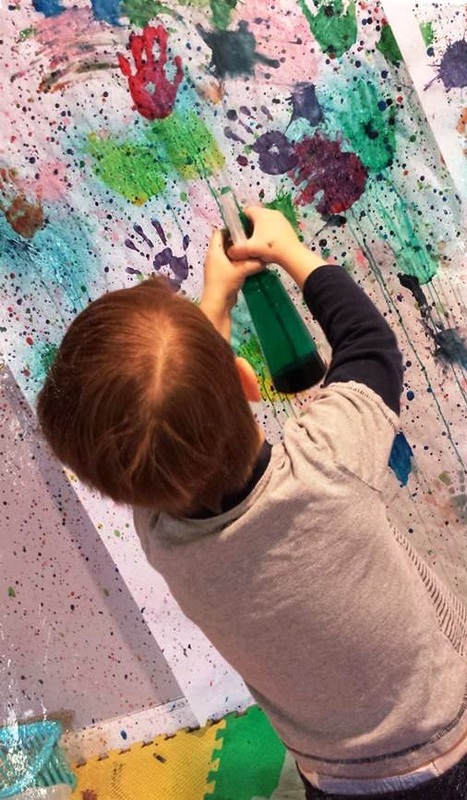
Some of our best "art" supplies come from Dollar Tree! One of our favorite multi-taskers are our spray bottles.
Sometimes we spray liquid watercolor or alcohol inks onto paper as it's lying flat. The result is a soft speckled design. We can place objects on the paper to MASK the spray and add visual interest. Imagine a placing a doily on a sheet of paper, spraying it with ink, and then removing the doily. You'd be left with a lacy design in the negative space.
We've yet to meet anyone (of any age) who doesn't enjoy this simple art-making tool! ![Use spray bottles to saturate your watercolor palettes! Brilliant! No more spilled water cups. Plus, it's really fast and kids love spray bottles. [Orange Easel Art]](/uploads/3/5/4/0/35406067/3150376.jpg?443)  Water cups on the tables can be a pain with little ones. Especially little ones who like to play IN the water. (Don't misunderstand us...we love waterplay. But during a painting lesson, sometimes it's better to remove the water distraction!) We've eliminated the risk of a cup of water spilling all over someone's art work. ![Use spray bottles to saturate your watercolor palettes! Brilliant! No more spilled water cups. Plus, it's really fast and kids love spray bottles. [Orange Easel Art]](/uploads/3/5/4/0/35406067/1415902686.png) Often times in our preschool classes, our instructors use spray bottles to wet our watercolors while the little ones paint. You can saturate all the color cakes with just a few sprays. The paint is ready quickly, which is important for sometimes-impatient lil' artists.
If we have a smaller class and time allows, we let the artists spray their own paint palettes. Preschoolers love spray bottles. These small bottles are from from Dollar Tree. Last month we needed 20 rolling pins for our young artists who were learning to roll out clay slabs. Well, we didn't NEED 20 of them, but we didn't want them to have to share; we're not opposed to sharing, but in this case, the down-time would mean less practice and learning time. And we only have 60 minutes together. Rather than purchase a bunch of rolling pins, we fashioned our own from pvc pipes. They worked perfectly. They are smooth, durable, fairly light weight and inexpensive! They can be cut to any length. (Ours are approximately 12 inches.) We used a miter saw to cut them. 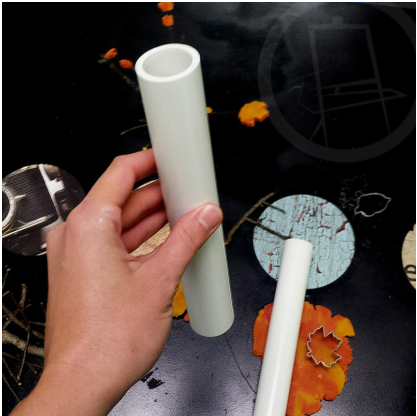 Since making our rolling pins, we've learned that they are also wonderful for rolling out playdough and for rolling out paint!
|
Orange EaselContent inspired by the artists and art created in our studio. 
Orange Easel began as a small art studio in my basement and continues to grow and serve our community. Read more about our story here.
Archives
April 2024
Categories
All
|


 RSS Feed
QUICK LINKS
|
|
|
|
LIBERTY STUDIO
249 W Mill St Ste 107 Liberty MO 64068 816-407-9266 |
PLATTE WOODS STUDIO
7617 NW Prairie View Rd Kansas City MO 64157 816-216-7126 |
|
Copyright © 2023 Orange Easel. All rights reserved.
Privacy Policy |
|