

We hosted a FREE art event on our brand new patio last week. It was a wonderful success (despite the heat) and we can't wait to do it again. Look for details on another patio event in our July newsletter. Gallery of event Photos
0 Comments
Painting Ideas for Summer Art & Play
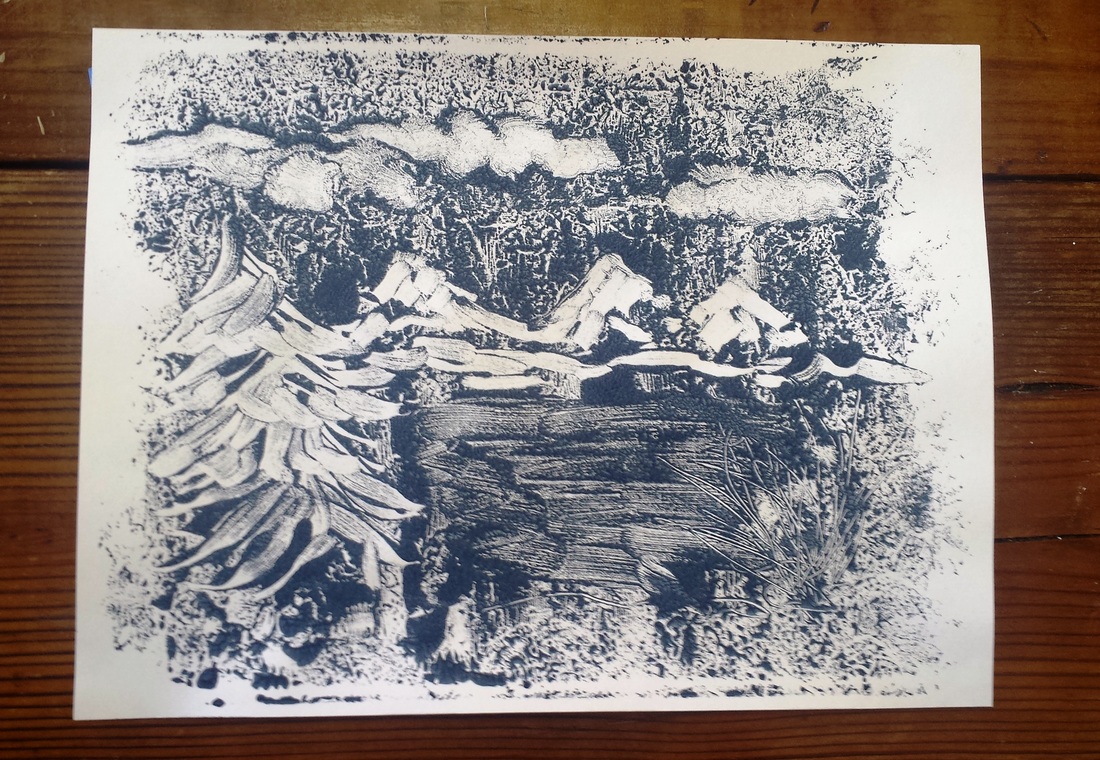
Our February classed focused on mixed media. Below is a just a small sampling of our students' work. (we need to get better about taking pictures!) A simple printmaking project that you can try is a monotype (you can only use your template once!). This monotype is made by removing color to create a subtractive image. It challenges us to draw the negative space!
by Allison May Jensen {This blog post first appeared on Allison's blog for Miss Allison's Art} Early on an August morning in Kansas City in 2012, we headed to a local park for our Outdoor Art Class! (this is pre-Orange Easel, when we were still Miss Allison's Art. See our story here.)
We started with a BANG! I found these film canister rockets on "Not Just Cute." Blogger Amanda Morgan mentioned a "colorful twist" on this old classic...she added watercolor powder to the film canister and set the "rockets" off on a large sheet of paper, creating an abstract art piece. That's my kind of science project...one that uses paint! My crew set off these paint-filled rockets and made some large abstract art in the process! There are an INFINITE number of colors that you can make from one tray of water color paints! That's what our artists explored this week in class, while they practiced their brush strokes and paint control. 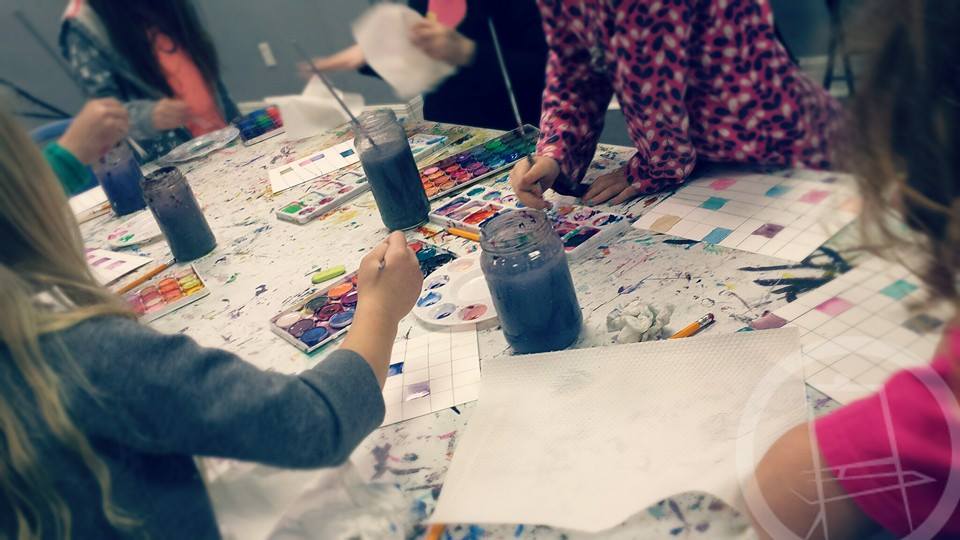
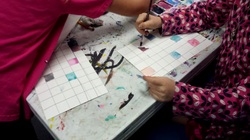
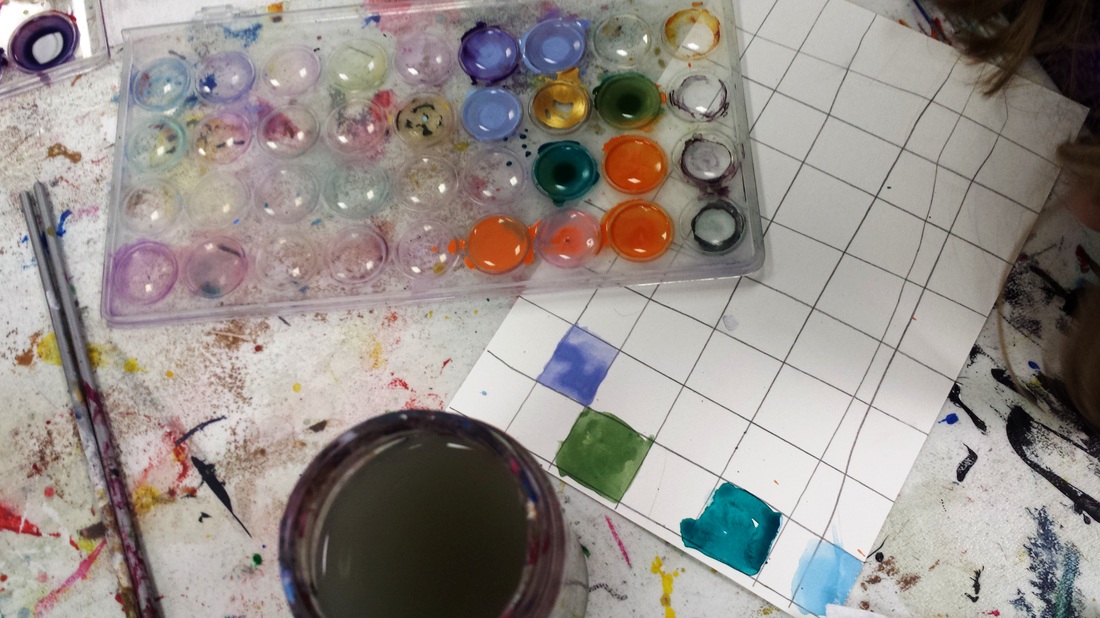
Any color, mixed with a small amount of another color, makes a new color. That new color can be lighted by adding water. Or darkened by added more pigment. Or changed ever-so-slightly by adding a little MORE of the second color. Gradients, shades, tints, oh my! How many different colors can you make?
We're still working through ours but we're hoping to fill page with NO REPEATERS!
Our Kindergarten through 5th grade classes are all learning about acrylic paints this month. We started week one with the basics...how to mix without wasting paint, how to blend colors together on the canvas, how to keep their palettes from drying out, how to apply the paint with intentional brush strokes, how to care for their brushes... These are all important skills for our budding artists! Next week, we begin our paintings on canvas! 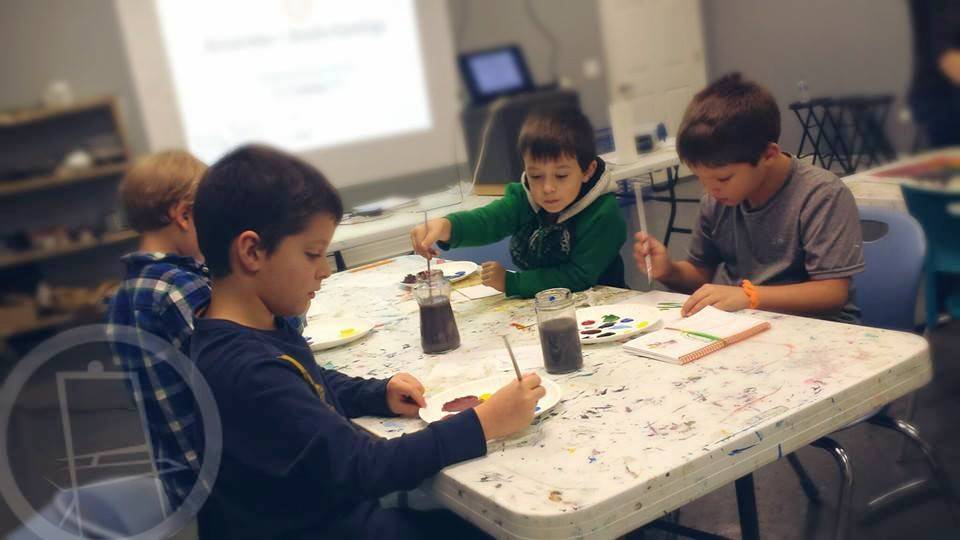
![Use spray bottles to saturate your watercolor palettes! Brilliant! No more spilled water cups. Plus, it's really fast and kids love spray bottles. [Orange Easel Art]](/uploads/3/5/4/0/35406067/3150376.jpg?443)  Water cups on the tables can be a pain with little ones. Especially little ones who like to play IN the water. (Don't misunderstand us...we love waterplay. But during a painting lesson, sometimes it's better to remove the water distraction!) We've eliminated the risk of a cup of water spilling all over someone's art work. ![Use spray bottles to saturate your watercolor palettes! Brilliant! No more spilled water cups. Plus, it's really fast and kids love spray bottles. [Orange Easel Art]](/uploads/3/5/4/0/35406067/1415902686.png) Often times in our preschool classes, our instructors use spray bottles to wet our watercolors while the little ones paint. You can saturate all the color cakes with just a few sprays. The paint is ready quickly, which is important for sometimes-impatient lil' artists.
If we have a smaller class and time allows, we let the artists spray their own paint palettes. Preschoolers love spray bottles. These small bottles are from from Dollar Tree.
This post may contain affiliate links.

Our SPLATTER-painted speech bubble in progress
We even did it once with ACRYLIC paint as a permanent installation: 

Finished speech bubble with chalkboard
Want to know how we do it? It's really an easy set-up. (Clean-up is another story)
HOW TO SPLAT PAINT
Step 1 - Cover your wall in butcher paper.
Understand, the paint will splatter outside of this paper. Paint splatters EVERYWHERE. We wash our walls every weekend; we have a glossy paint on the walls, and the paint wipes off with elbow grease and water. Cover your baseboards if they are white. Nothing worse than scrubbing baseboards. If you don't want splatters on your ceiling, cover it about five feet out from the wall. Step 2 - Fill containers with paint. You'll probably want to use washable paint. If you're looking to do something permanent like our speech bubble, you need to spend LOTS of time on step one. We use a washable tempera paint made by Colorations. Thin the paint slightly with water. The thinner the paint, the better the splatters. But, if you get it too thin, you'll have dripping, running paint on the wall. Think of the consistency of melted ice cream. Step 3 - Get some cotton balls. We use about 100-120 cotton balls for five cups (40 fluid oz) of paint. It usually takes our artists about 10 minutes to get through 100 cotton balls. We use regular size cotton balls, but the jumbo ones work too. Step 4 - Set up a clean up station. We think it's easier (and faster) to do clean-ups with a basin of water instead of sink. You're really just looking for "clean enough". (i.e., Clean enough to grab another cotton ball) We have a dish pan from dollar tree that we fill with a couple inches of sudsy water. Place some towels under the bucket to catch any water that gets splashed outside. Place a couple hand towels (or bath towels) nearby to dry hands. This keeps the floor safe--more on that later. Step 5 - Go over the rules. Our only rules are that: You aim at the wall (we understand that sometimes we miss). You look before you throw (no throwing paint balls at other people). You WALK instead of run, skip, gallop, spin, sprint, etc (the floor gets slippery) Step 6 - PAINT! We like to turn up the music really loud for this part. Splat Painting VideoSafety, Best practices and clean-up notes
Our floors get really slippery.
It's caused by the combination of paint splatters from the wall, paint drips from transporting the paint balls, and watery hands from artists who are too eager to dry them off thoroughly. Our instructors constantly wipe the floors with large bath towels. We're not trying to CLEAN the floors. Just dry them off! Barefoot is best. In our studio, we go barefoot for splat painting. Our paint is washable. But that doesn't mean that mom wants to wash your shoes. Document it. Action shots are really fun but hard to catch. We like to take video to catch the action. Afterwards, we ALWAYS take a group photo in front of our masterpiece! Mop the wall. In three years of splat painting, we've cleaned a lot of walls. At the Orange Easel studio, we clean up our walls by mopping them! We have a large wet mopping pad from Norwex that we use; it reaches the high corners and the large scrubbing pad covers a large surface area on every swipe.
If you splat paint, we'd love to see that photo that you took...send it to us so we can see your masterpiece!

|
Orange EaselContent inspired by the artists and art created in our studio. 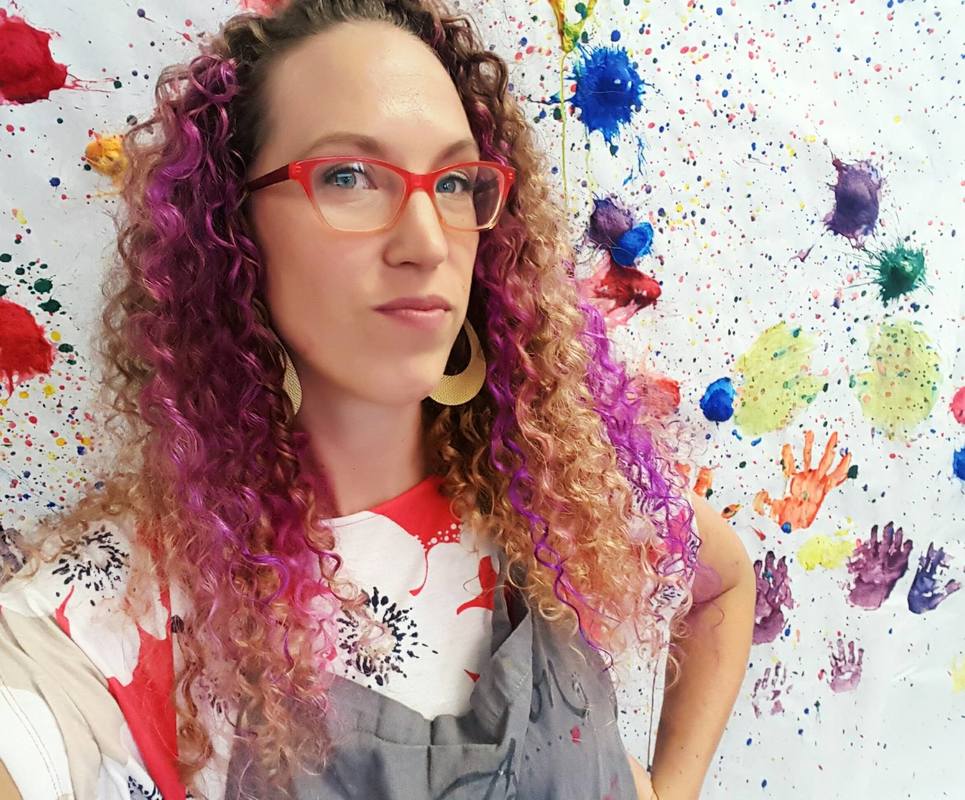
Orange Easel began as a small art studio in my basement and continues to grow and serve our community. Read more about our story here.
Archives
April 2024
Categories
All
|


 RSS Feed
QUICK LINKS
|
|
|
|
LIBERTY STUDIO
249 W Mill St Ste 107 Liberty MO 64068 816-407-9266 |
PLATTE WOODS STUDIO
7617 NW Prairie View Rd Kansas City MO 64157 816-216-7126 |
|
Copyright © 2023 Orange Easel. All rights reserved.
Privacy Policy |
|