

The base for the dollhouse were these wooden dollhouse from Ikea.

Technically, Ikea lists them as shelves, but they work great for a floor toy. They are BIG...standing almost two feet high. They also take a minute to assemble. If you're putting together one dollhouse, no biggie. When you have 20+ that need to be assembled, it's a little more daunting.
Thankfully, we have a great team here: 
We never have any fun.

Our artists started their blank house and a design book. We got our book template from another incredible art studio, Make Art Studio (Heather creates the the most beautiful handouts and downloads). The book helped us to organize our ideas. There's only four rooms so each artist needed to decide on their floor plan.
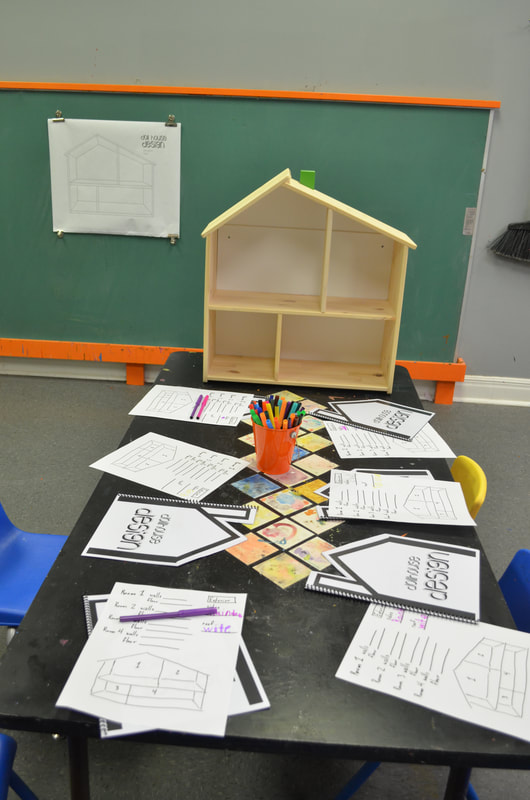
We had a special guest visit the studio on the first day of camp. Toska Tiemann, an interior designer and color expert from Unique Painting, met with our artists to talk about the task ahead of them. They had so many design choices to make...interior and exterior colors, wallpaper or paint, accent walls, flooring, etc.

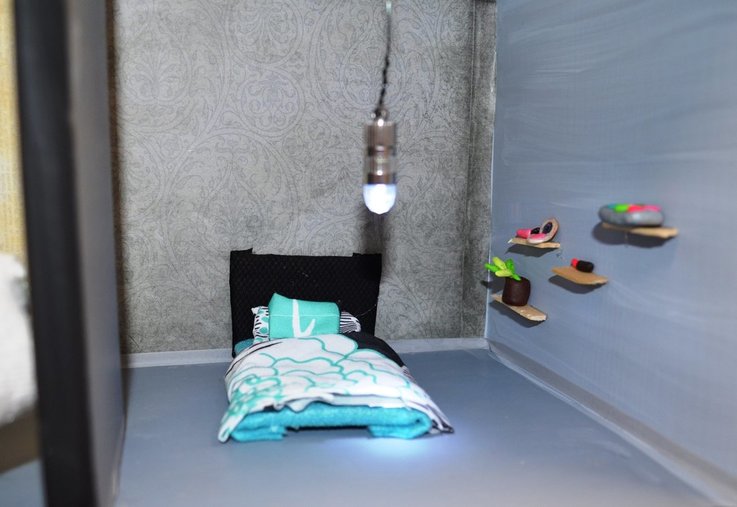
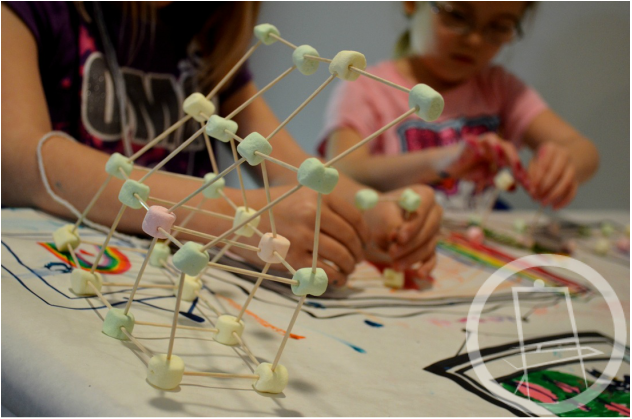
In addition to designing the walls and floors, our artists also had to create all of the furnishings for inside their houses. The studio's closets were empty this week because every single art material in the studio was sitting out in the large classroom. We used polymer clay, fabric, cardboard, beads, string, mosaic tiles, wire, pom poms, and recyclables. And lots and lots of hot glue.

The results were incredible. I love all the details. We've got pillows. And house plants. And even perfume bottles.


It was an epic week. This is how art camps SHOULD be: A whole week filled independent and passionate creation.
This is a project that could be completed in the home studio to whatever level of intricacy you desire. After you get everything painted, it would be fun to have as an ongoing project--something you continually add new furnishing and details too (just like our real homes!). I hope you enjoyed seeing pictures from our camp in the studio and that you get a chance to try this one out with your kids! 
If you want to see more, we took a live video tour of each of the houses. Our artists explained their choices and their favorite parts.
We've had out 3Doodlers for a month now and I finally feel comfortable writing a short review of the product. If you're not familiar with the 3Doodler, check out the video link below for the newer 2.0 models: Our studio invested in a few of the 2.0 because they were quieter and lighter and not too much more expensive than the older model. We currently have three of the 3D printing pens. We've used them for two classes and the our instructors have had a chance to play with them. Here's what we've learned:
Check out the video of the butterfly Miss Allison made from a translucent blue PLA plastic: Want to play with a 3Doodler?Our Emerging Artists class which meets on Wednesdays nights will have access to use the 3Doodlers whenever they wish. We'll also be using them during many of our Camps and Makerspace Events!
We're gearing up for summer classes and that starts with our instructors making all sorts of examples! It's a rough job being an Orange Easel Instructor, but someone has to do it. First up is our Clay Action Figures. Young artists will design their own action figure and then bring it to life using a polymer clay. We'll design and sculpt during the first class period, and then apply paint and glossy varnish in the second class. Watch here to see a figure come to life: |
Orange EaselContent inspired by the artists and art created in our studio. 
Orange Easel began as a small art studio in my basement and continues to grow and serve our community. Read more about our story here.
Archives
April 2024
Categories
All
|

 RSS Feed
QUICK LINKS
|
|
|
|
LIBERTY STUDIO
249 W Mill St Ste 107 Liberty MO 64068 816-407-9266 |
PLATTE WOODS STUDIO
7617 NW Prairie View Rd Kansas City MO 64157 816-216-7126 |
|
Copyright © 2023 Orange Easel. All rights reserved.
Privacy Policy |
|