
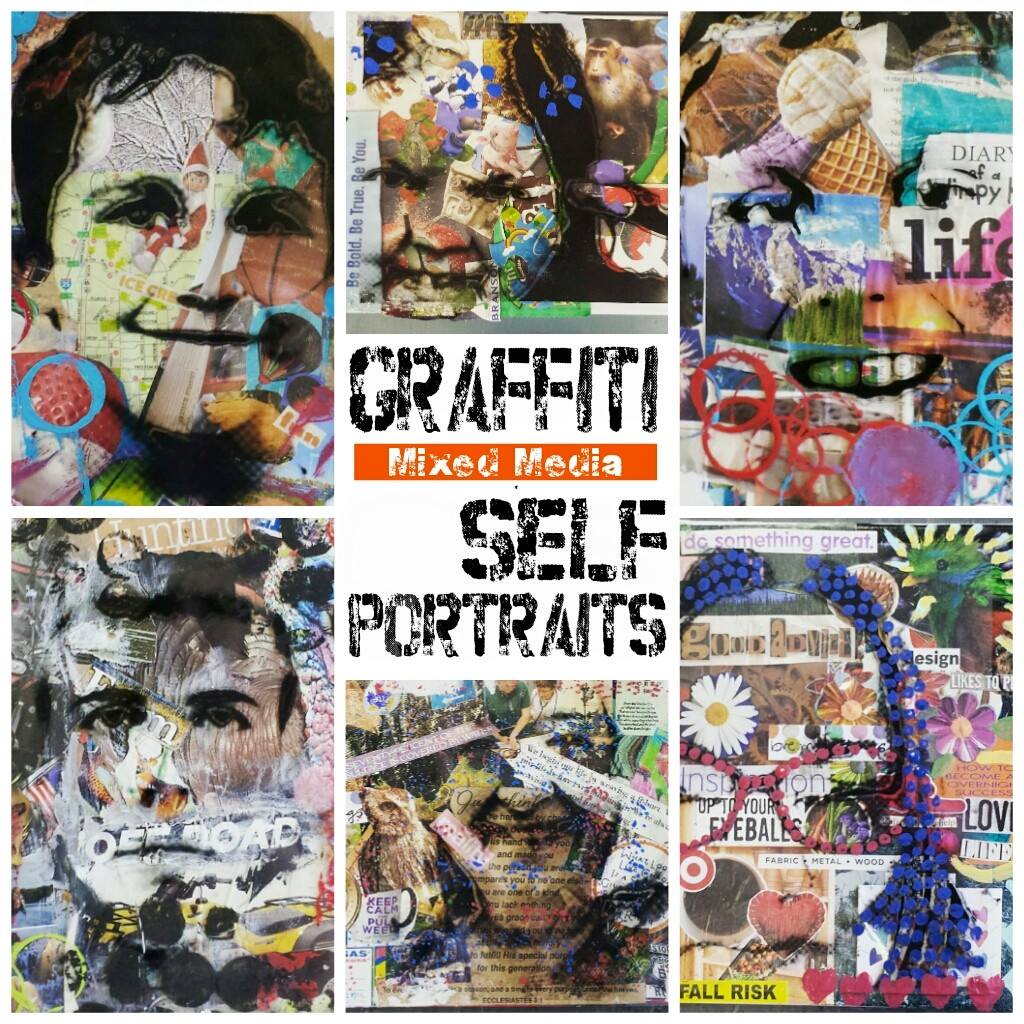
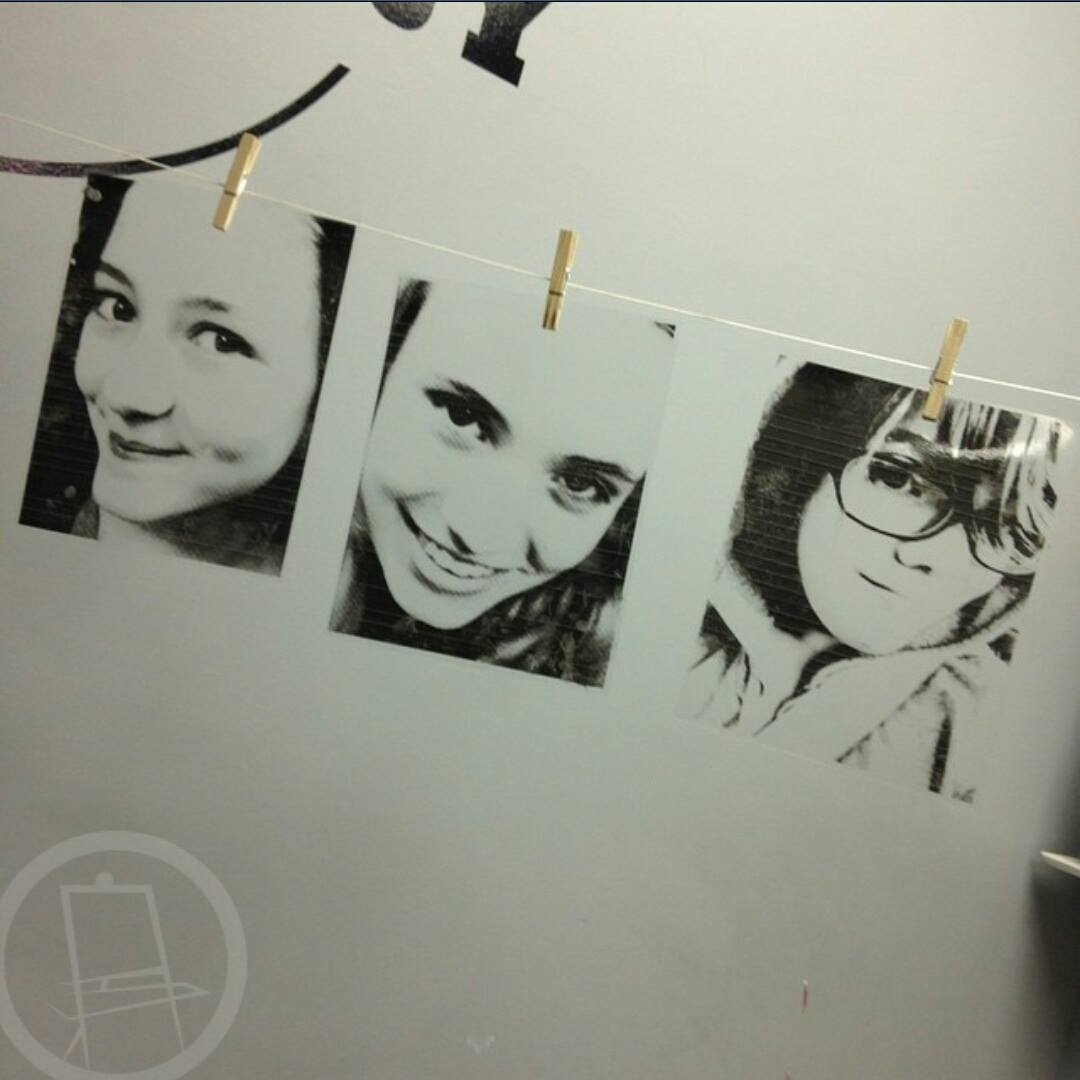
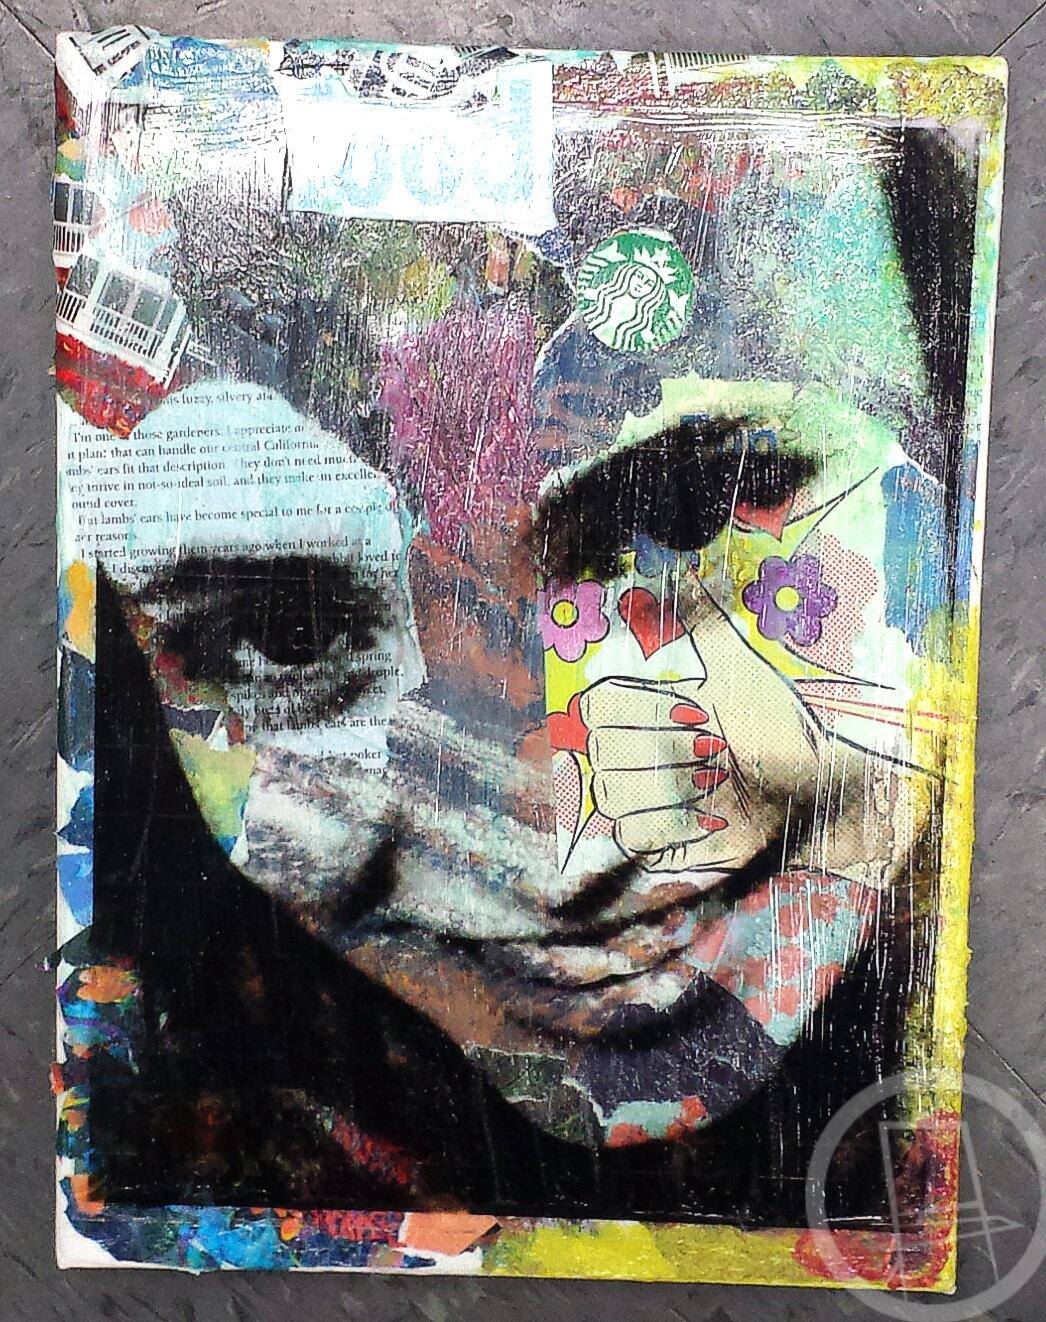
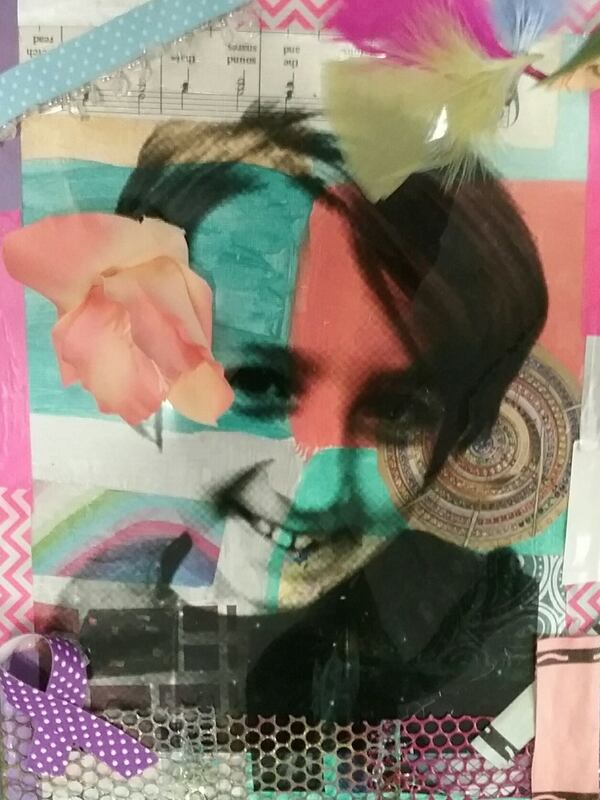
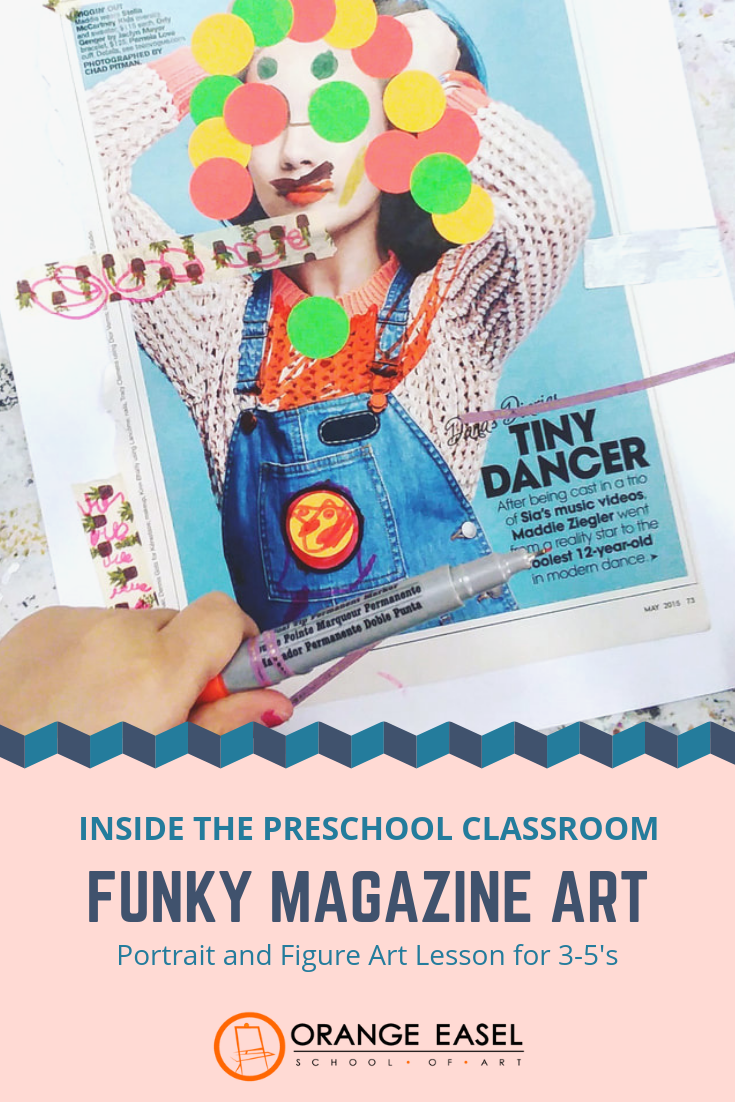
 This is one of my favorite projects that we've done during our mixed media month! Admittedly, I'm a sucker for a good self portrait project, especially one that allows our teens and pre-teens to do some reflecting on what makes them unique AND avoids the anxiety that comes from telling them they are going the have to draw their own face. This project incorporates the art form of a selfie and photo filters instead of drawing and painting, so it's perfect for our older artists who are already super familiar with the technology! Step One: Prepping the photos
We've learned that our inkjet office printer doesn't print on transparencies well--they are wet and smudge really easily--so we always have them printed at Office Depot. Step 2: Create the collage
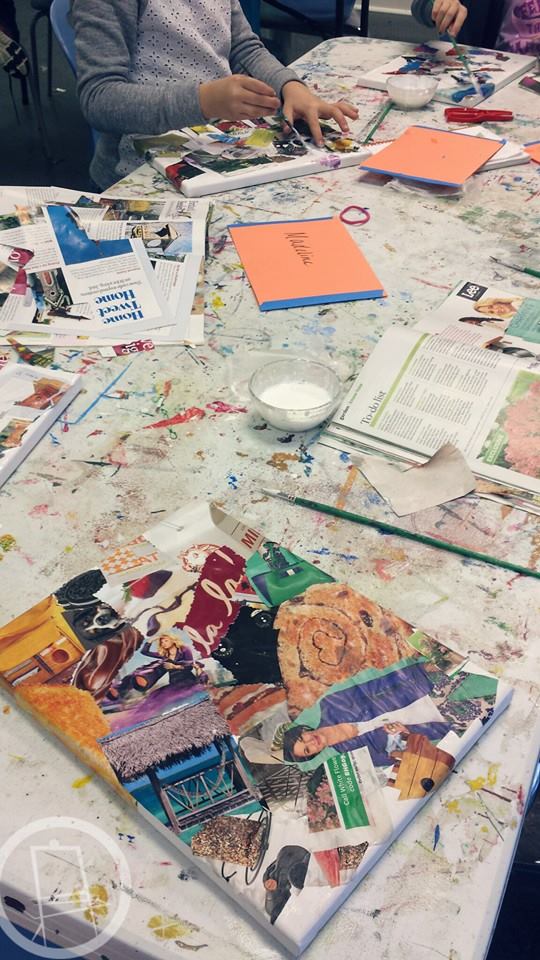
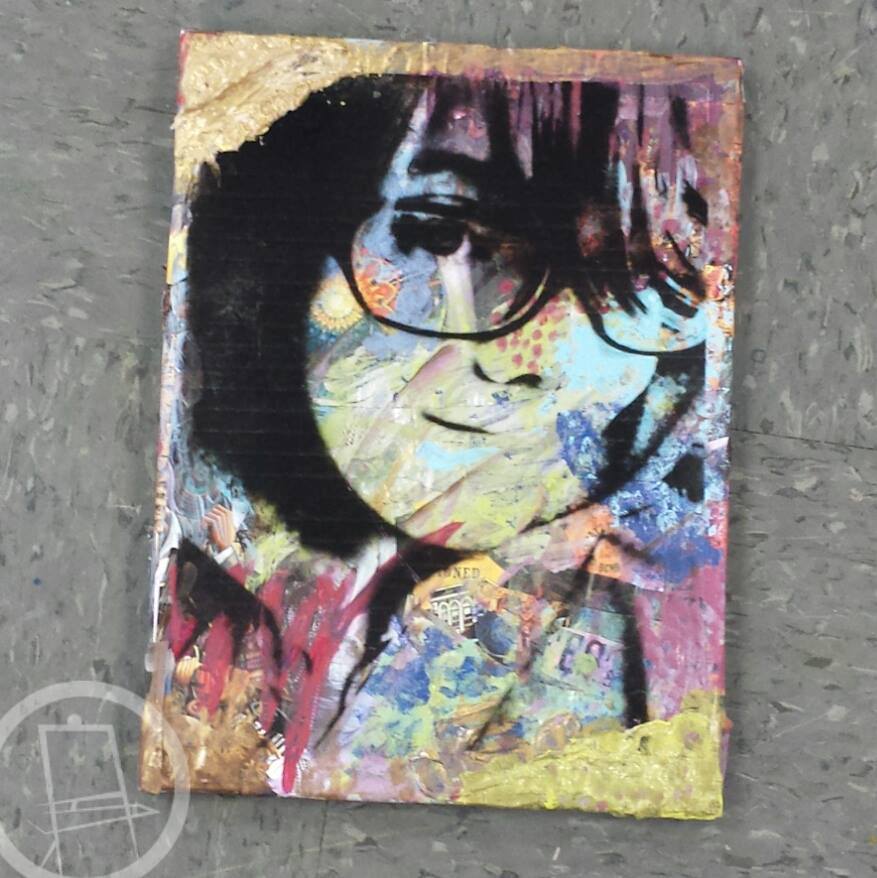
Once they've got a good collection going, they can start laying the pieces out on their canvas. Here's where it's a good idea to have your photo transparency handy. We tell our artists to make sure that their favorite collage pieces lay underneath the negative space on the transparency. Step 3: Assembling and finishing
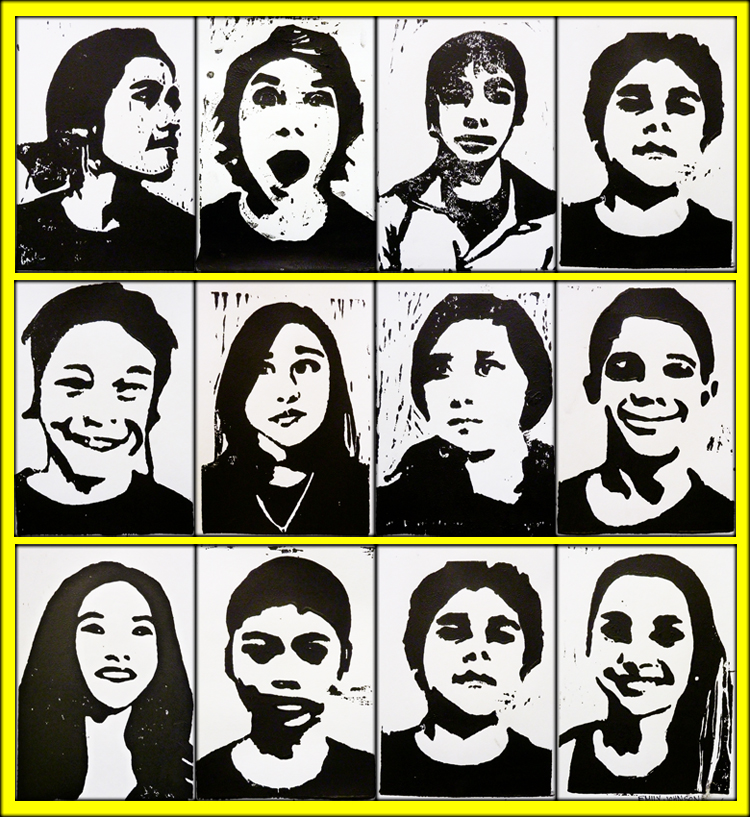
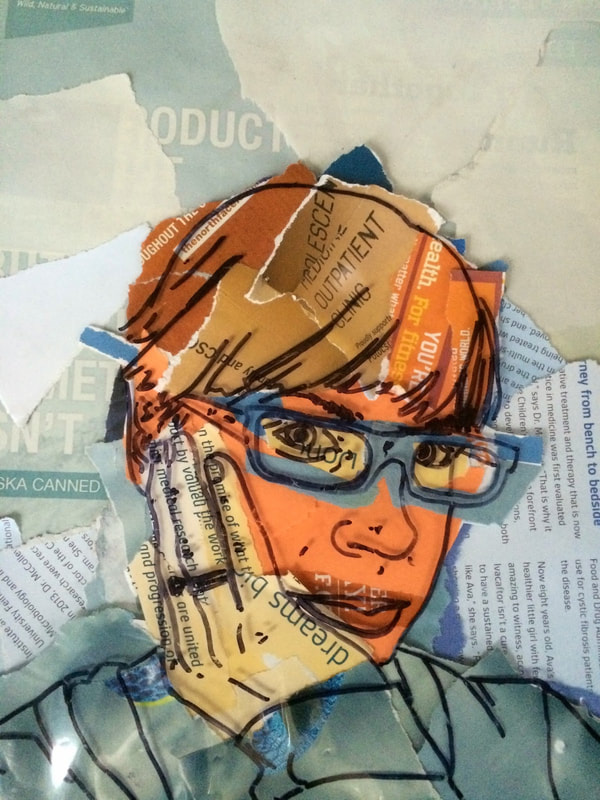
If you need a great self portrait project, or a unique mixed media project, I encourage you to give this one a try!   Unique Self Portrait Art ProjectsIdeas from other brilliant teaches and students:
0 Comments
The post may contain affiliate links.
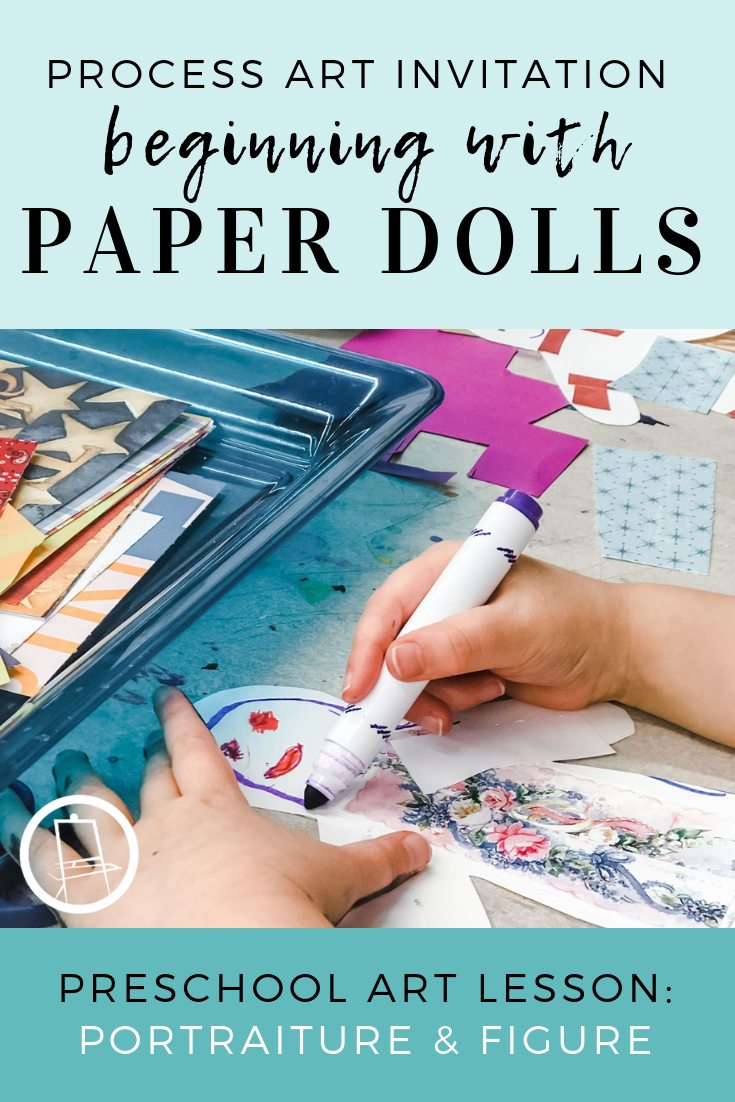
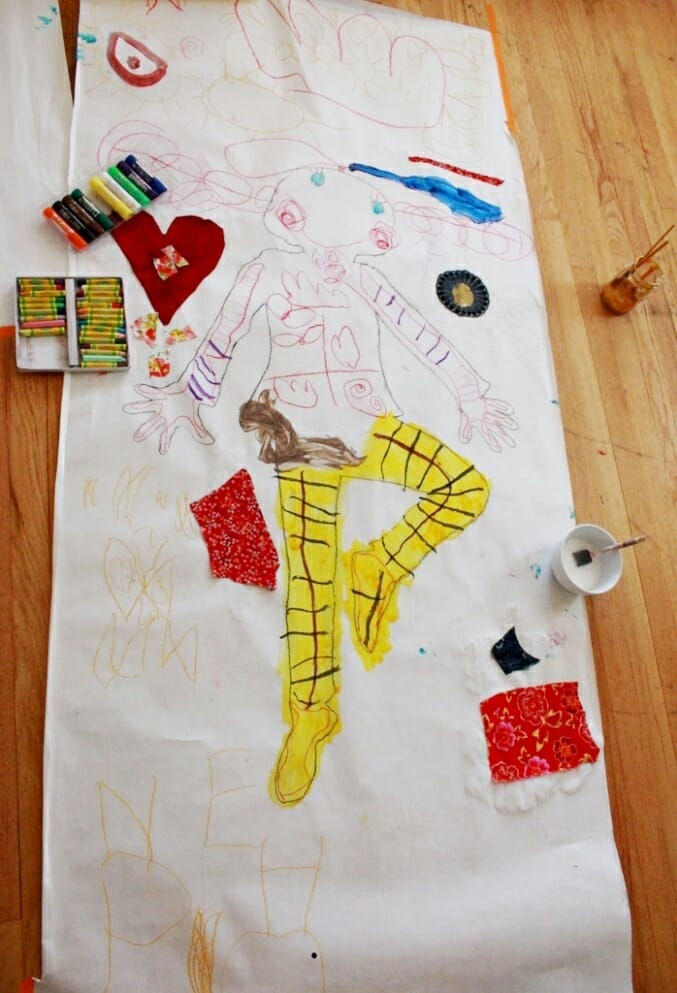
 Once they were done, we stapled them to cardboard tubes so they could stand up.  Since this was a process art invitation, there's very little work on our part. All we had to do was set out the supplies and facilitate the dialogue! SUPPLIES: Before class started, we traced a template and cut our paper dolls from heavy white paper (get our template here). If you're not up for cutting out your own, or if you REALLY need a lot of them, you can always purchase a pre-cut pad of blank doll figures (check out these ones). Other supplies that you could use: washi tape, googly eyes, yarn, ribbon, fabric scraps, etc.  Our kiddos pretty much dove right in with very little hesitation or need for direction. But our students visit the studio weekly and are used to these types of process art invitations (In other words, they've learned not to ask, "what are we supposed to do?" because they know they are just going to get a smile and a shrug from their instructors!) If your students are having a hard time getting started, here are some conversation starters:
 Try not to let them get hung up on the perfect shape of a shirt or the perfect shape of a shoe. Rectangles make great shoes. Torn bits of paper layered together will be a wonderfully unique shirt. Do you see the doll on the left with the big smile and pointy teeth? He's dressed in a dinosaur costume. The mask is folds down to reveal the human face underneath. How amazing is that?! I hope you try this out with your artists at home or in your classroom. Let me know how it goes for you!  More Figure & Portraiture Art Activities
Art History Matters
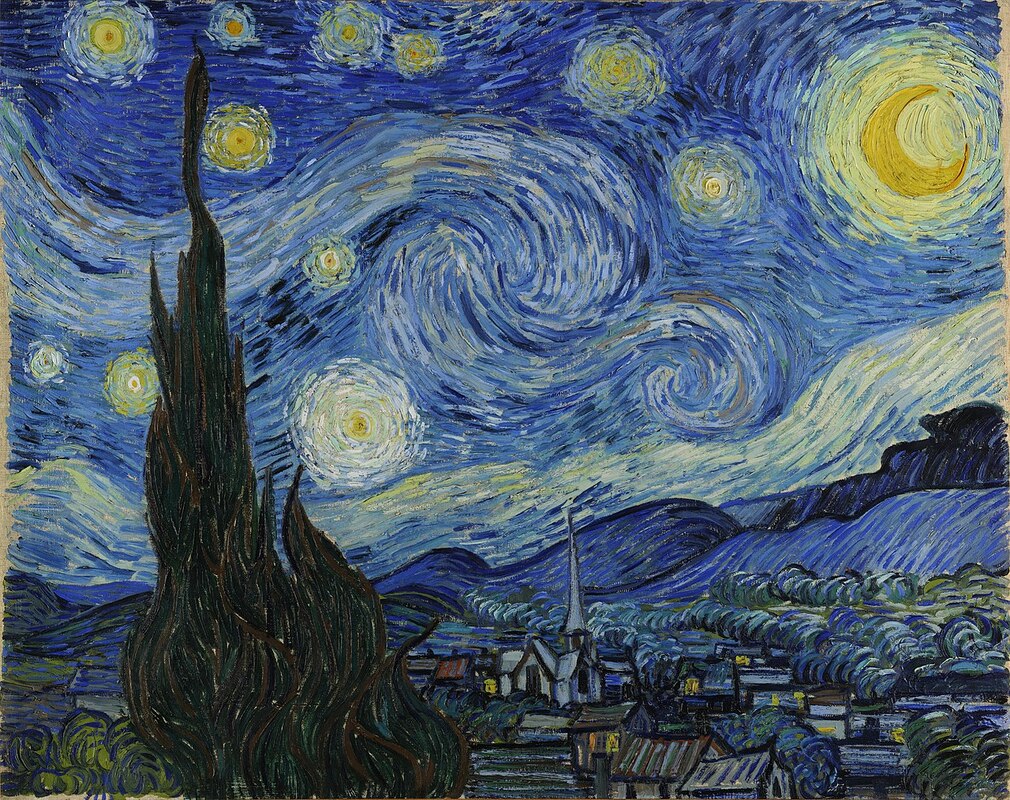
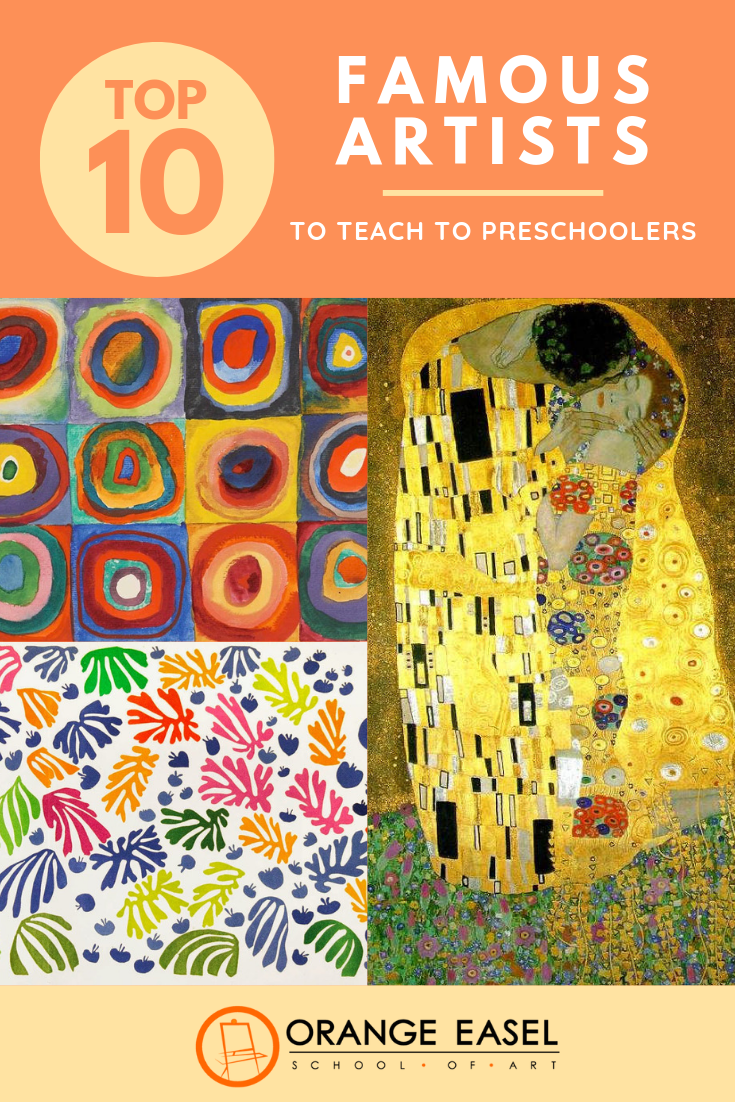
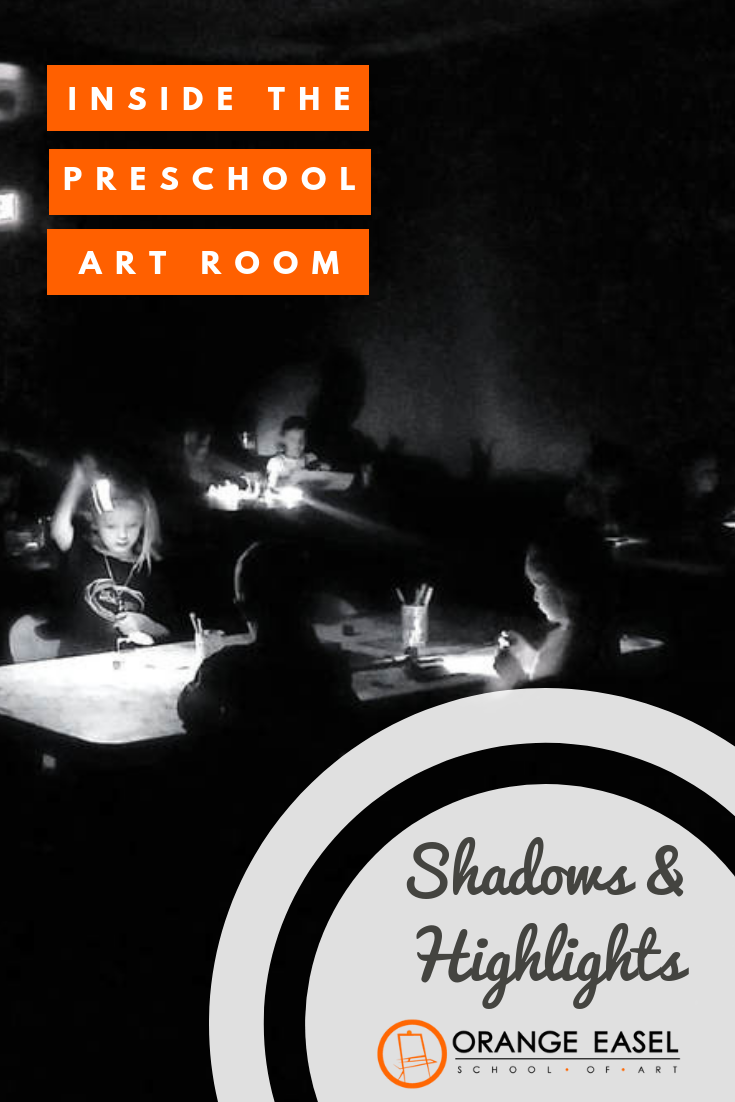
Our preschool classes have a monthly Art History focus that goes along with the art concept that we're learning and the stories that we're reading. When we're studying CONTRAST (the difference between black and white, shadow and highlight)d in January, we look at VanGogh's Starry Night and we read the books Flashlight and Where the Wild Things Are. We don't look at VanGogh's Sunflowers because they don't fit into our curriculum. Don't feel like you have to teach the entire breadth of an artists' work or the entire art movement; it's okay to simplify it.
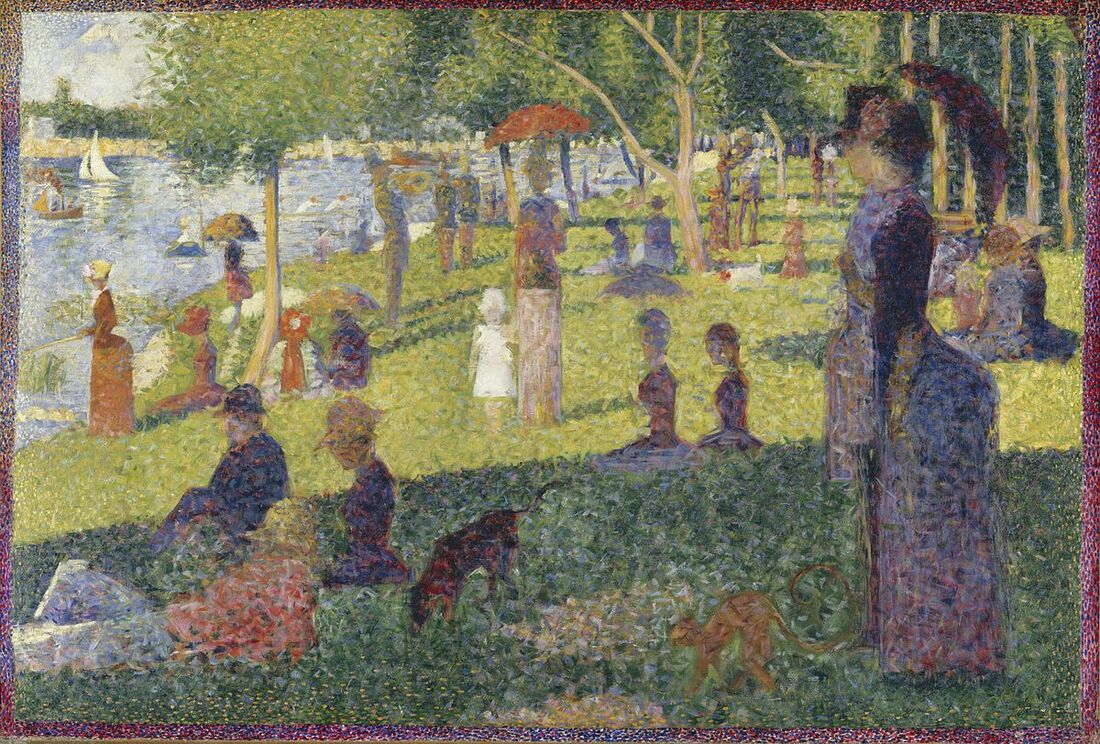
It's also important to note that our lessons and our activities that follow are PROCESS ART. It's never about the product that is created, but rather the learning that took place in the process. When we're learning about Seurat and then offer an invitation to try pointillism by making fingerprints on giant stamp pads, it's perfectly acceptable for our artists to make handprints instead. Or even foot prints. Our art invitations are just that--invitations. It doesn't mean that the lesson was a failure or that they don't understand Seurat's art. Maybe our artists just really, really needed to feel their whole hand on that stamp pad. Our Top 10 Favorite Famous Artists to Teach Kids


Additional Preschool Resources
We hope that our Top 10 gets you thinking about YOUR Top 10 list. And inspires you to incorporate some art history into you ABCs, colors, and shapes lesson. There are so many tie-ins between famous artists and famous paintings that you can use in the preschool classroom. Happy teaching!

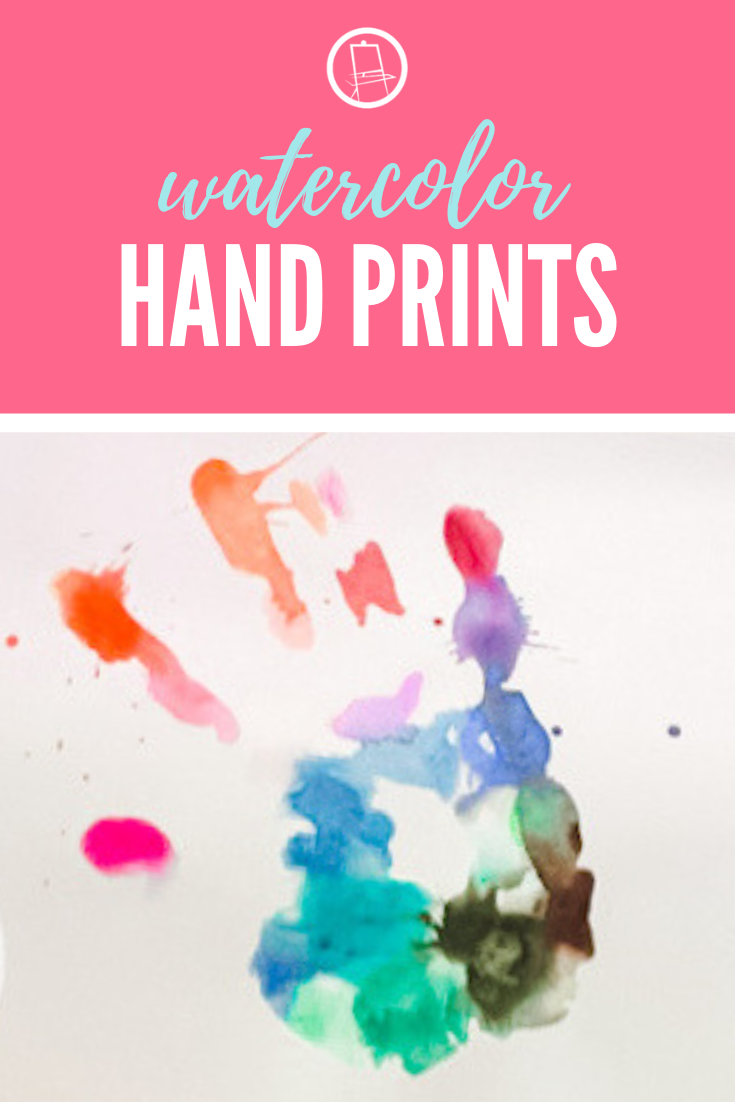
I thought it would be fun to go live on facebook and share some watercolor painting with you today!
I'm going to be painting with three different types of watercolor-ish paints (okay, the last one is technically an acrylic ink, but it's my favorite!). I hope you enjoy this little heart tutorial! 
|
Orange EaselContent inspired by the artists and art created in our studio. 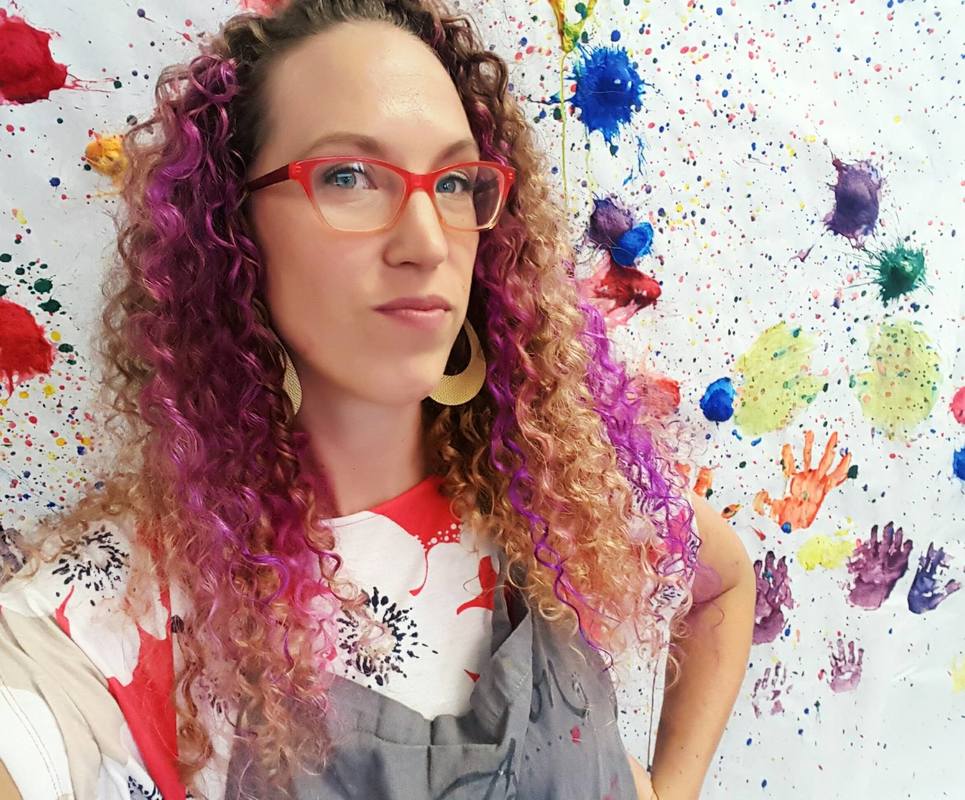
Orange Easel began as a small art studio in my basement and continues to grow and serve our community. Read more about our story here.
Archives
April 2024
Categories
All
|


 RSS Feed
QUICK LINKS
|
|
|
|
LIBERTY STUDIO
249 W Mill St Ste 107 Liberty MO 64068 816-407-9266 |
PLATTE WOODS STUDIO
7617 NW Prairie View Rd Kansas City MO 64157 816-216-7126 |
|
Copyright © 2023 Orange Easel. All rights reserved.
Privacy Policy |
|