
 Every March, our studio turns its attention to the art of printmaking. We explore both BLOCK PRINTING and MONOTYPE PRINTING here in the studio.
This is the second post and video that we've done on monotype prints. You can check out our previous post and video here. Monotyping Tutorial for Home
In our video below, we're using a small piece of glass that we removed from a dollar store picture frame (we used the frames for a weaving project) Other tools were are using:
There's no WRONG way to make prints but we do have some best practices to share with you! We usually encourage our artists to build up lots of layers and use different textures on their prints. Monotypes make wonderful backgrounds and collage papers. They are perfect for just enjoying the PROCESS of making art. Kids love to experiment and just see what happens! Make sure you have a STACK of paper...you're going to need it!
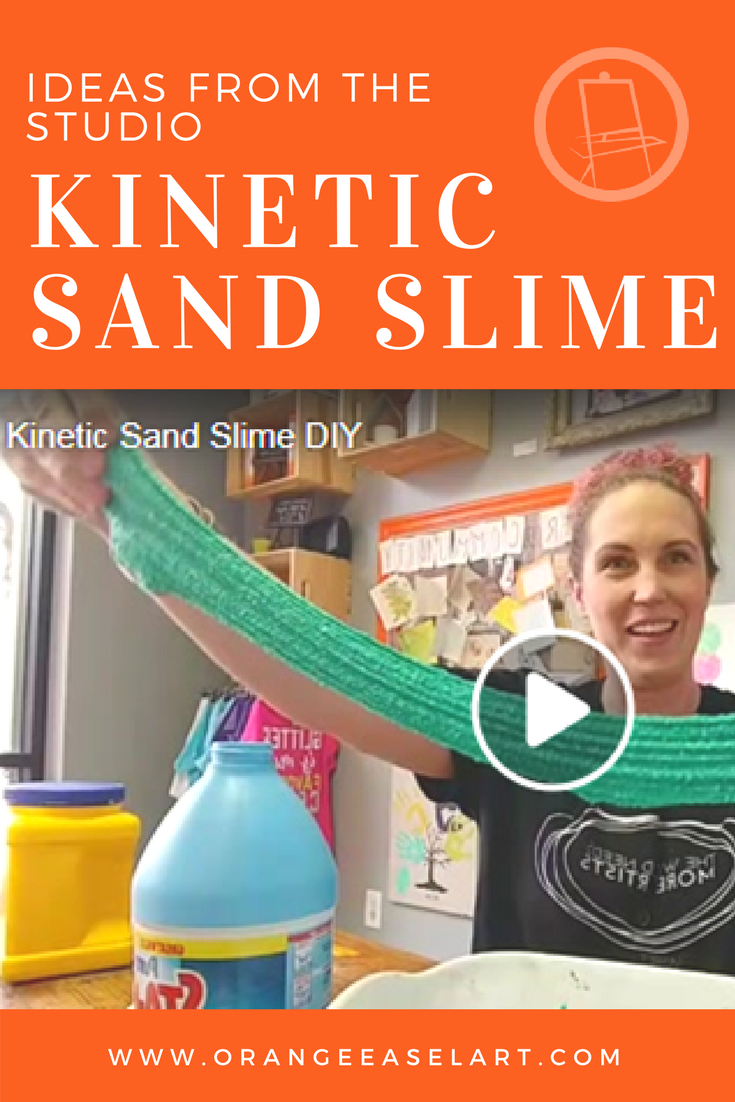
We stumbled across this amazing-sounding slime recipe from Momdot.com and we just had to give it a try on facebook live last week. You can watch the video below. I'll give you a spoiler...it was A-MAZ-ING (and we make a lot of slime in the studio so we know GOOD slime when we see it). It was mold-able and stretchy but not sticky!
Watercolors BLEED. It's one of the properties we love most about them. (Or hate, right?) In this art project inspired by Meri Cherry's blog post, I thought I'd show you how we fully embraced the BLEED this month and used it in a simple geometic artwork. (P.S. If you don't follow Meri Cherry on all channels of social media, you're really missing out!) 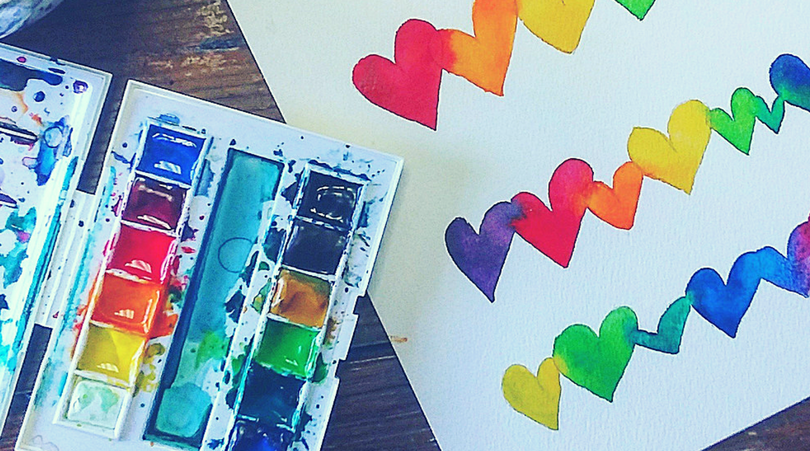 Obviously, this can be done with any shape, but we're working with heart today because Valentine's day is just around the corner. So far, we've done this project with our Fourth Friday crew, valentine's day bonus classes and our preschool classes. Honestly though, the person who has had the MOST fun making these is ME. (Grown-ups, if you need a meditative, stress-free painting invitation--this is it.)
The process is simple: Step One: Lightly draw hearts on watercolor paper. You'll want to make sure that they overlap just slightly. Make sure your hearts are sized appropriately. Too small and they are tricky to paint (especially for young kids). Too pig and they might dry before you get to the next one and then they don't bleed! Step Two: Paint each heart one-by-one. When you connect the two hearts, the colors will bleed together. Go with the flow and try not to move the paint around once it starts bleeding. Just move onto the next and let it do what it wants. You ready for this? Here's the bleed in action: Notice that the LAST thing I did after painting the heart shape was connect the two wet hearts. I could paint these hearts for hours. I hope you have fun testing it out. I'd love to see your results once you're done. Tag us on IG or on Facebook @orangeeaselart!  More Heart Art:
This is part two of my musings on art in the dark lately. We just finished our Light and Dark unit with our preschoolers (read more here) in the studio. I'm hoping THIS post inspires you to incorporate dark play into your home.
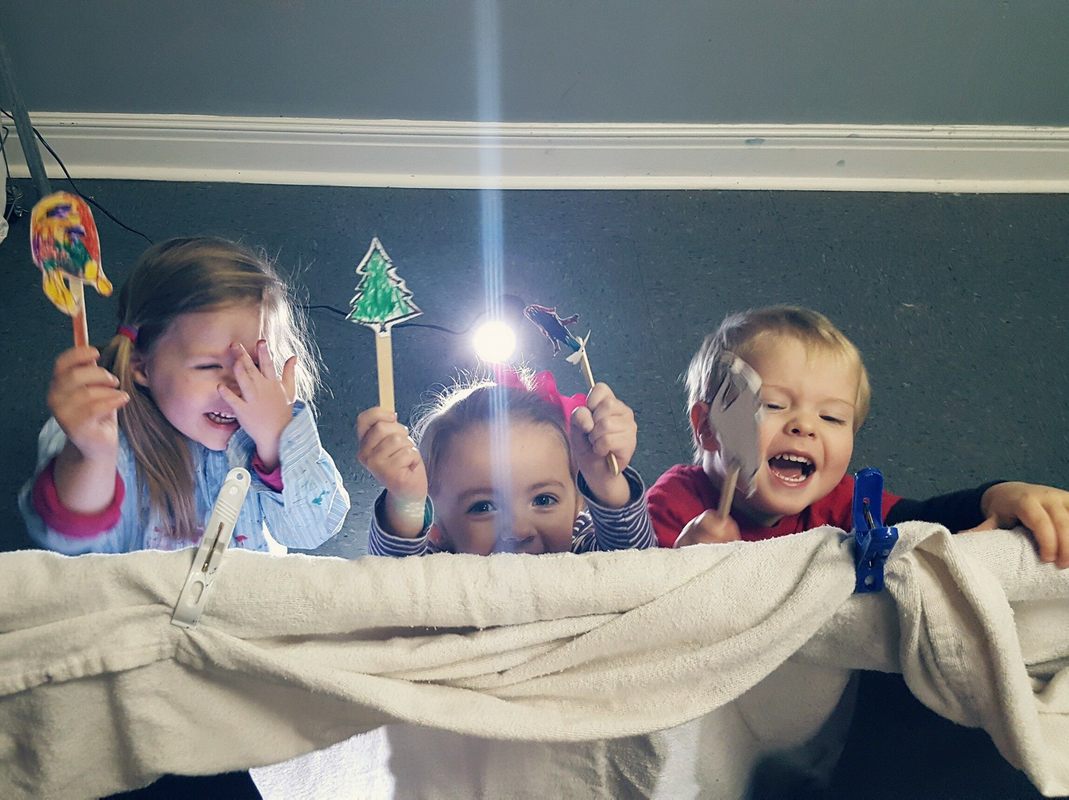
Although my kids are almost teenagers, I remember what winter was like with kids cooped up all day. I remember the post-nap, pre-dinner hours being the worst. It was cold. It was dark. And everyone was cranky. On these short winter days, my kids would BEG to play in the dark. They would help me pick up the main rooms in the house (I told them it was for safety) and once everything was clean...er, I mean, safe, we would turn off all the lights in the house. Then, we would get out the different lights and PLAY. The possibilities are limitless. Just normal play is novel when you have to use a flashlight to see it. But of course, art is our favorite kind of creative play. And since we're an art studio, I've compiled a list of some of my favorite Art-in-the-Dark ideas for home use. No fancy supplies needed. Just some basic art supplies and a light source. (there's a light source list at the end too) At-Home Ideas
Capture the Shadows
Shadow Building
Build a Light Box
Mess-Free Finger Painting
Paint right on top of the light and see those colors in a whole new way! Fill a gallon zip-top plastic bag with a few dollops of paint. Secure the edges and top with clear packing tape and tape flat to the light table**. Artists can squish the paint around in the bag to mix the colors. Older artists can even draw designs in the paint.
**You can do this same one in light too. Tape to a window or glass door and the sunshine will make a similar effect. Plus, the vertical work surface conditions those core stability muscles and shoulder muscles that all kids need for great fine motor skills.
Sand Drawings
Shadow Puppet Theatre
Lighting Options
Start building your collection of illuminating toys! Here are some of our favorites:
Got junk mail? And old magazines? GET THEM READY.
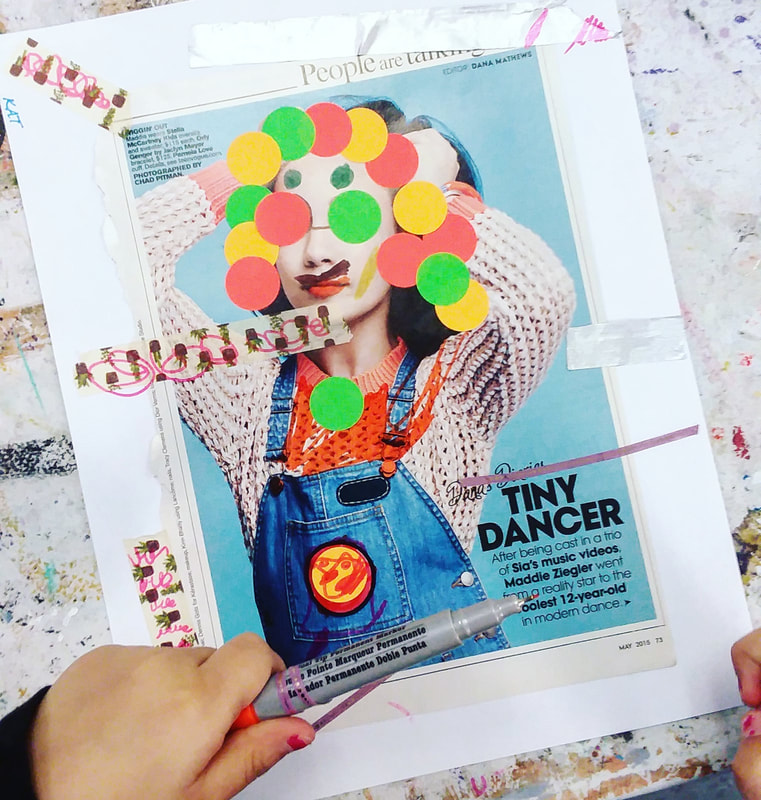
You guys. This art invitation surpassed ALL of my expectations. I love that I really didn't have to know what the end project was going to be. We've been looking at portraiture and figure paintings from Warhol, Klee, and Lichtenstein all month long so it seemed like an easy activity for our preschooler to BEGIN with a finished portrait and embellish it. I was blown away by our artists thoughtfulness and intention. We've used magazines to create surrealism collages and paper mosaic projects but this something new. Instead of chopping-up the photographs, we'll be using them WHOLE as a beginning canvas. Setting Up the Art Invitation
If you try it out a home, let me know how it goes! Remember, not all artwork has to be fridge-worthy to be extremely valuable. The process that we go through to create art is just (if not more) as important.


Valentine's Day Puffy Slime
Light and airy. Like playing with fresh-smelling marshmallow dough. This slime is great by itself, but for extra special occassions, try making a few different colors (different batches) and and swirl together to create a beautiful visual effect.
Click the video link below to watch our facebook live video for the recipe and instructions:
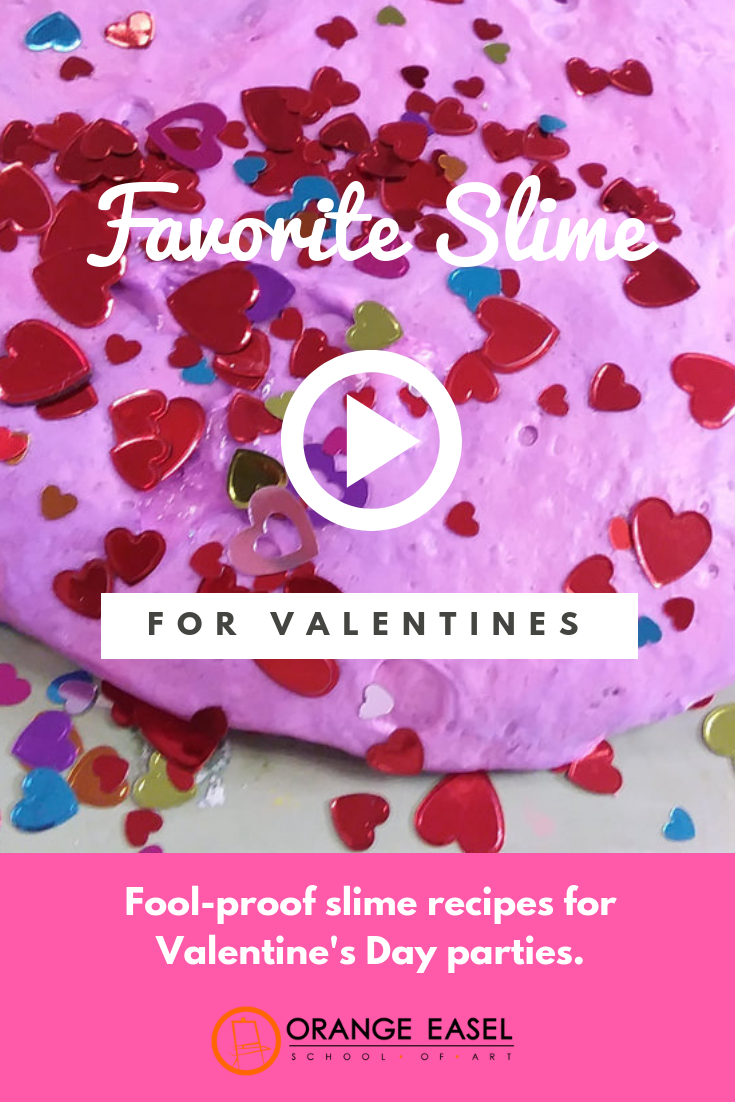
Valentine's Day Slime with Heart Confetti and Glitter
This slime is more dense than above and made with clear glue so that those pretty, sparkly add-ins can really shine.
Click the video link below to watch our youtube video for the recipe and instructions:
Borax Solution for Slime
More heart art:
Check our how to make this paper heart garland:
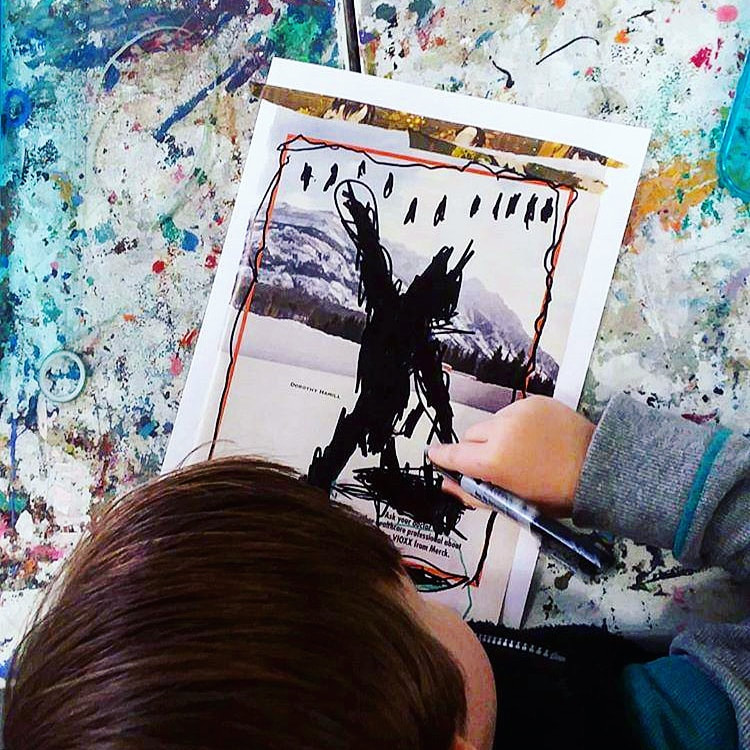
This week, we tried something new in our preschool classes: We used sumi ink and brushes to draw. Since our class was all about caterpillars today, we drew caterpillars. I think you could draw anything. Butterflies would be fun. And I can't wait to do self portraits like these (It's on the schedule for one of our summer classes).  We began by looking at photographs of caterpillars and talking about the different parts of a caterpillar. We learned that there are different kinds of caterpillars that have different features. I had the children give me directions on how I should draw a caterpillar on the white board.  Then we passed out large sheets of paper and invited the artists to find a spot on the floor to work. I feel like for the scale of the paper and the length of our brushes, the floor was the best place for them. We handed out a small amount of ink in individual glass jars (like a tiny bit of ink...a little goes a long way!).  There's something magical about preschool line drawings. They are bold. Their subjects are both simplified and amplified. Usually we do them with black sharpies. But INK is a whole 'nother level.  Sumi ink is rich, black liquid. It paints on so smoothly. And it covers the surface quickly (which is important for preschoolers). Unlike the sharpie, a brush gives us thick lines and thin lines. And even some scratchy lines where our artists were running out of ink.  Unlike our tempera paint, the ink isn't gloppy and thick. But it also doesn't run and drip like watercolors. It's the perfect consistency.  If you try out some sumi ink at home, make sure that you protect your surfaces and wear a paint shirt!
(And get those frames ready because you're going to need them!) |
Orange EaselContent inspired by the artists and art created in our studio. 
Orange Easel began as a small art studio in my basement and continues to grow and serve our community. Read more about our story here.
Archives
April 2024
Categories
All
|


 RSS Feed
QUICK LINKS
|
|
|
|
LIBERTY STUDIO
249 W Mill St Ste 107 Liberty MO 64068 816-407-9266 |
PLATTE WOODS STUDIO
7617 NW Prairie View Rd Kansas City MO 64157 816-216-7126 |
|
Copyright © 2023 Orange Easel. All rights reserved.
Privacy Policy |
|