

This post contains affiliate links.
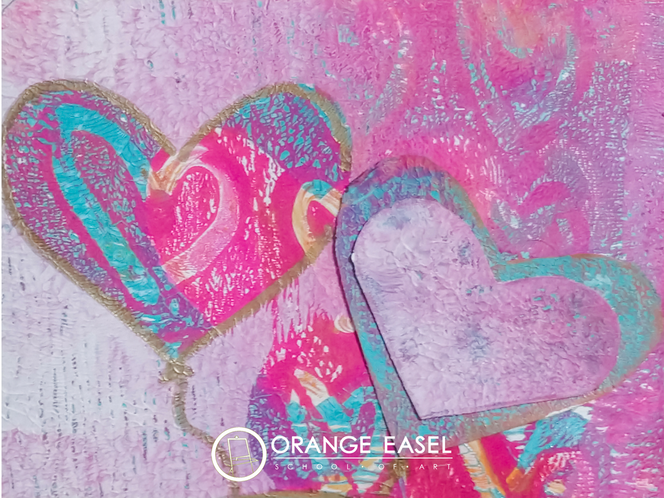
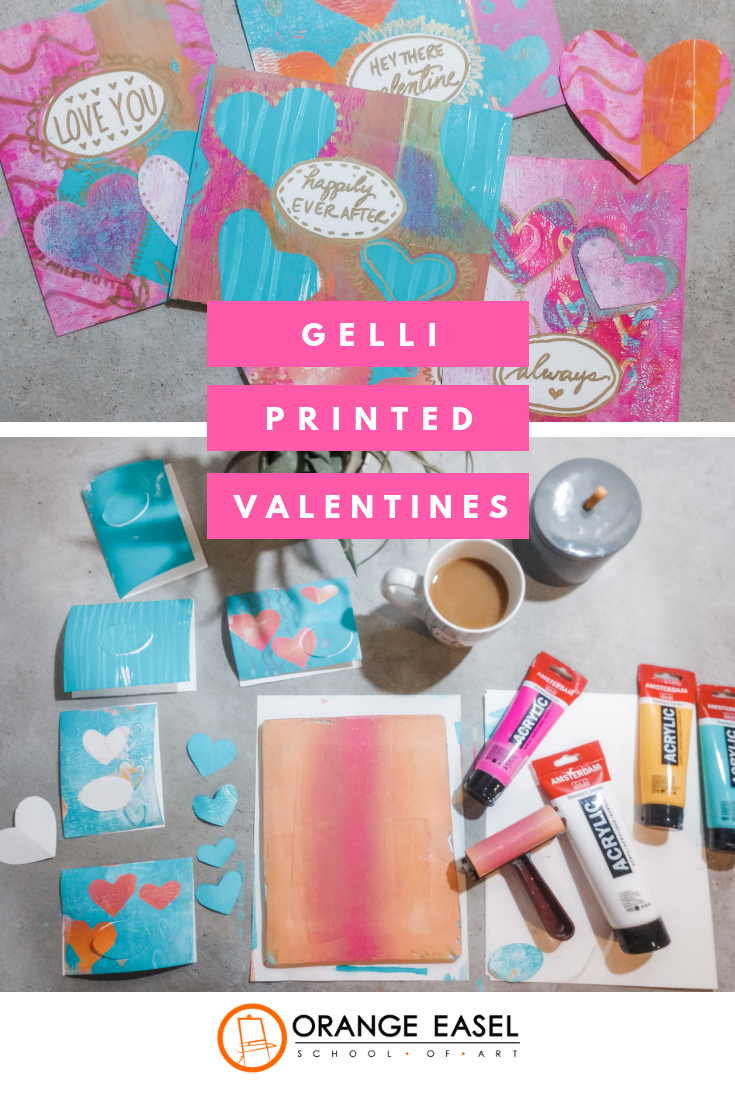
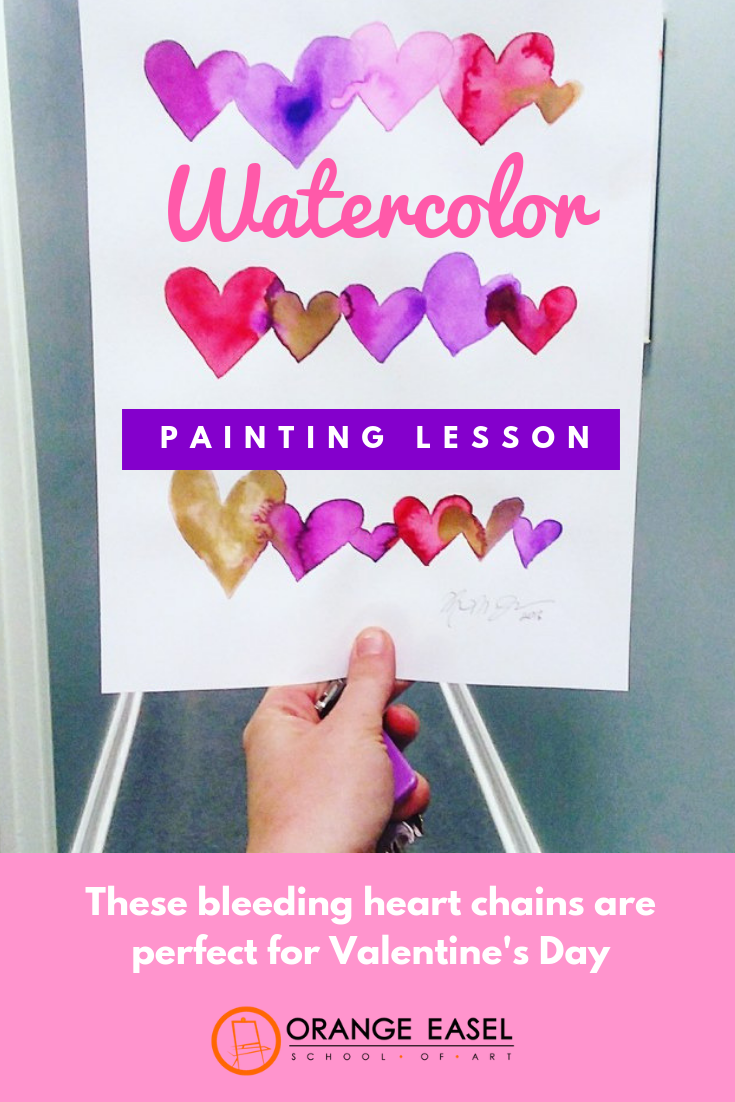
I adore these homemade, paint-printed valentines with metallic gold details. They are made using gel printing plates from Gelli Arts and the result is a layered, textured, one-of-a-kind Valentine. I hope you enjoy the tutorial below!

Printmaking Valentine Tutorial
We started by picking a color scheme. We opted for coral, magenta, turquoise, and white knowing that the gold sharpie would be the perfect finishing touch. Gelli plates work best by layering pattern and colors, using masks each time you print so that the bottom layers peak through.

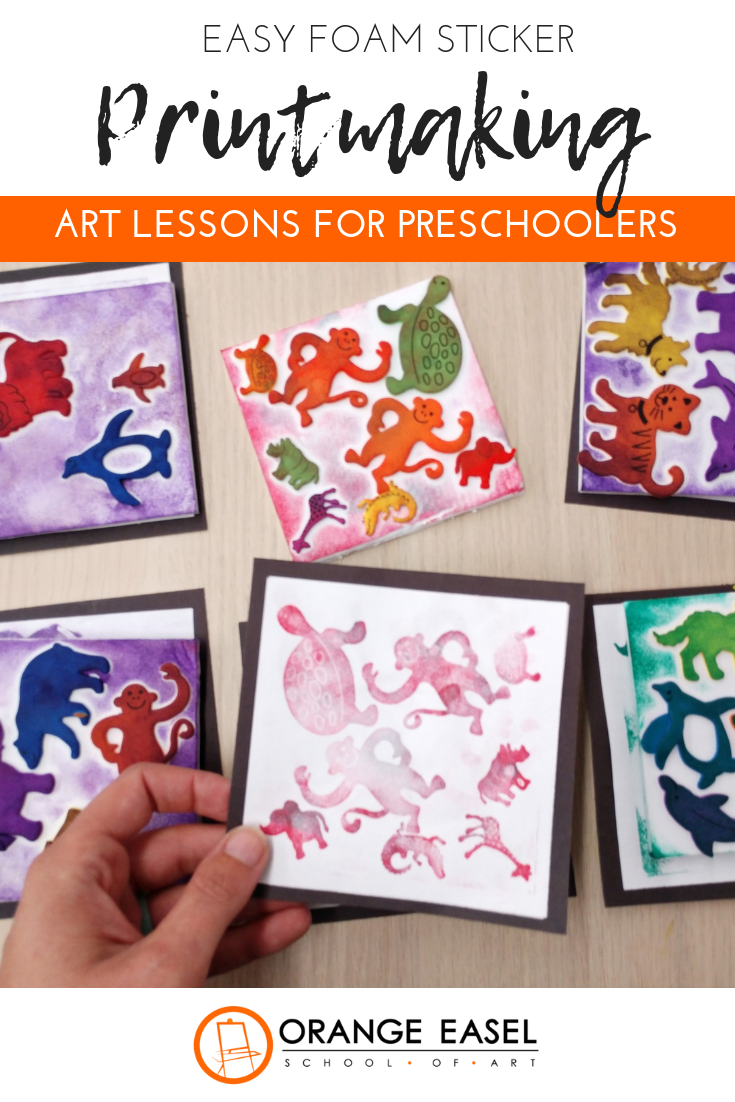
To make the masks, we cut hearts from the white drawing paper, making sure to keep both the positive hearts AND the negative mask. Both will be useful!

Since each layer has to dry a bit in between, we started by printing the bottom layer on all six cards. (You can work on one card at a time if you'd rather.) Each card was prepped with a center circle mask taped in place. Some backgrounds were gradients. Some were patterns. Some where solids.

Leaving the white circle in place on every card, we continued to the second layer. This is really something that ONLY makes sense if you play around with it! By placing a heart on a painted gelli plate, you allow the bottom layer to peak through on the card (in the shape of a heart). Conversely, but placing the negative mask on a painted gelli plate, you print the positive heart onto your card. Whew. Brainteaser.

You can do as many layers you want. Just keep adding patterns and masks to create depth to your prints. Use the q-tip to doodle a pattern into the paint before you print. Wipe your gelli plates off in between paint colors, especially if they are complimentary, so you don't end up with brown!

For the final touch, we removed all of our masks and added gold detailing and lettering.

Since the heart masks are so textured and gorgeous, we decided that they needed to be saved! So, we used glue to collage a few on our final cards.

If you want, you can also add a varnish on top of the paint to create a glossy shine to your finished card. Be sure to let it dry COMPLETELY before putting in envelope!
FOLLOW US ON SOCIAL MEDIA
More Valentines Day Arts & Crafts Activities
More Printmaking Art Activities
This post contains affiliate links.
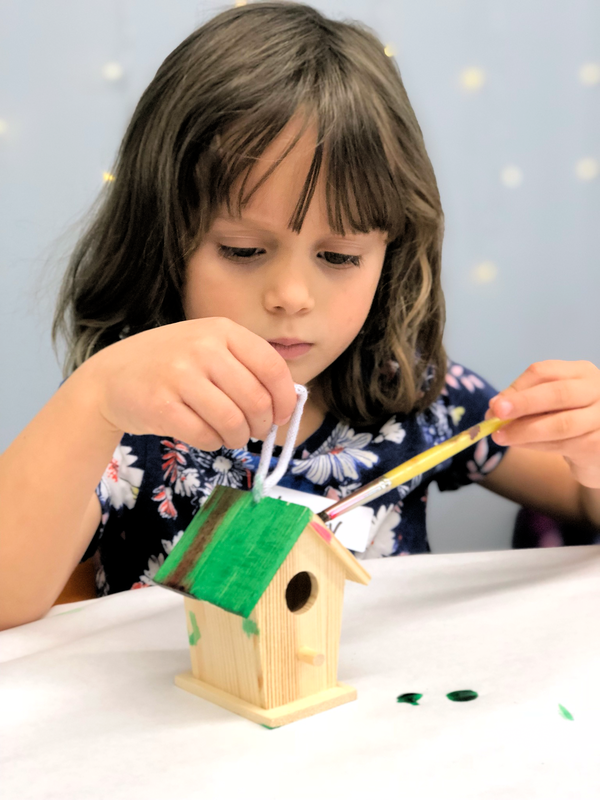
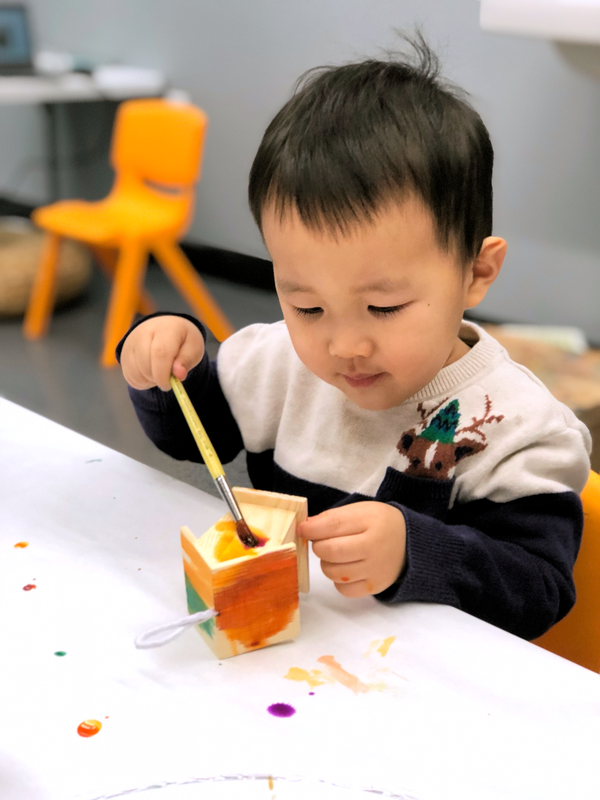
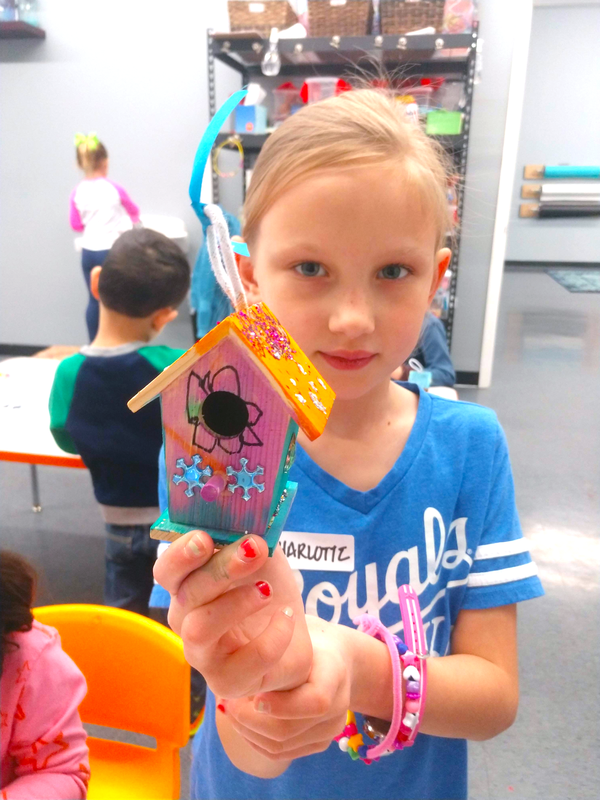
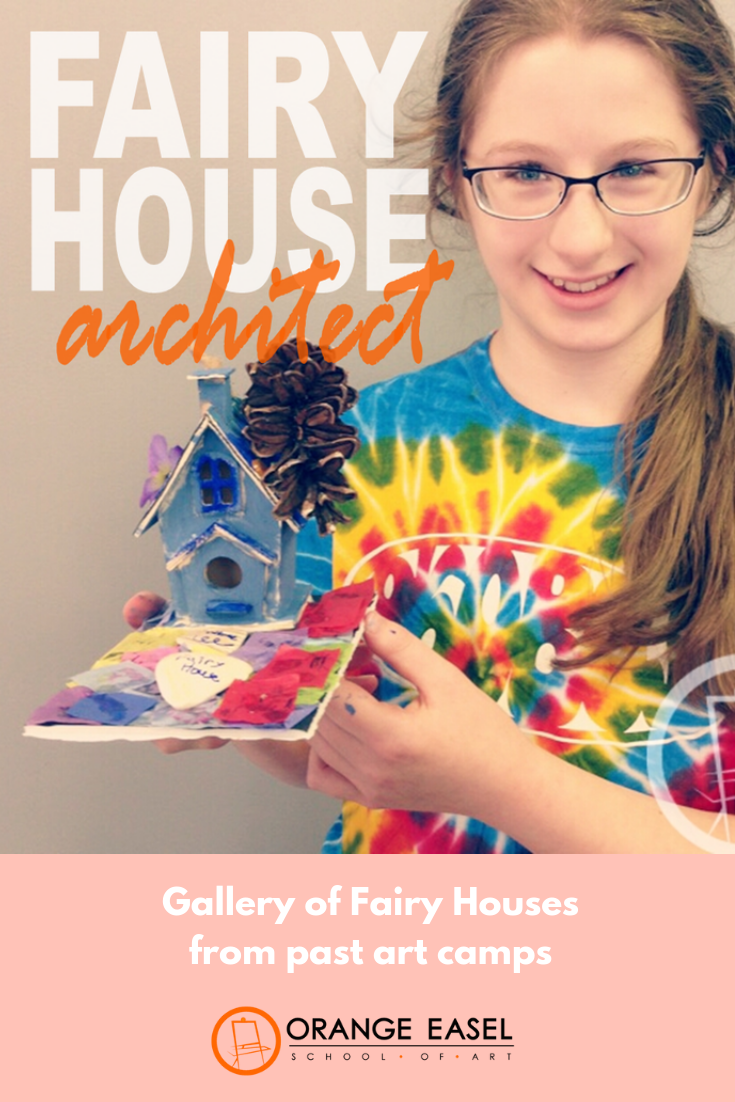
Host Your Own Fairy CampStep One: We begin with a look at architecture. We look at photos of different houses and discuss what we see. We talk about windows and window frames. Types of siding. Types of roofs (rooves?). We notice trim. And gutters. And eaves. Only after we've OBSERVED the world around us, we can begin to create. 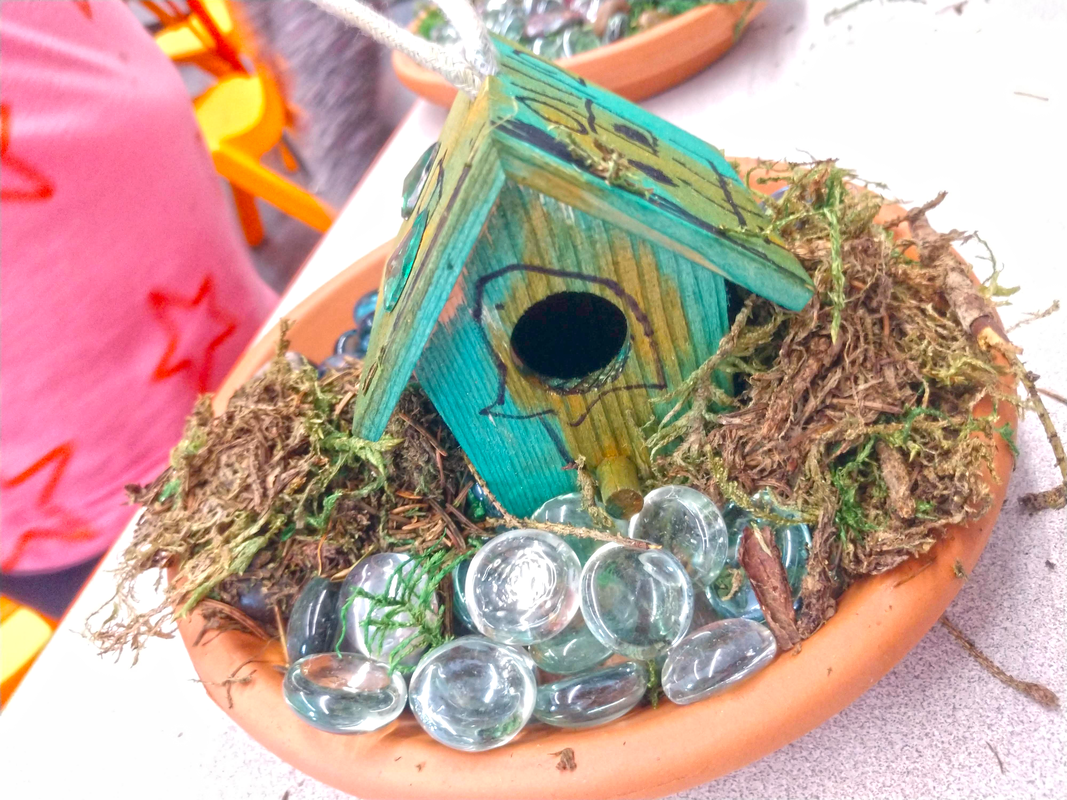 Step Two: We use these little wooden birdhouses. They come in different sizes and I feel like over the past six years, we've used them all! Most recently, we used these ones. They are only about 1.5 inches high and are perfect for fairies! Plus, they fit really nicely on our saucers and leave plenty of "yard." Our artists use sharpie markers to add architectural details onto their fairy house. If we have a particularly young crowd, we usually discuss the difference between DRAWING and COLORING before we had out the sharpies. We're going to be painting these with watercolors, so DRAWING is all we need here. Not coloring.
Step Three: Our favorite paints are liquid watercolors. And our favorite liquid watercolor for this is Colorations GLITTER Liquid Watercolor. Because it's washable. And it has glitter. Duh. The liquid watercolor is perfect to stain the wood a beautiful, sparkling, rainbow of color while still allowing for all the sharpie details to show through. Bonus: it drys really quickly.
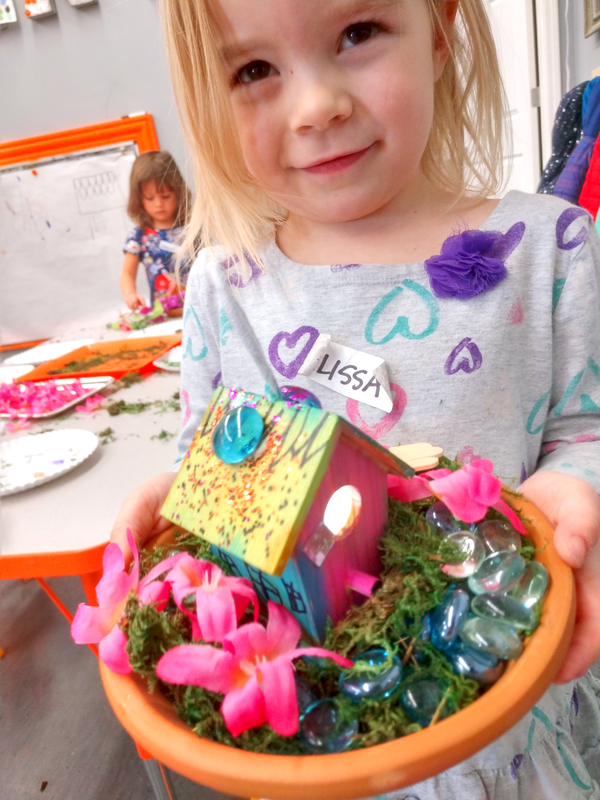
Step Four: Once the houses are dry, we invite the artists to glue even more details onto their wooden houses. These details could really be anything you have laying around the craft closet, but OUR favorites are sequins, faux flowers, and gemstones. You could use regular glue or modpodge for this, but hot glue is the real winner. (Yes, we let our 4-5's use low temp hot glue guns. It's something we're pretty proud of. But that's another blog post for another time.) The video below show our artists hard at work on this step. We also offered glue and glitter shakers at this camp. :) Step Five: Our artists create gardens for their houses using a terra cotta plant saucer. The gardens are made from moss, glass gems, and faux flowers. Some of our older artists use popiscle sticks to construct bridges and fences. If we have an older crowd it's fun to just put out a variety of supplies to see what they can come up with. Things like twine, ribbons, cardboard, washers, buttons, thread spools, sea shells, and toothpicks make for wonderful tinkering materials. Again hot glue is your friend. In longer classes, we've even put out the polymer clay so kids can sculpt miniature forrest animals and tiny home funishings. 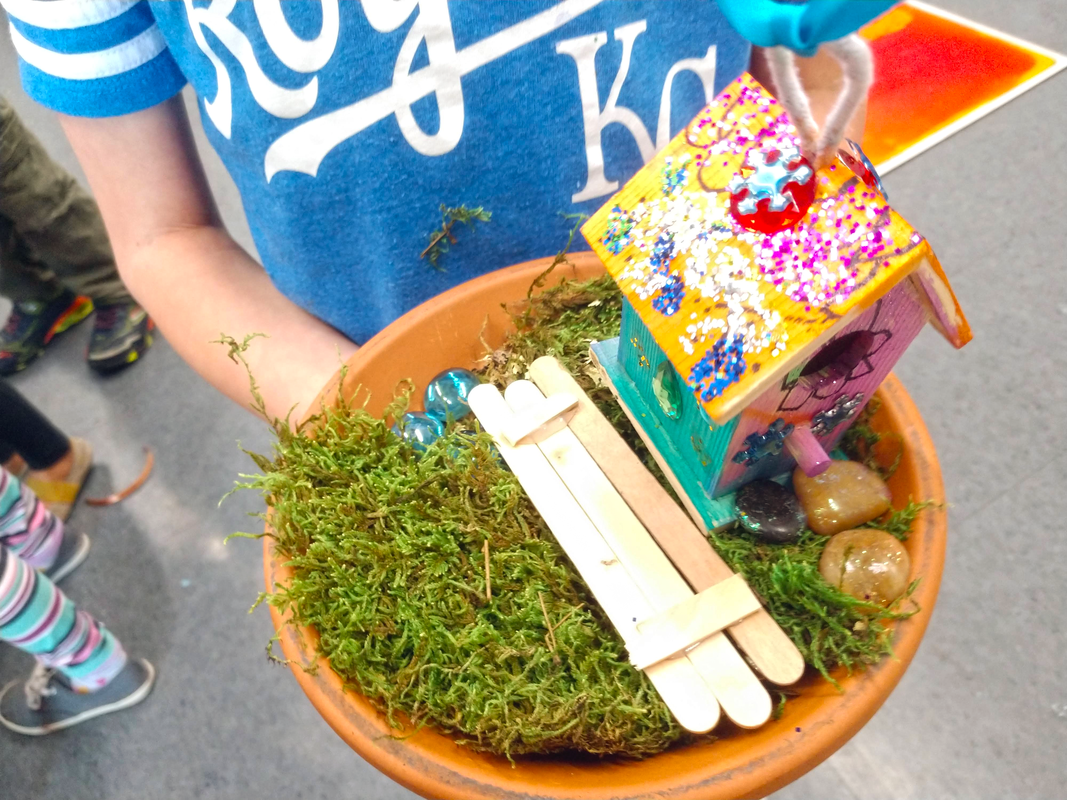 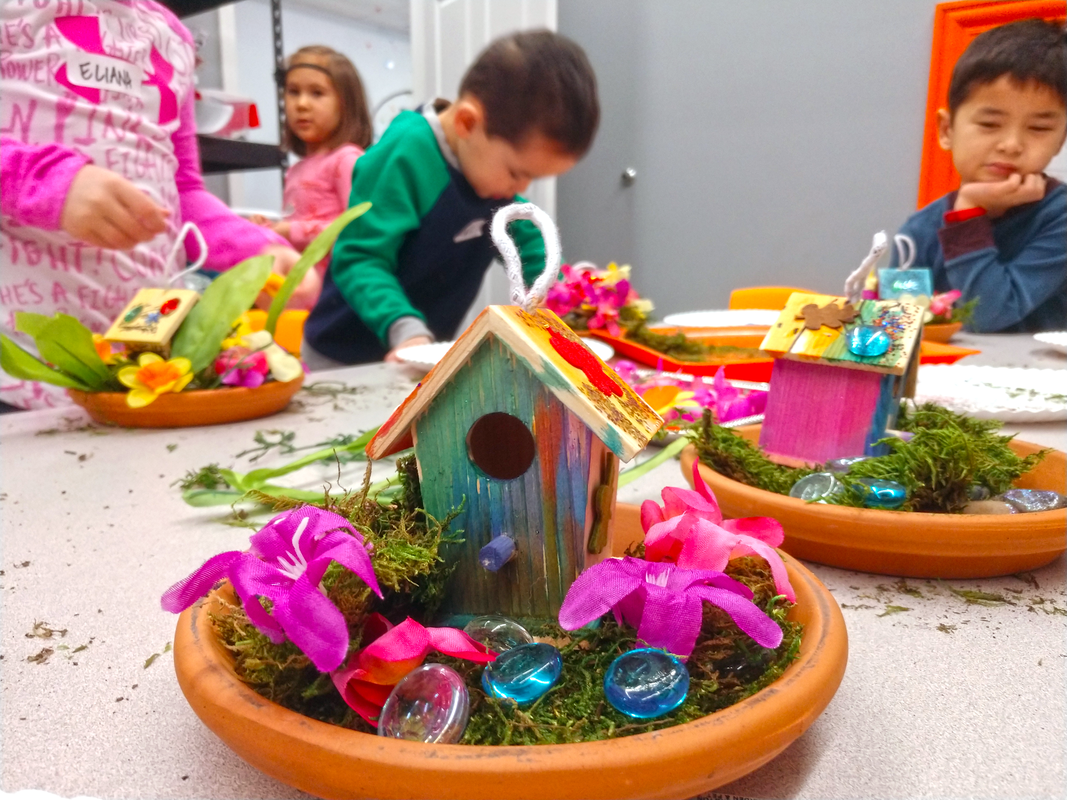 Step Six: Once the garden is done, we add the houses and the fairies. Our "fairies" are battery-powered led lights. They are the perfect size for placing inside the tiny houses. (Tip: Tie a string to little loop on the light if you want to be able to get it back out of your house easily to turn it off.) Enjoy this video of Miss Sara introducing our artists to the fairy: When the fairies are inside the houses, they make a perfect little night light! 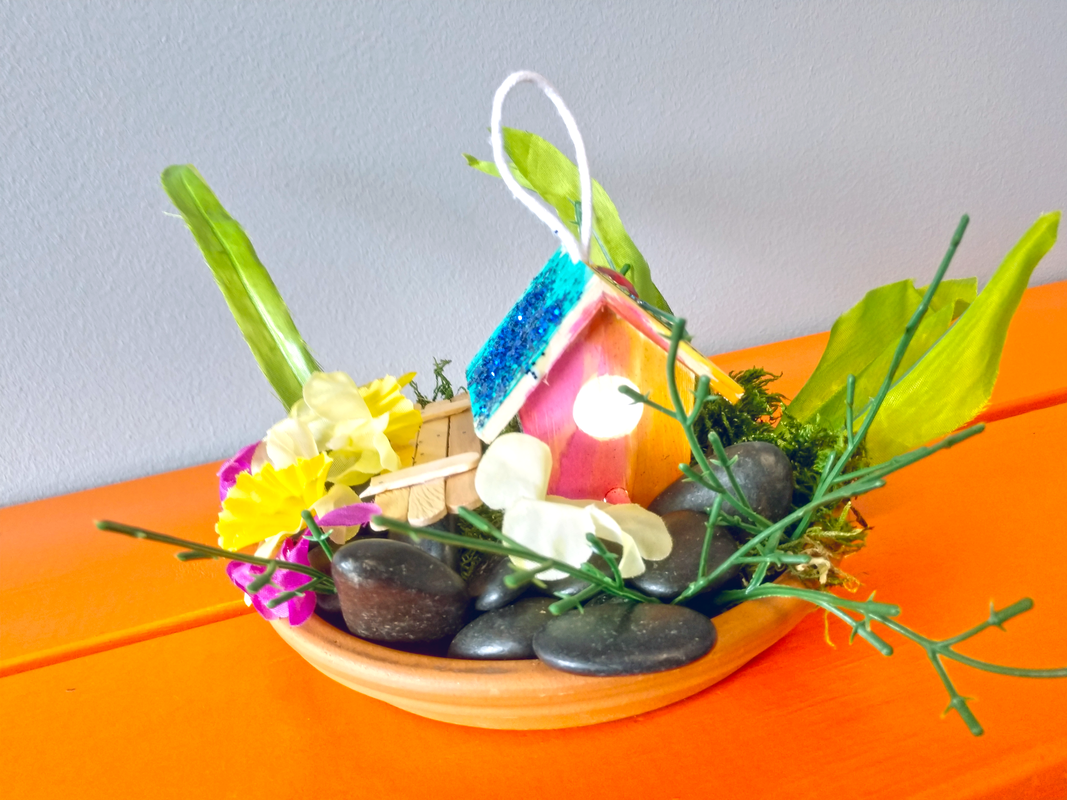 So, there you have it! Our guide to a successful and artful fairy house class, camp, or group project. Of course, you could do this with just one kiddo too, but we love the creative energy of a group. If you get a chance to try it out, send me some pictures or tag me on social media, okay? I'd love to see!  Related posts:
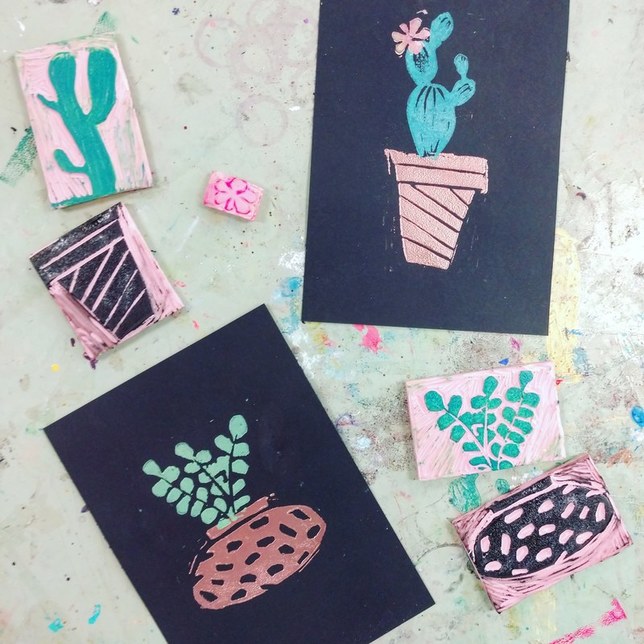
This pink stuff is made by speedball and can be cut to any size. For this project, we used pieces that were about 2.5x3.5". The smaller you go, the harder it is to carve!
I drew our design--three simple pots and three simple cacti--directly onto the rubber using a ball point pen. Then I carefully cut around each using a lino cutters and a small "v" knife. The "v" shape works great for details. I switched to one to the larger "u" shape knifes when I needed to remove the surrounding area. The cutters we use in the studio come with all the little knives we need and the extra knifes store in the handle when not in use! Remember, the areas that you remove will be WHITE (or the color of the paper. Art teachers, this is a great time for a lesson in positive and negative space ;) 
(I didn't take any picture of me carving my cacti, but here's an image of one of our students during printmaking month. See how she keeps her fingers back and out of the path of the blade? Safety first!)

For printing our cacti, we used block printing ink. The real stuff. Yes, you can use paint, but it just doesn't produce the same crisp, clean lines as the sticky ink. You can also use these stamps with just a regular stamp pad (these are our favorite washable ones) but the prints will be a slightly washed-out version of your stamp.
After you spend all that time carving, you going to want the best print possible--and block printing ink is definitely the way to go. We roll our ink out on glass plates (just the inside of some thrift store picture frames) using a brayer until it makes that signature kissy sound. (The kids love that reference). Then, we used the brayer to roll the ink onto our stamp. You can also just press the stamp into the glass plate if you want. However you do it, you want to make sure that your hands stay as clean as possible! 
The pots and succulents are interchangeable and can be mixed and matched. For the green ink, I rolled some with a little but of added yellow and some with an little bit of added blue to give me slightly different shades of green.
I think I like the pots best in the simple black and white. 
But I also had some fun on black paper. The white ink for the pots wasn't quite "WHITE" enough on the black--it read as light grey. While the white ink was still wet, I sprinkled it with cooper embossing powder and used a heat gun to turn it into a raised metallic detail. (That will have to be another blog post though!)
I hope you have fun trying this project out with your students or for some creative time for yourself.

Our favorite printing supplies:
Orange Easel is a participant in the Amazon Services LLC Associates Program, an affiliate advertising program designed to provide a means for sites to earn advertising fees by advertising and linking to Amazon.com
DISCLAIMER: This post contains affiliate links.
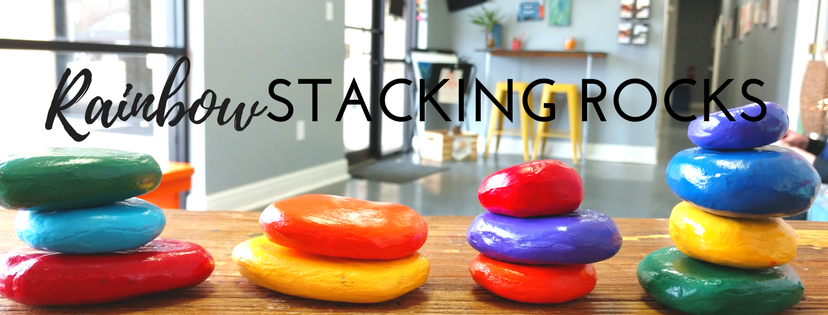
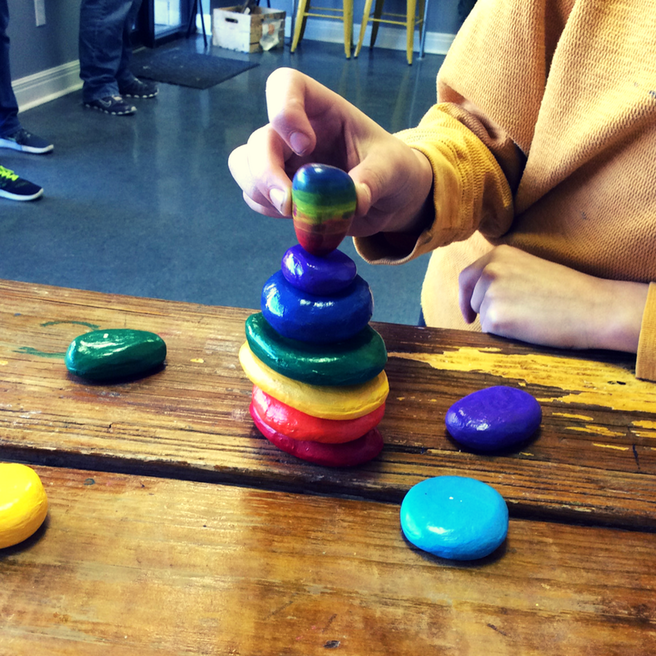
We've got this new fun toy on the front desk. Have you see them?
They totally ROCK! (<----cheesy pun)
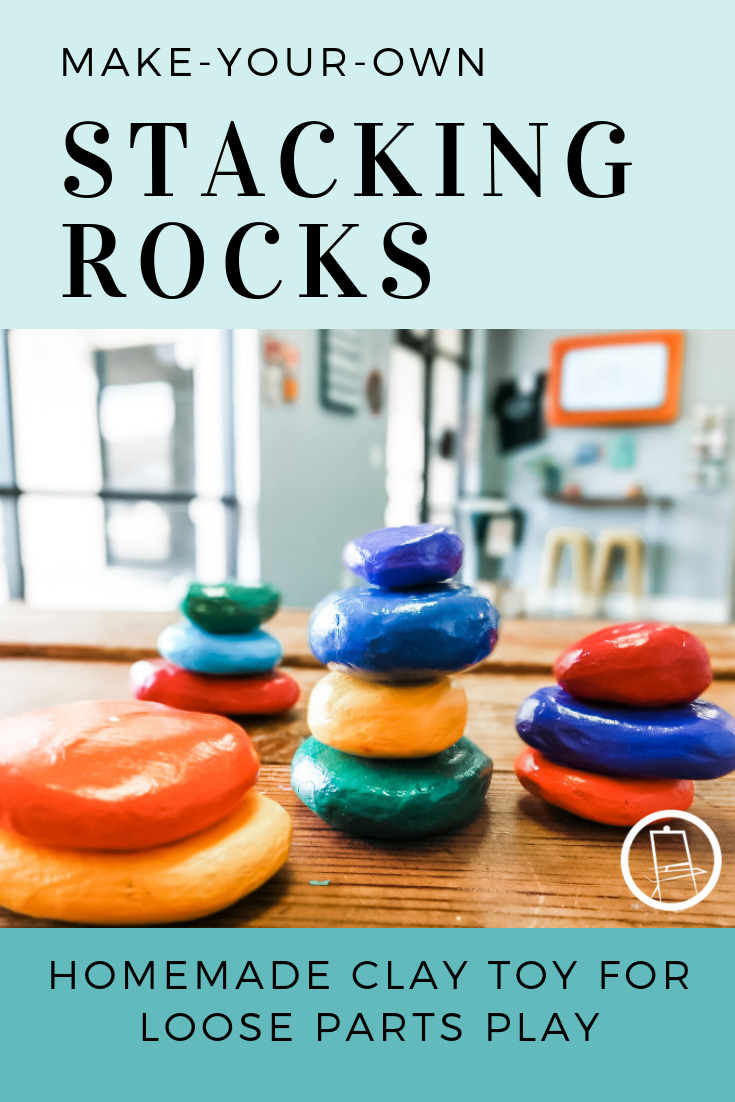
We were inspired by these wooden stacking stones by Grimm's Spiel and Holz Design. As beautiful as they are, we couldn't justify almost 60 dollars for a set of 12 stacking stones.
So we set out to make our own. And we think you should too. DIY instructions at the bottom of this post. How to play with rainbow rocks
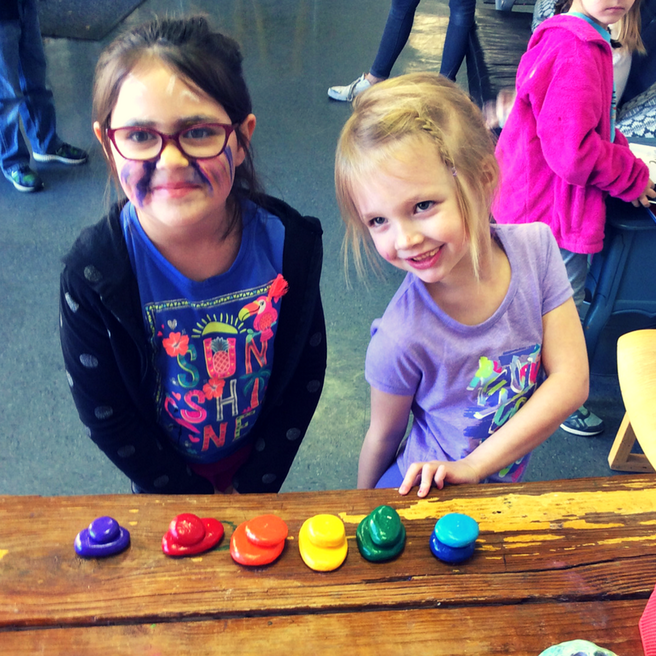
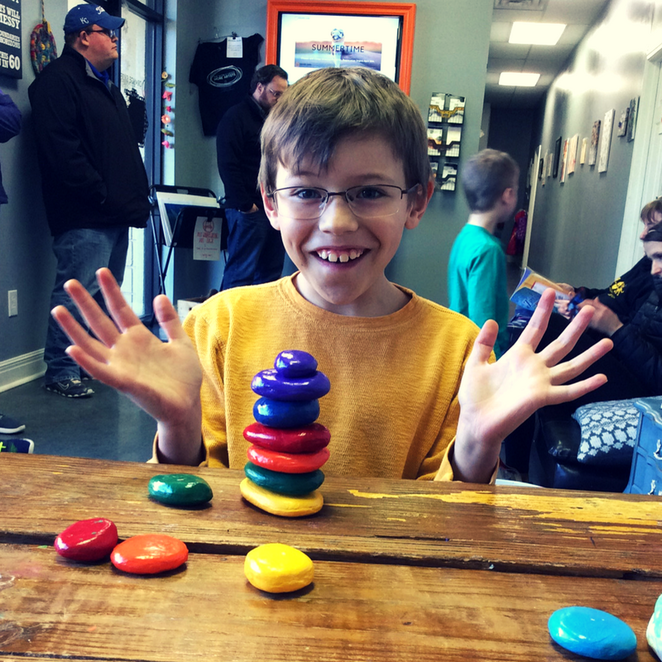
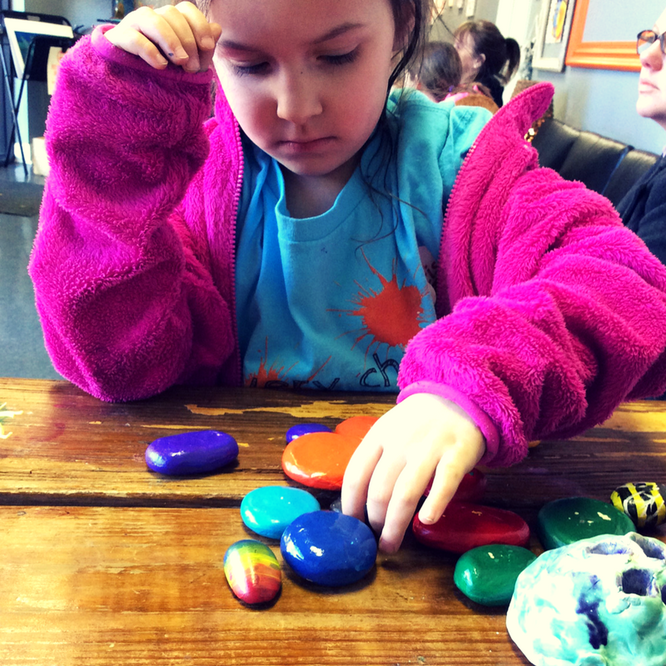
The most delightful part of having these toys on the front desk is seeing how each child plays with them differently. Some line them up into a train or a path. Some immediately begin building towers (though, four rocks is as high as we've been able to get them to balance). Some arrange them into a circle. Some match up the colors. Some hand out to the other guests in the lobby and pretend they are handing out candy.
There's no wrong way. And every child--of varying ages--seems enticed to touch, move, and PLAY with them somehow.
All of these candid and casual photos were snapped in one evening by our front desk staff.
THE IMPORTANCE OF LOOSE PARTS IN PLAY
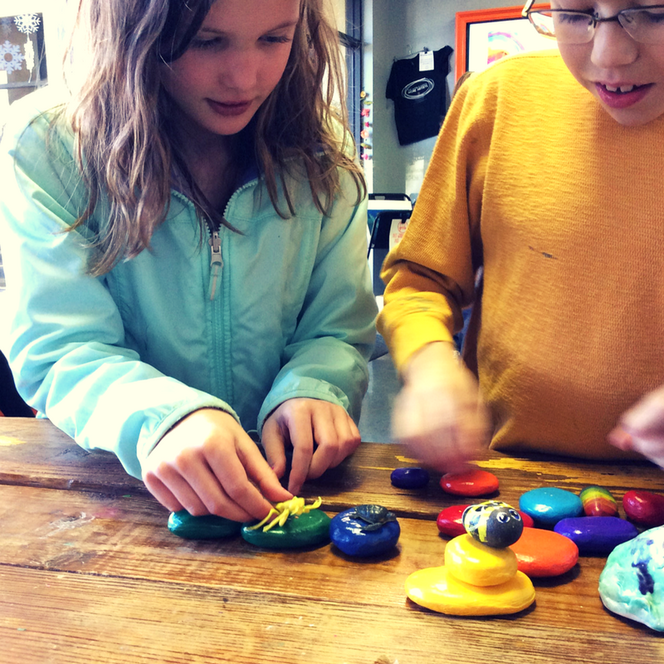
In our experience, manipulatives like these rocks are some of the best toys. They are "loose parts" that will empower our creativity and challenge our problem solving skills.
In early childhood education settings, loose parts mean alluring, beautiful, found objects and materials that children can move, manipulate, control, and change while they play. Children can carry, combine, redesign, line up, take apart, and put loose parts back together in almost endless ways. The materials come with no specific set of directions, and they can be used alone or combined with other materials. Children can turn them into whatever they desire: a stone can become a character in a story; an acorn can become an ingredient in an imaginary soup. These objects invite conversations and interactions, and they encourage collaboration and cooperation.
If you're interested in learning more about loose parts, check out pinterest board for resources and inspirations.
STEP ONE: Shape
If your clay is too tough, break it into small pieces and gently condition it with the hands. You can also spray it with a mist of water to help soften it (but not too much!). Our rocks are varying sizes...round or oval and in between 1-3 inches in diameter. You can make your rocks any size, but be sure that they have a pretty flat top and bottom surface so that they can stack.
STEP TWO: Smooth
Once you have the general shape of your rocks, you can smooth out the clay by dipping your finger in water and rubbing it along the surface.
STEP THREE: Dry
Place the rocks on parchment paper or wax paper and let them dry completely for about a week. We flipped ours over halfway through just to make sure that some air got to the underside.
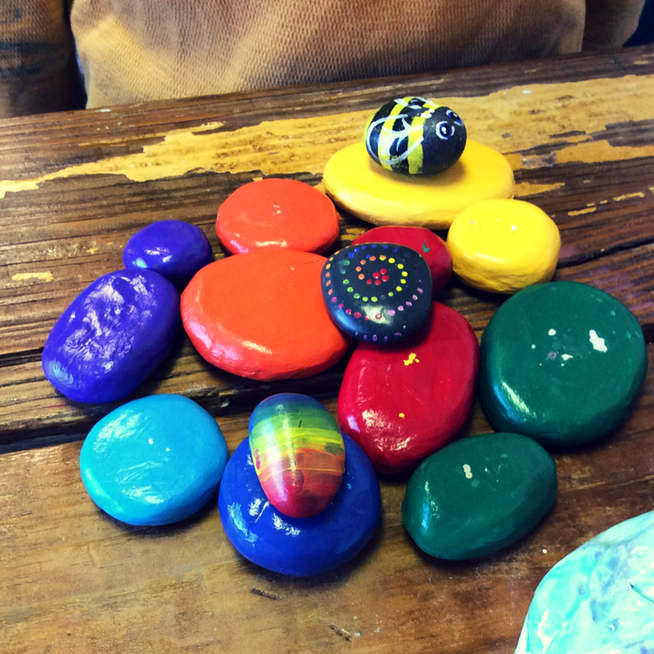
STEP FOUR: Paint
Acrylic paint works best. You can use any colors. We went with the rainbow on our first set, but the next one we made (for the Platte Woods studio front desk), we painted with blues and greens, and we even added some design details. On both sets, we made sure to get a couple good coats of paint and to wait for one side to dry before flipping them over. If you're impatient, a hair dyer works to speed up the drying time. 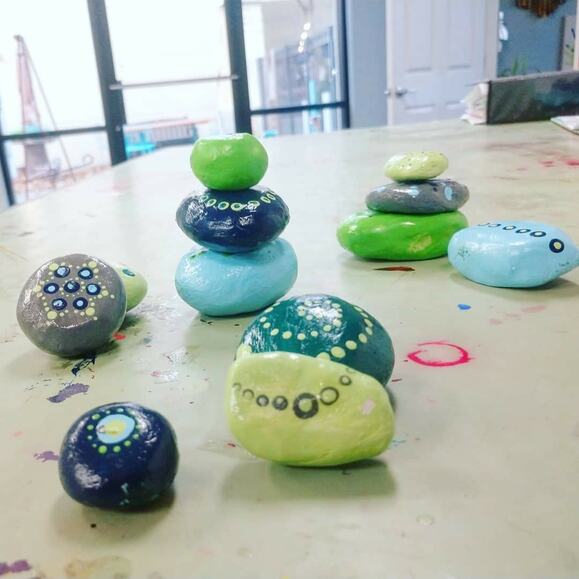
STEP FIVE: Spray
The clear coat will protect the paint. If you want your rocks to be shiny, use a glossy clear spray. Otherwise, a matte would be beautiful too. Watch our Video Tutorial
We went Live on Facebook recently to show how to make these popular clay rocks!
CARING FOR YOUR "ROCKS"
Obviously, these aren't really rocks. Clay will break if it is dropped on a hard surface. We've got our rocks sitting on the desk for easy accessibility. They have tumbled quite a few times and hit the tiles below. So far, aside from a few chips in the paint, our rocks seem to be doing pretty well. We anticipate that they will eventually split or break after enough falls. But, that's okay, we'll just make more. :)
For home use, we could recommend stacking your rocks on a surface above a rug or carpet to ensure longevity of your new toy. Or, just play with them directly on the floor to avoid the three-foot drop all together. ;) If you make rocks for your home, classroom, or to gift to a friend, please send me a picture or tag me on social media! I'd love to see! 
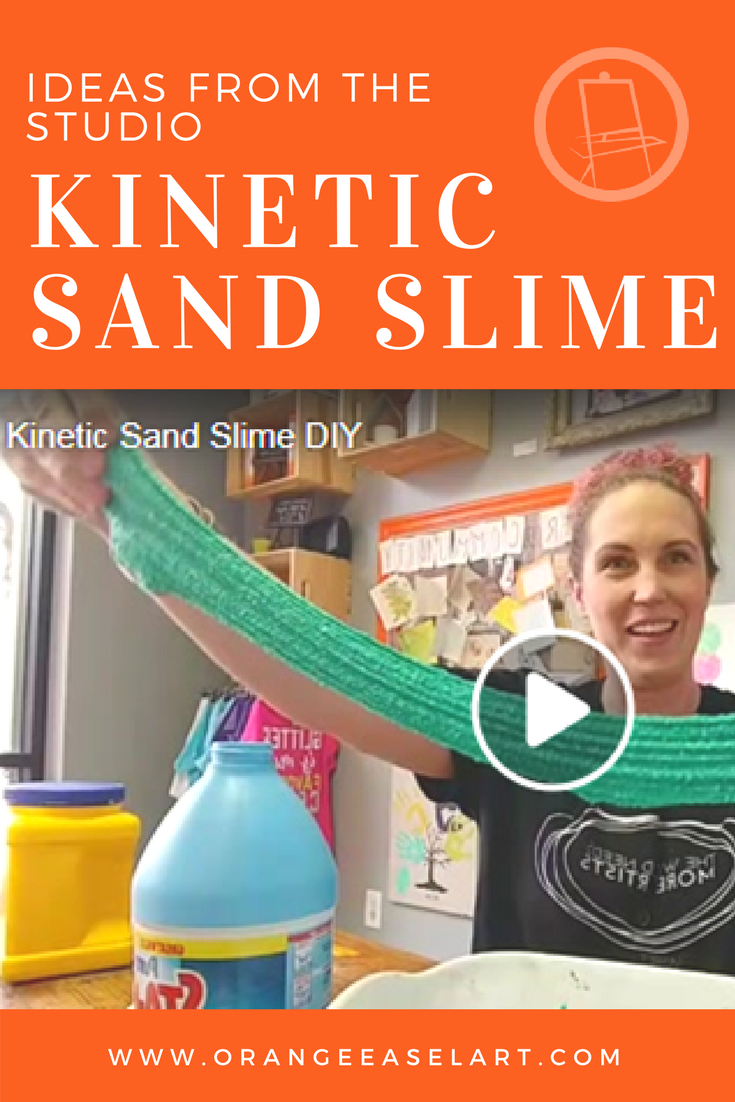
We stumbled across this amazing-sounding slime recipe from Momdot.com and we just had to give it a try on facebook live last week. You can watch the video below. I'll give you a spoiler...it was A-MAZ-ING (and we make a lot of slime in the studio so we know GOOD slime when we see it). It was mold-able and stretchy but not sticky!
|
Orange EaselContent inspired by the artists and art created in our studio. 
Orange Easel began as a small art studio in my basement and continues to grow and serve our community. Read more about our story here.
Archives
April 2024
Categories
All
|


 RSS Feed
QUICK LINKS
|
|
|
|
LIBERTY STUDIO
249 W Mill St Ste 107 Liberty MO 64068 816-407-9266 |
PLATTE WOODS STUDIO
7617 NW Prairie View Rd Kansas City MO 64157 816-216-7126 |
|
Copyright © 2023 Orange Easel. All rights reserved.
Privacy Policy |
|