
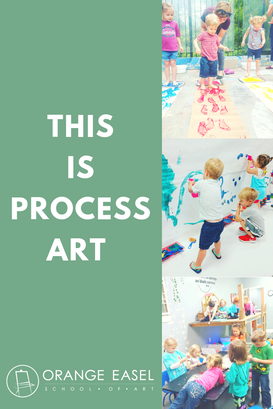
Process Art is not about us. It's about them.
TIP #1: Set the expections up front
At the beginning on the year, send home a flyer about the types of activities you'll be doing in your room and WHY. If you need a template to get you started, I've got you. Click here to download a one-page document that you can personalize for your class.
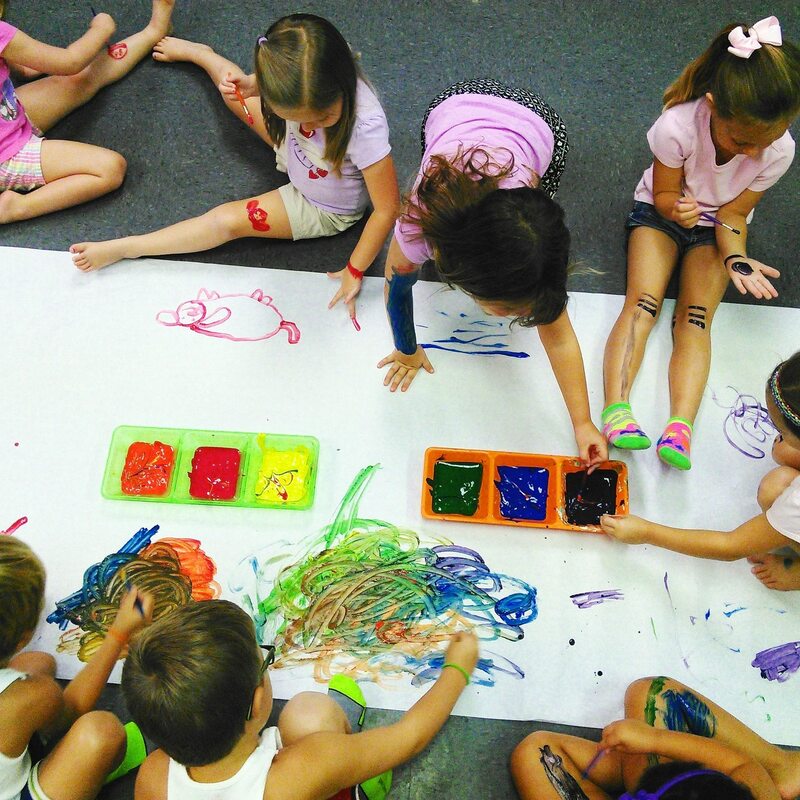
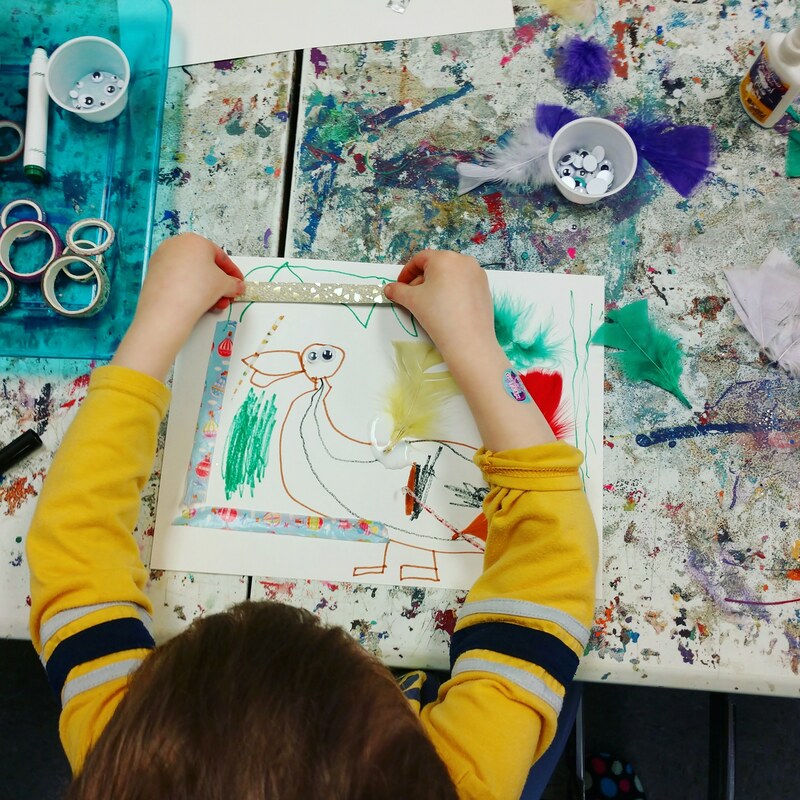
TIP #2: Take pictures
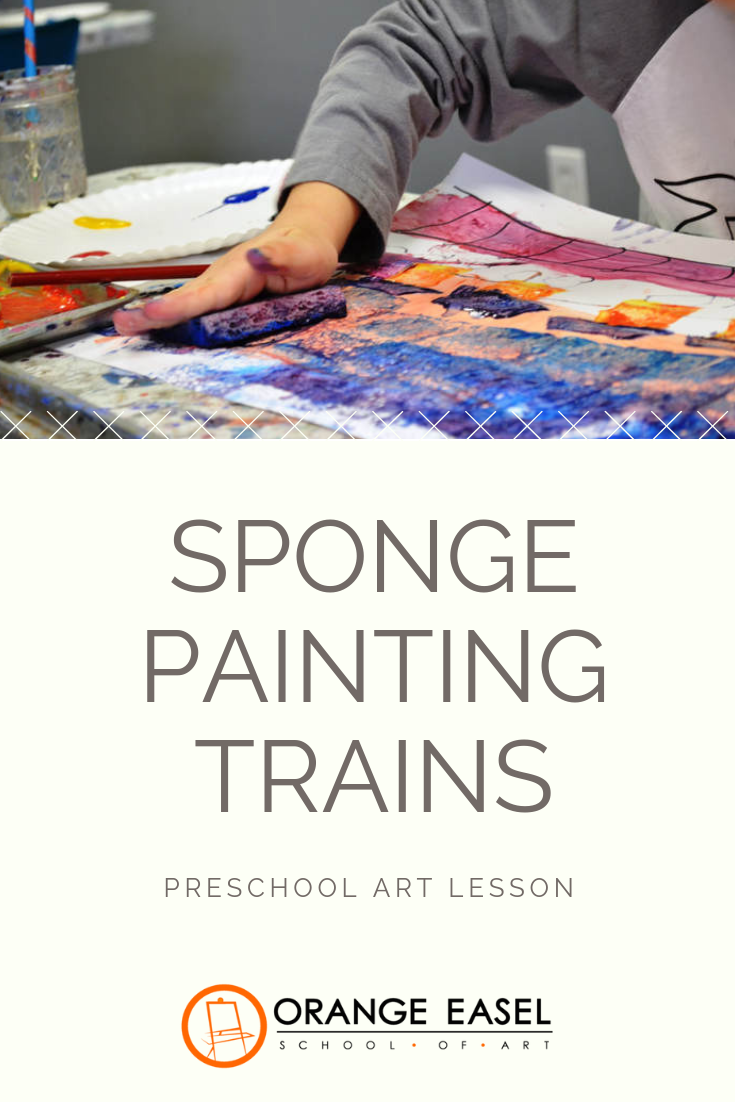
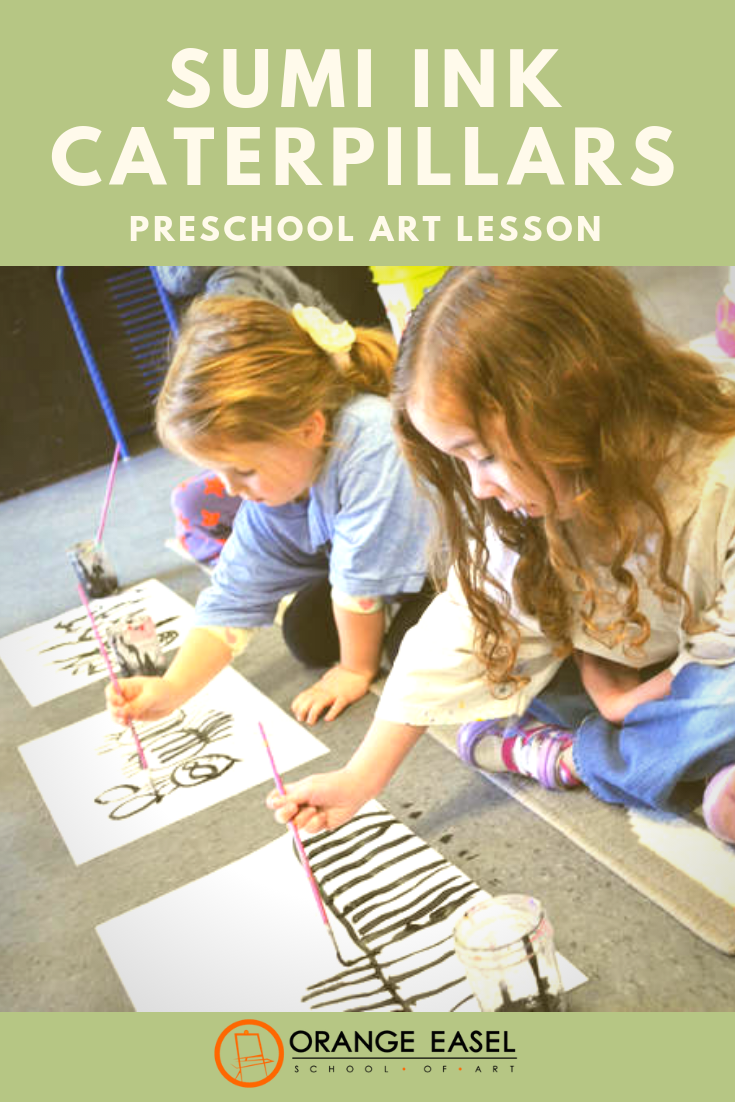
Capturing the actual creation will help parents to visualize what exactly happened. Video is even better. See how focused they are? See how they are smiling?
TIP #3: Stop sending the art home
Stop worrying about HAVING something to send home. It's okay if they don't take something home. If the process is what really matters, the product created isn't needed as proof. Don't feel like you need to keep everything. Often times in our art centers, those small quarter sheets of paper get used and left there, with no name or way of knowing who it belongs to. We usually pile them all up and save them until the end of the day JUST IN CASE someone comes back for it. If not, it get's thrown away. If the kids don't care, why should you?
TIP #4: Make collaborative art instead
Giant collaborative art is wonderful for the classroom because it's easier to prepare, uses fewer resources, and encourages communication skills between students. Plus, when the art stays in the classroom, it can be revisited over and over (and none of the parents have to figure out what to do with the day's art.)
TIP #5: Document what the children say about their art
Write a note quoting the child's explanation of their art. Drawing for preschoolers is more about communication than it is about making something pretty. This way parents can continue the conversation at home.
I hope that those tips are helpful. What's your best tip for advocating for more PROCESS ART in the preschool classroom? I'd love to know!

FIND US ON SOCIAL MEDIA
More Process Art for Preschoolers
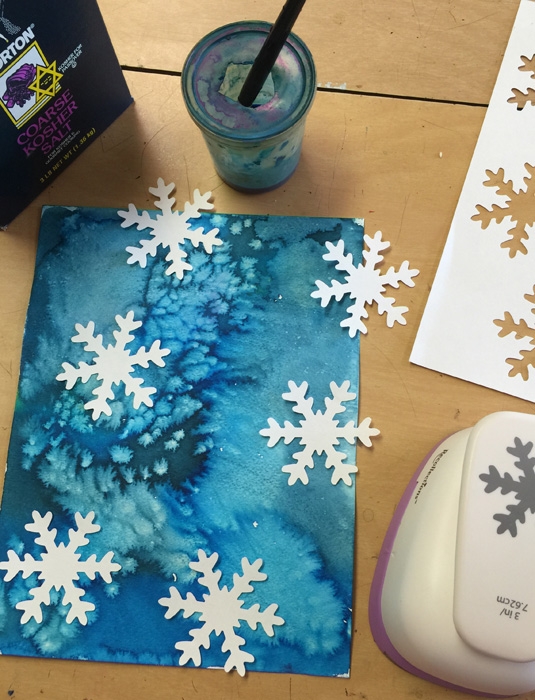
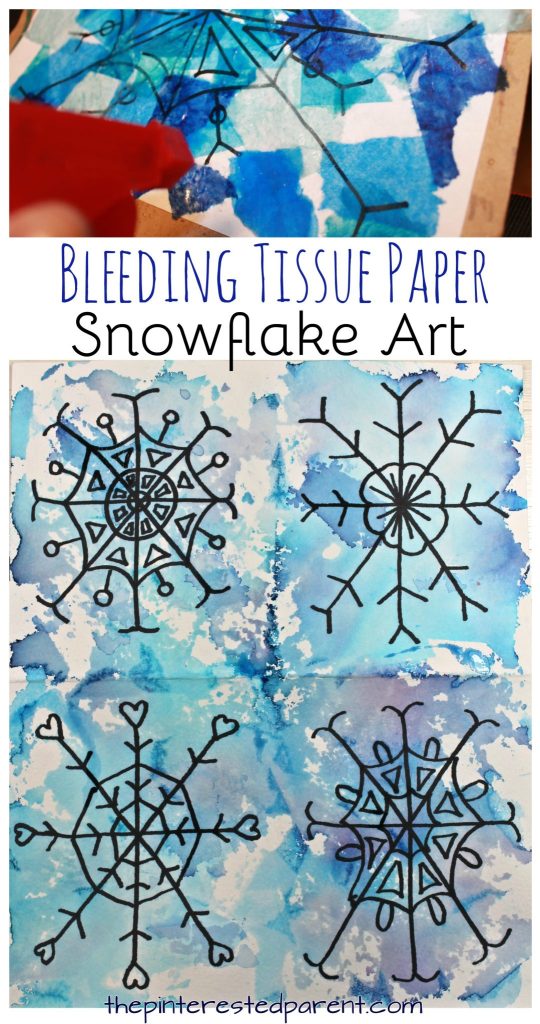
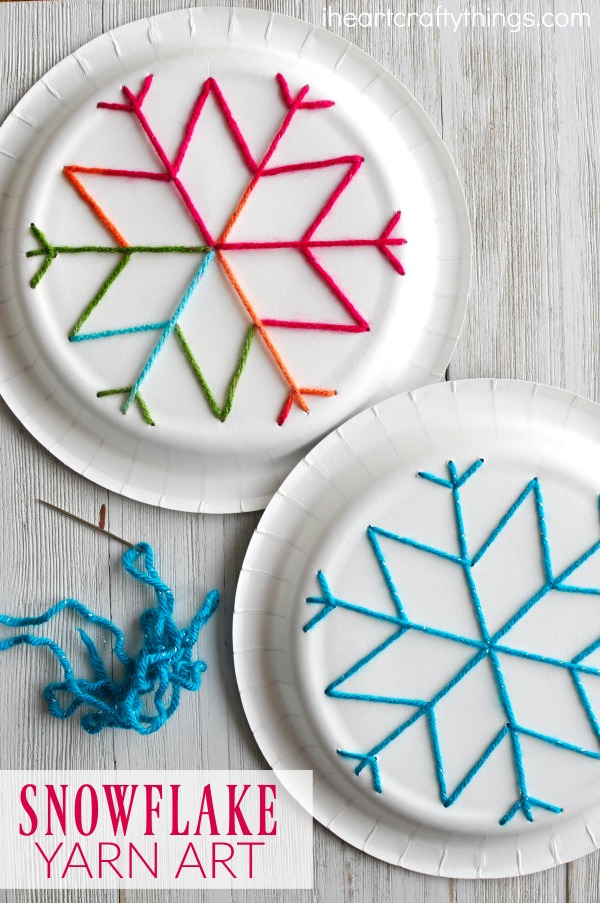
I love cutting paper snowflakes. It's one of my favorite winter-y art activities to do with the kids during down time. Today, on facebook, I'm sharing three quick tips that you can incorporate to take your snowflake cutting from beginner to advanced.
It's that simple. Not a fancy template you have to download or some crazy pattern to follow. Just some general guidelines to take your paper snowflakes from beginner to advanced. Happy creating!

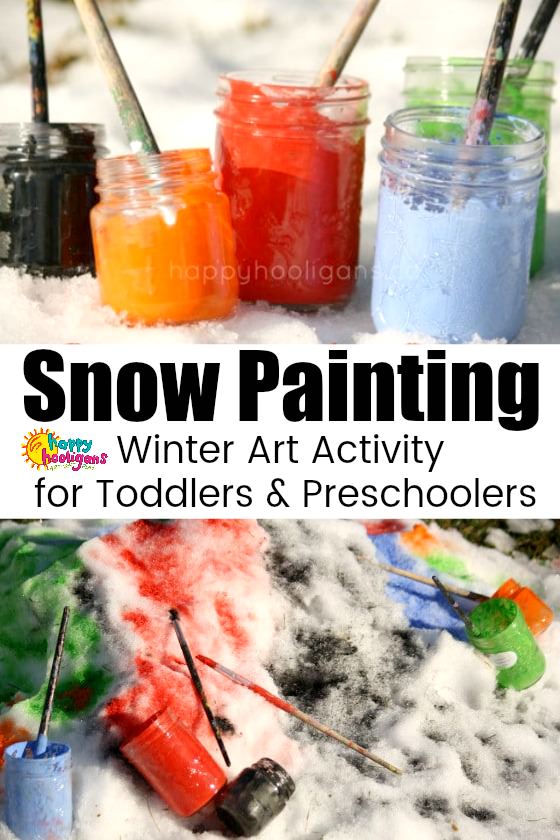
More Snow Art Resources:

This post contains affiliate links.
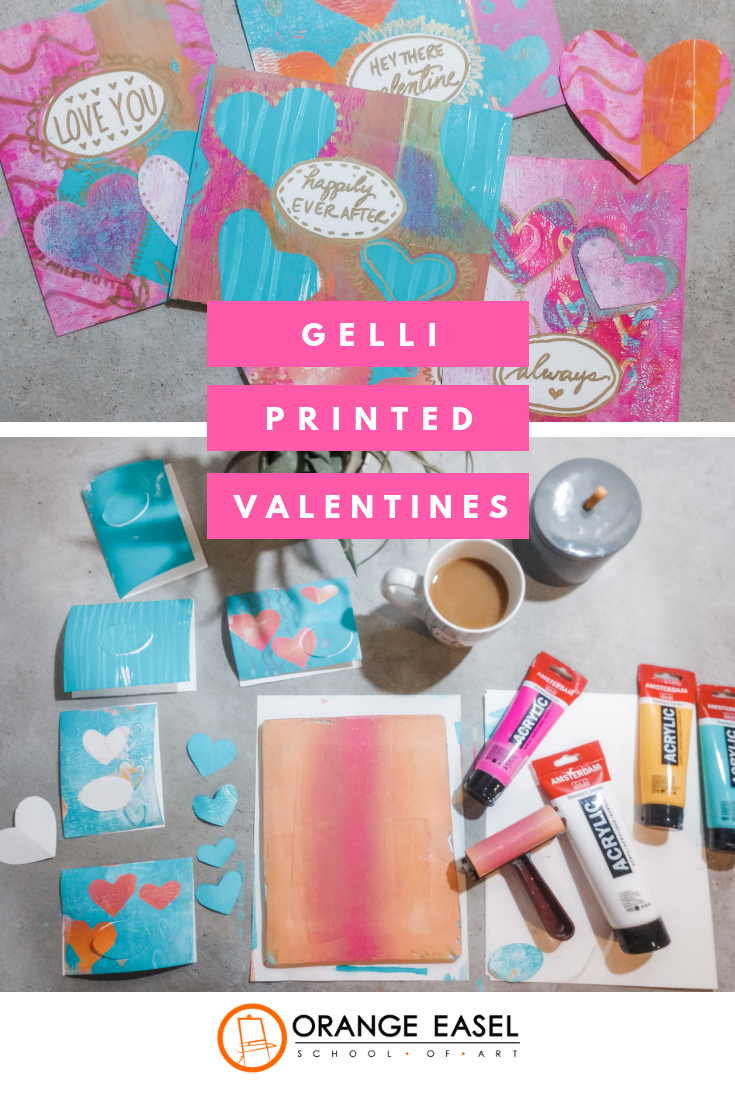
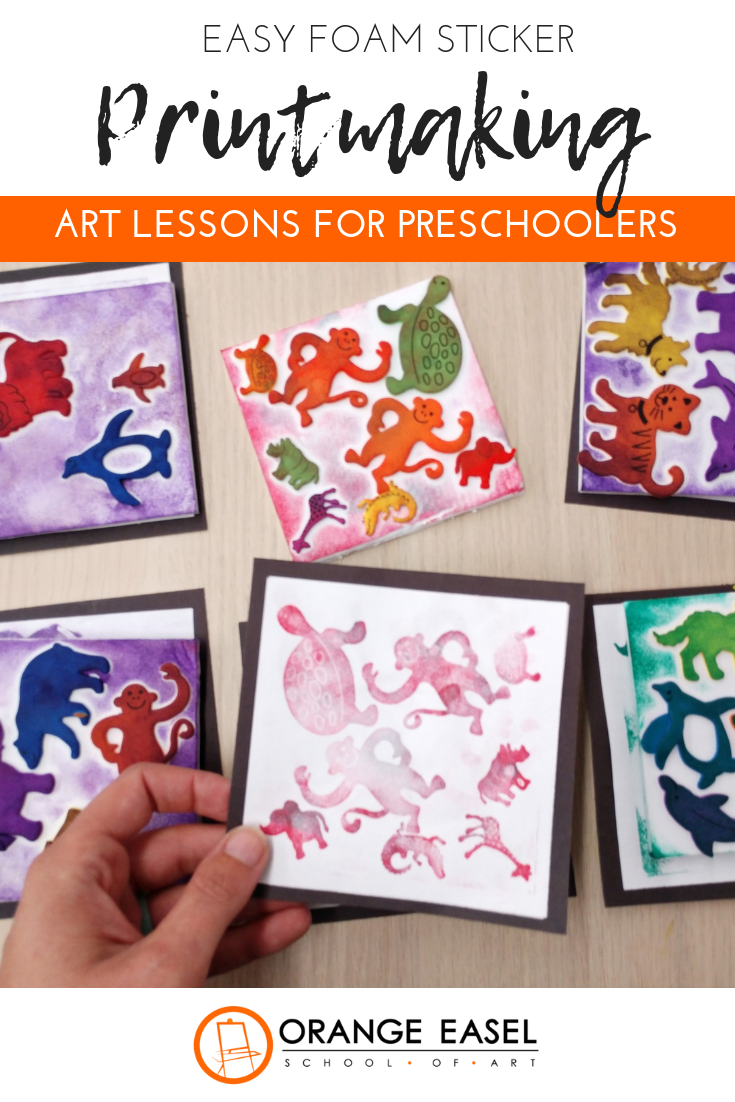
I adore these homemade, paint-printed valentines with metallic gold details. They are made using gel printing plates from Gelli Arts and the result is a layered, textured, one-of-a-kind Valentine. I hope you enjoy the tutorial below!

Printmaking Valentine Tutorial
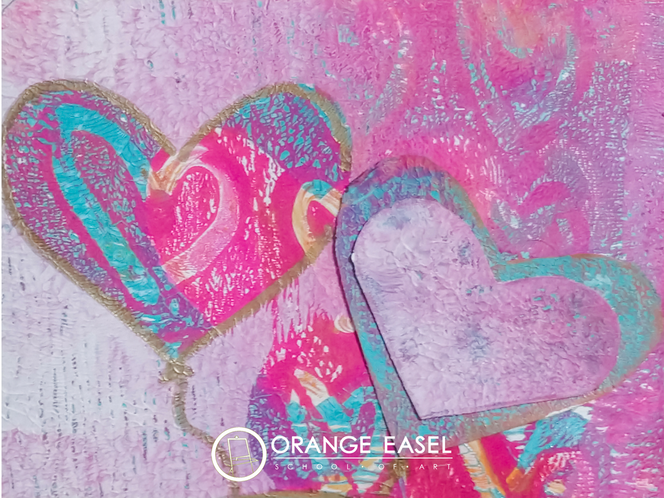
We started by picking a color scheme. We opted for coral, magenta, turquoise, and white knowing that the gold sharpie would be the perfect finishing touch. Gelli plates work best by layering pattern and colors, using masks each time you print so that the bottom layers peak through.

To make the masks, we cut hearts from the white drawing paper, making sure to keep both the positive hearts AND the negative mask. Both will be useful!

Since each layer has to dry a bit in between, we started by printing the bottom layer on all six cards. (You can work on one card at a time if you'd rather.) Each card was prepped with a center circle mask taped in place. Some backgrounds were gradients. Some were patterns. Some where solids.

Leaving the white circle in place on every card, we continued to the second layer. This is really something that ONLY makes sense if you play around with it! By placing a heart on a painted gelli plate, you allow the bottom layer to peak through on the card (in the shape of a heart). Conversely, but placing the negative mask on a painted gelli plate, you print the positive heart onto your card. Whew. Brainteaser.

You can do as many layers you want. Just keep adding patterns and masks to create depth to your prints. Use the q-tip to doodle a pattern into the paint before you print. Wipe your gelli plates off in between paint colors, especially if they are complimentary, so you don't end up with brown!

For the final touch, we removed all of our masks and added gold detailing and lettering.

Since the heart masks are so textured and gorgeous, we decided that they needed to be saved! So, we used glue to collage a few on our final cards.

If you want, you can also add a varnish on top of the paint to create a glossy shine to your finished card. Be sure to let it dry COMPLETELY before putting in envelope!
FOLLOW US ON SOCIAL MEDIA
More Valentines Day Arts & Crafts Activities
More Printmaking Art Activities
|
Orange EaselContent inspired by the artists and art created in our studio. 
Orange Easel began as a small art studio in my basement and continues to grow and serve our community. Read more about our story here.
Archives
April 2024
Categories
All
|


 RSS Feed
QUICK LINKS
|
|
|
|
LIBERTY STUDIO
249 W Mill St Ste 107 Liberty MO 64068 816-407-9266 |
PLATTE WOODS STUDIO
7617 NW Prairie View Rd Kansas City MO 64157 816-216-7126 |
|
Copyright © 2023 Orange Easel. All rights reserved.
Privacy Policy |
|