

This post contains affiliate links.
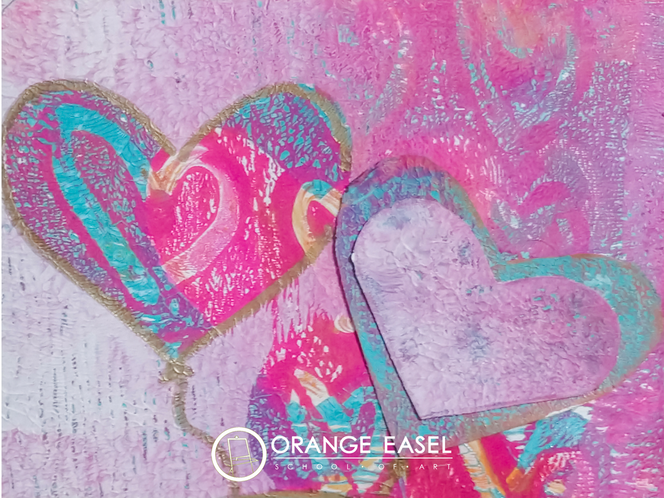
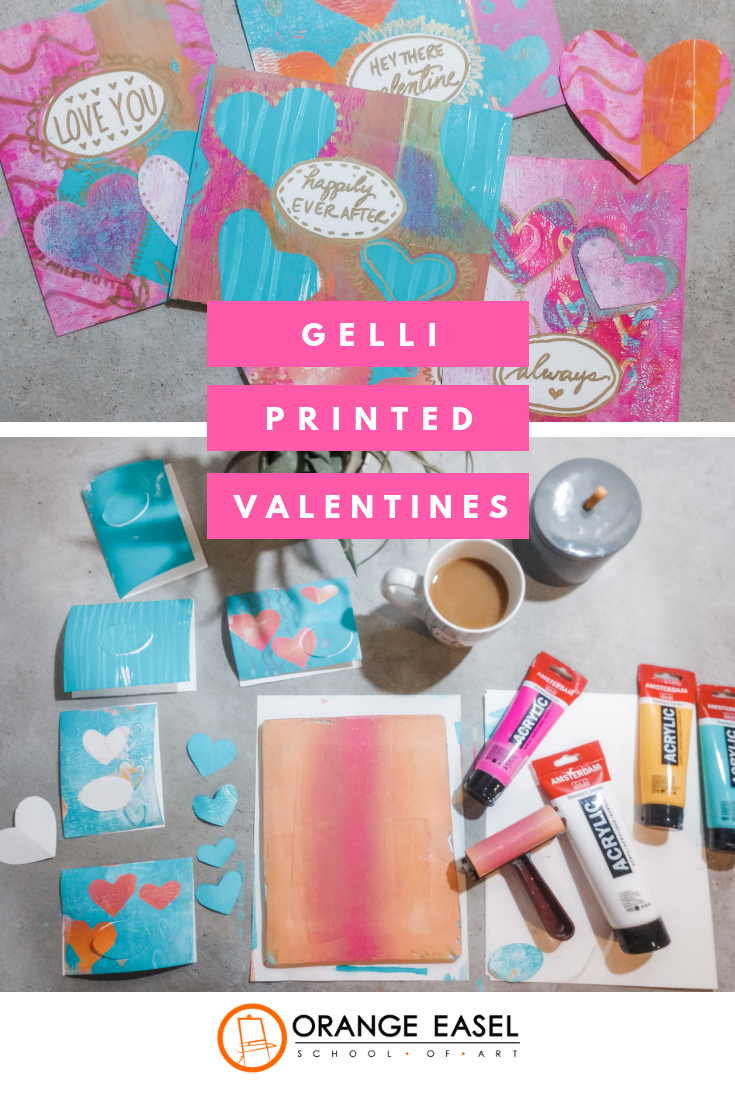
I adore these homemade, paint-printed valentines with metallic gold details. They are made using gel printing plates from Gelli Arts and the result is a layered, textured, one-of-a-kind Valentine. I hope you enjoy the tutorial below!

Printmaking Valentine Tutorial
We started by picking a color scheme. We opted for coral, magenta, turquoise, and white knowing that the gold sharpie would be the perfect finishing touch. Gelli plates work best by layering pattern and colors, using masks each time you print so that the bottom layers peak through.

To make the masks, we cut hearts from the white drawing paper, making sure to keep both the positive hearts AND the negative mask. Both will be useful!

Since each layer has to dry a bit in between, we started by printing the bottom layer on all six cards. (You can work on one card at a time if you'd rather.) Each card was prepped with a center circle mask taped in place. Some backgrounds were gradients. Some were patterns. Some where solids.

Leaving the white circle in place on every card, we continued to the second layer. This is really something that ONLY makes sense if you play around with it! By placing a heart on a painted gelli plate, you allow the bottom layer to peak through on the card (in the shape of a heart). Conversely, but placing the negative mask on a painted gelli plate, you print the positive heart onto your card. Whew. Brainteaser.

You can do as many layers you want. Just keep adding patterns and masks to create depth to your prints. Use the q-tip to doodle a pattern into the paint before you print. Wipe your gelli plates off in between paint colors, especially if they are complimentary, so you don't end up with brown!

For the final touch, we removed all of our masks and added gold detailing and lettering.

Since the heart masks are so textured and gorgeous, we decided that they needed to be saved! So, we used glue to collage a few on our final cards.

If you want, you can also add a varnish on top of the paint to create a glossy shine to your finished card. Be sure to let it dry COMPLETELY before putting in envelope!
FOLLOW US ON SOCIAL MEDIA
More Valentines Day Arts & Crafts Activities
More Printmaking Art Activities
This post contains affiliate links.
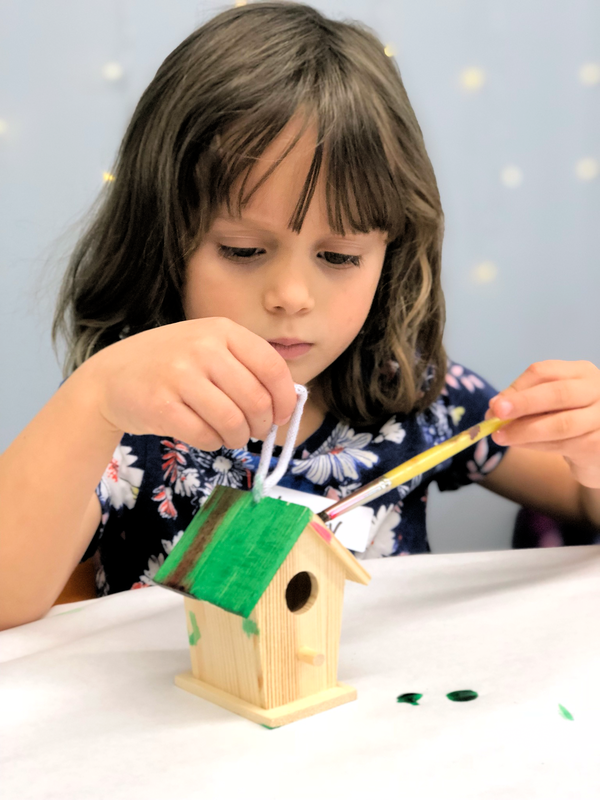
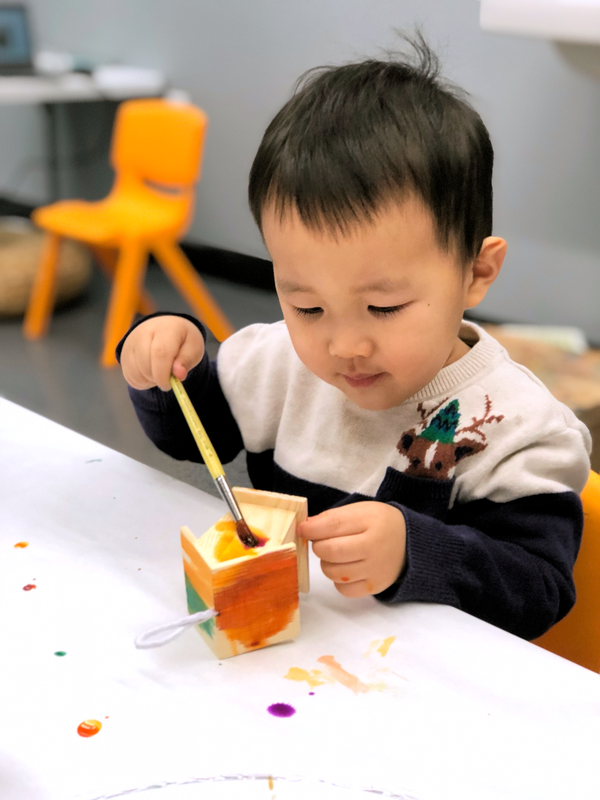
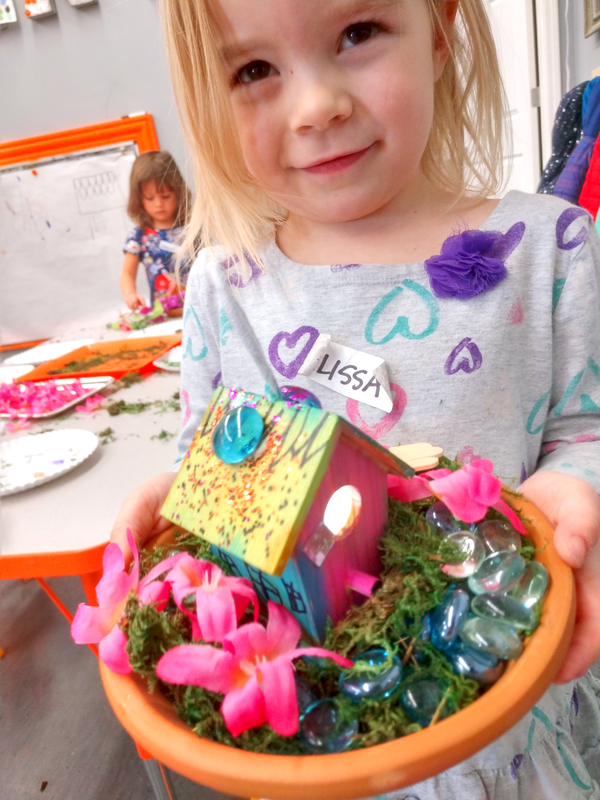
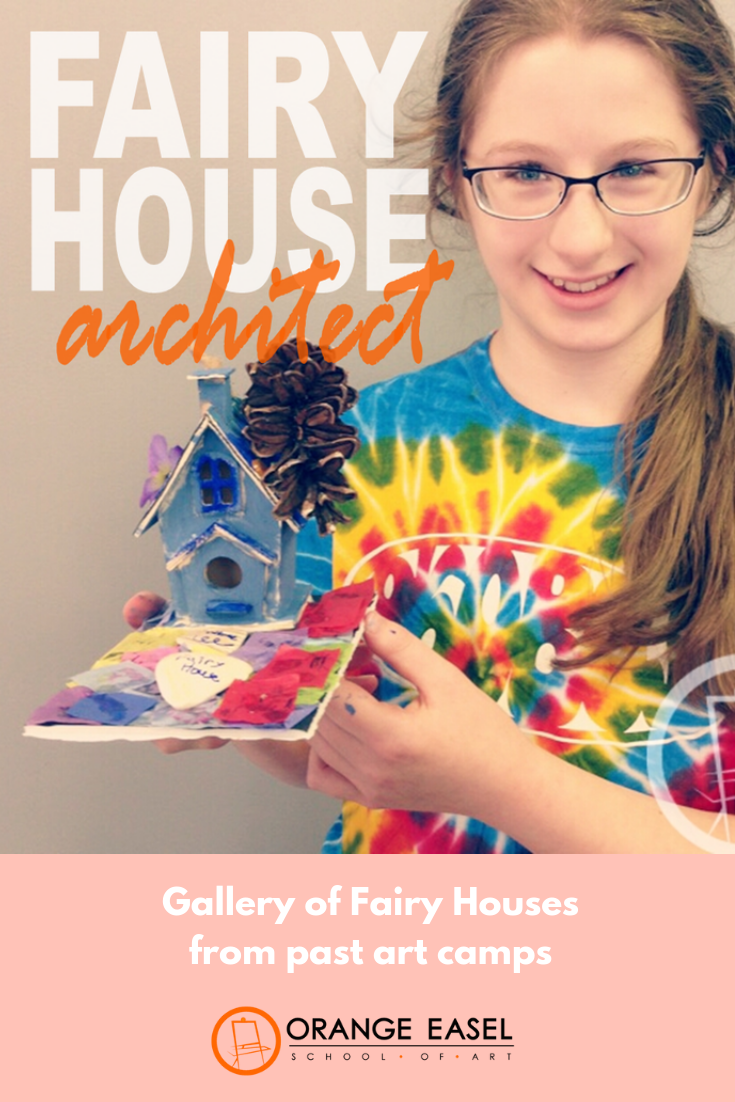
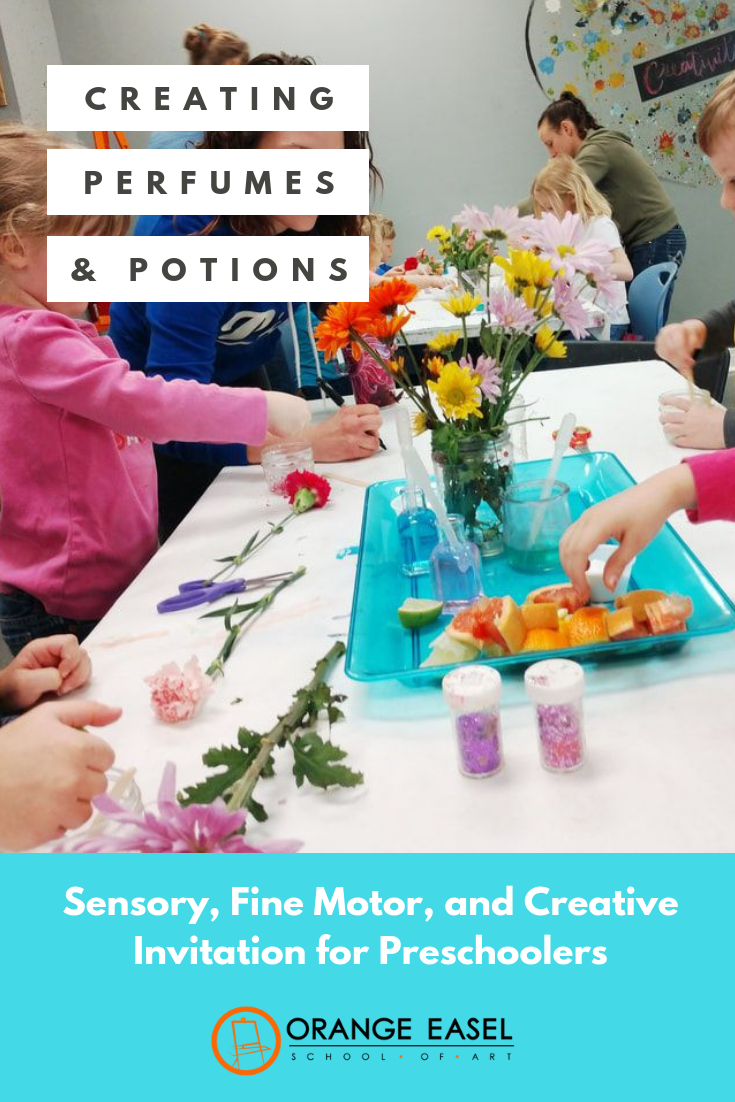
Host Your Own Fairy CampStep One: We begin with a look at architecture. We look at photos of different houses and discuss what we see. We talk about windows and window frames. Types of siding. Types of roofs (rooves?). We notice trim. And gutters. And eaves. Only after we've OBSERVED the world around us, we can begin to create. 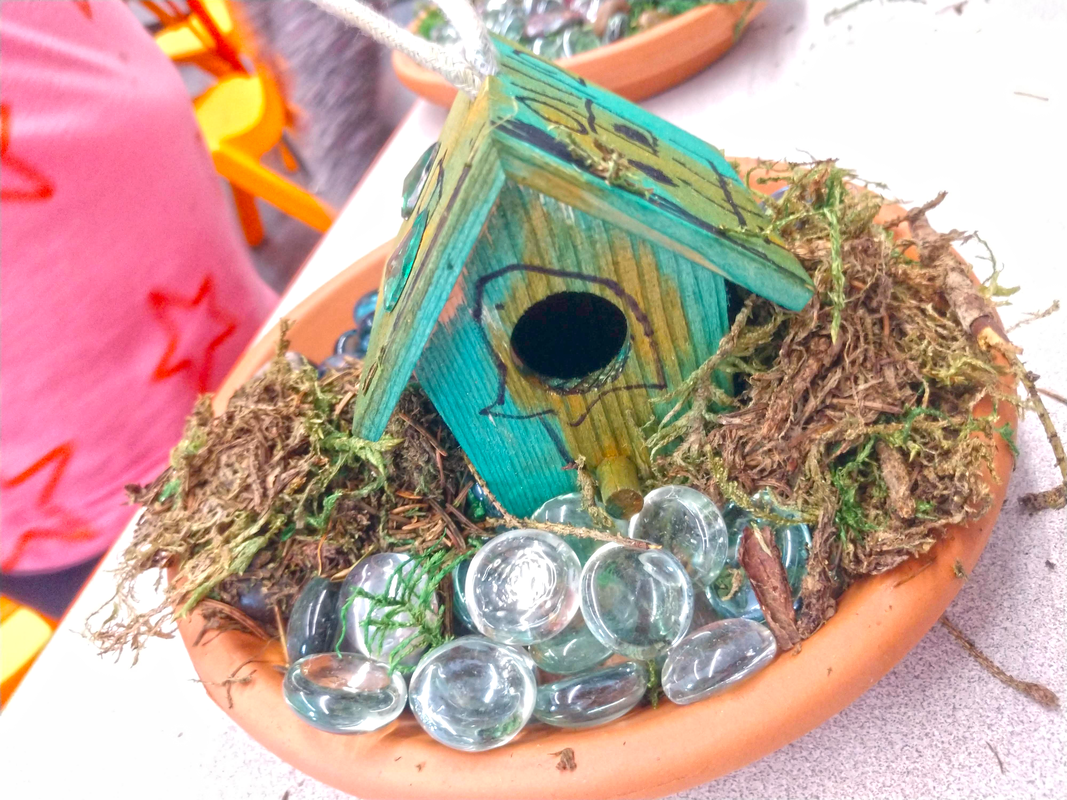 Step Two: We use these little wooden birdhouses. They come in different sizes and I feel like over the past six years, we've used them all! Most recently, we used these ones. They are only about 1.5 inches high and are perfect for fairies! Plus, they fit really nicely on our saucers and leave plenty of "yard." Our artists use sharpie markers to add architectural details onto their fairy house. If we have a particularly young crowd, we usually discuss the difference between DRAWING and COLORING before we had out the sharpies. We're going to be painting these with watercolors, so DRAWING is all we need here. Not coloring.
Step Three: Our favorite paints are liquid watercolors. And our favorite liquid watercolor for this is Colorations GLITTER Liquid Watercolor. Because it's washable. And it has glitter. Duh. The liquid watercolor is perfect to stain the wood a beautiful, sparkling, rainbow of color while still allowing for all the sharpie details to show through. Bonus: it drys really quickly.
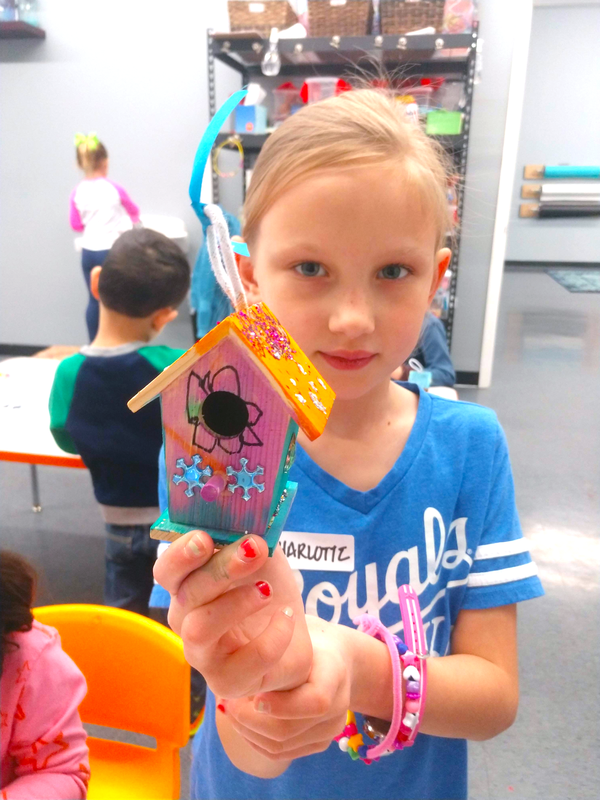
Step Four: Once the houses are dry, we invite the artists to glue even more details onto their wooden houses. These details could really be anything you have laying around the craft closet, but OUR favorites are sequins, faux flowers, and gemstones. You could use regular glue or modpodge for this, but hot glue is the real winner. (Yes, we let our 4-5's use low temp hot glue guns. It's something we're pretty proud of. But that's another blog post for another time.) The video below show our artists hard at work on this step. We also offered glue and glitter shakers at this camp. :) Step Five: Our artists create gardens for their houses using a terra cotta plant saucer. The gardens are made from moss, glass gems, and faux flowers. Some of our older artists use popiscle sticks to construct bridges and fences. If we have an older crowd it's fun to just put out a variety of supplies to see what they can come up with. Things like twine, ribbons, cardboard, washers, buttons, thread spools, sea shells, and toothpicks make for wonderful tinkering materials. Again hot glue is your friend. In longer classes, we've even put out the polymer clay so kids can sculpt miniature forrest animals and tiny home funishings. 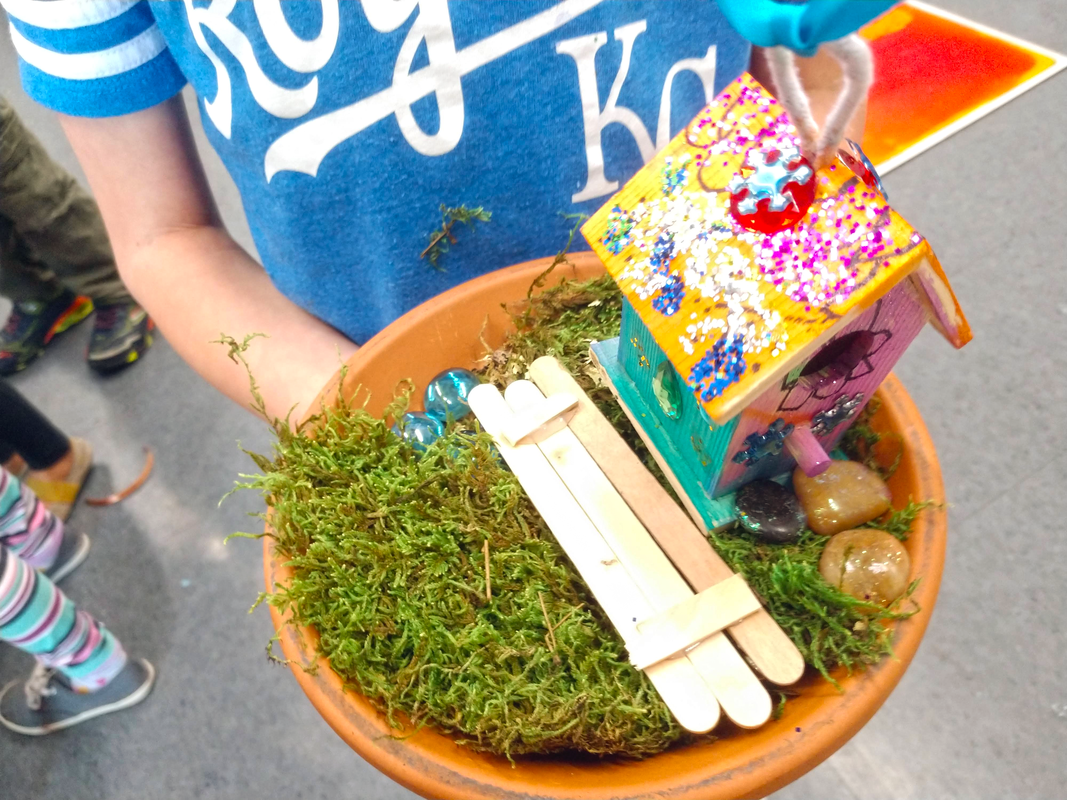 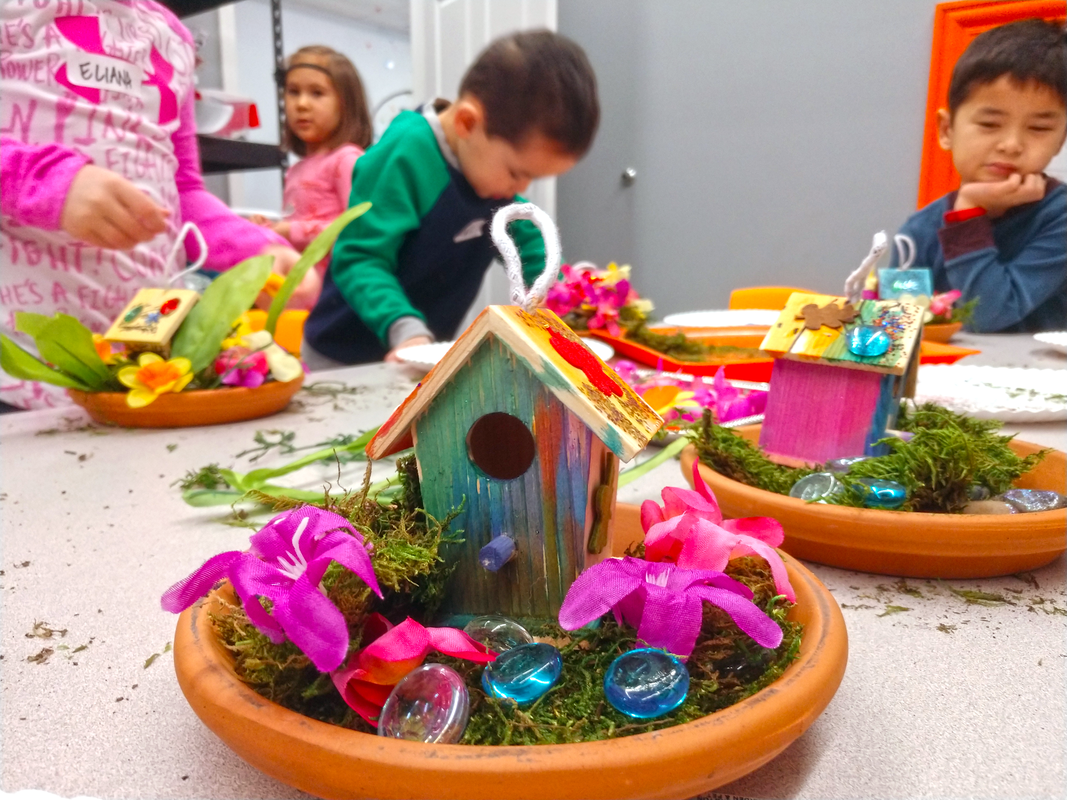 Step Six: Once the garden is done, we add the houses and the fairies. Our "fairies" are battery-powered led lights. They are the perfect size for placing inside the tiny houses. (Tip: Tie a string to little loop on the light if you want to be able to get it back out of your house easily to turn it off.) Enjoy this video of Miss Sara introducing our artists to the fairy: When the fairies are inside the houses, they make a perfect little night light! 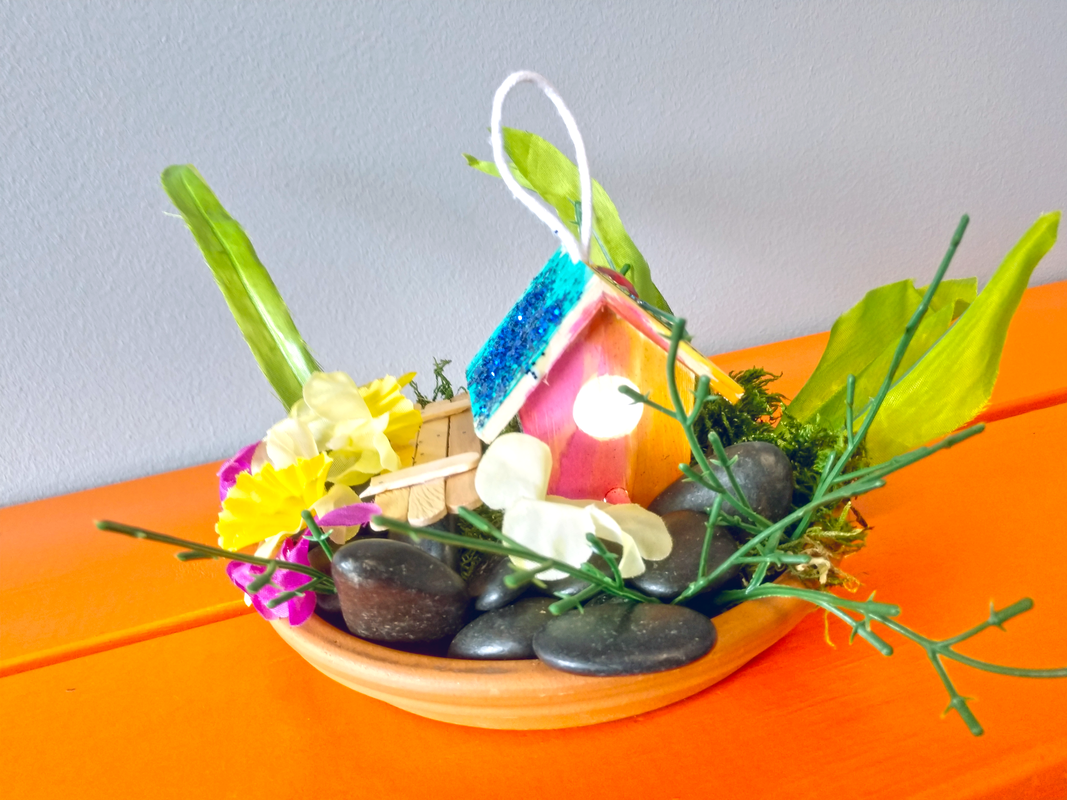 So, there you have it! Our guide to a successful and artful fairy house class, camp, or group project. Of course, you could do this with just one kiddo too, but we love the creative energy of a group. If you get a chance to try it out, send me some pictures or tag me on social media, okay? I'd love to see!  Related posts:
Video Tutorial
Watch our facebook live broadcast for a step-by-step instruction on how to make these sweet butterflies:
Once you've finished your butterflies, you can hang them from the ceiling, attach them to a window, or even use some floral wire to have hover above a houseplant!
I hope you enjoy this simple summer craft! 
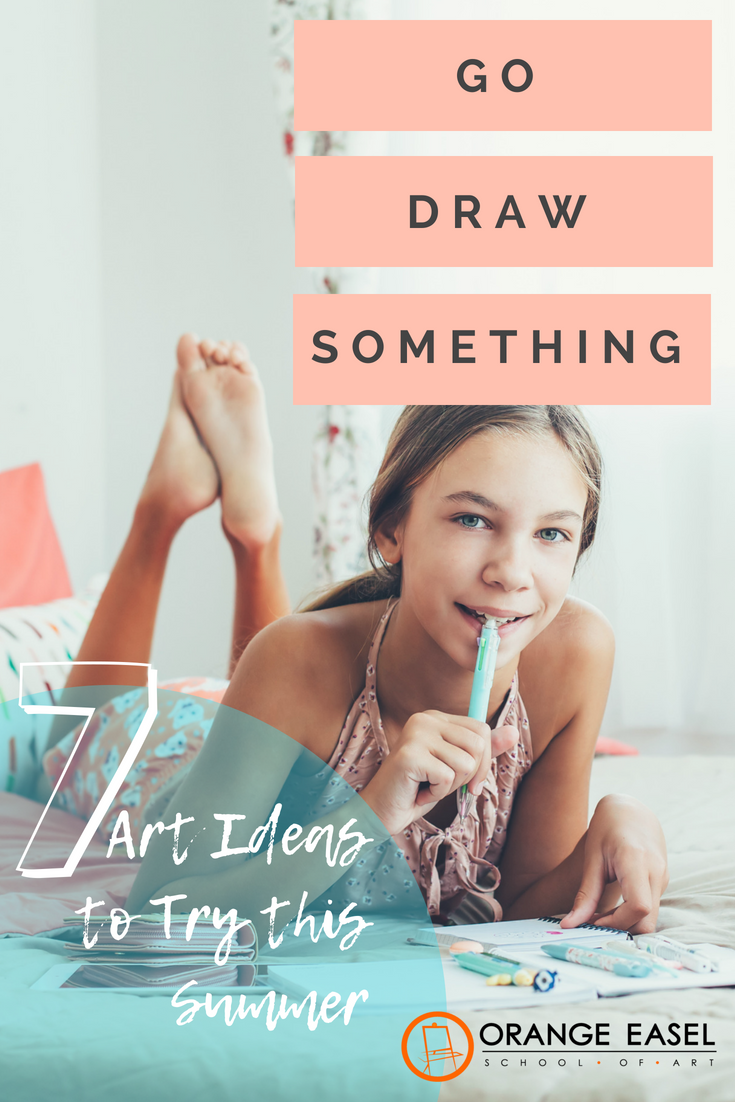
7 Drawing Invitations to Try this Summer
TIPS:
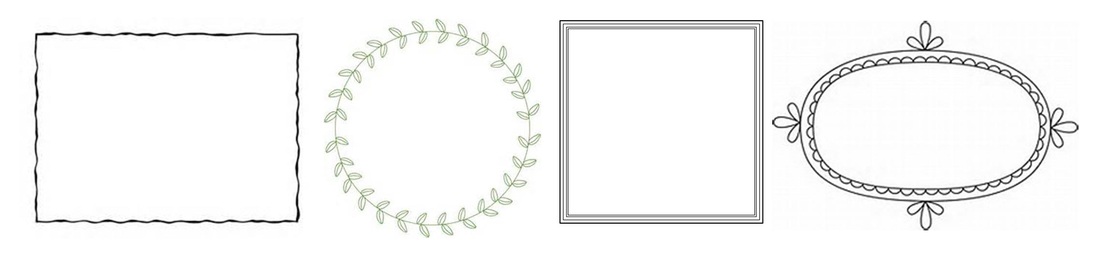
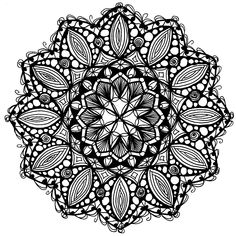
#2 Doodle Frames
A simple frame drawing is a great way to encourage young artists to begin exploring. Think about it: A blank sheet of paper can be quite intimidating. By doodling a frame onto the page, or multiple frames, you've broken up that page and started the process. Don't stress about your own drawing, either! Just doodle it. It doesn't have to be perfect! MORE ABOUT FRAME DRAWING:
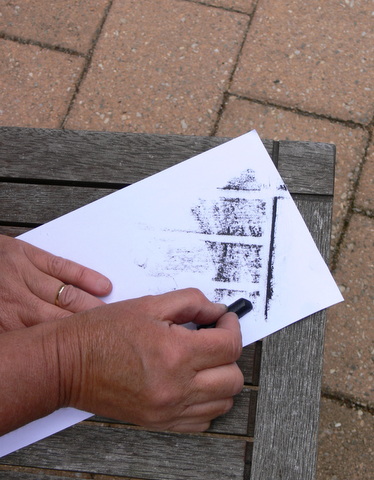
#4 Step by Step Drawings
Step-by-step drawing instruction is great for older preschoolers and younger elementary kiddos. They teach kids to see the shapes that make-up an object, animal, person, etc. Plus, they build confidence! We have an entire pinterest board devoted to Step-by-Steps so you can just print out the ones that your children are most interested in!
Another amazing resource for step-by-step drawing is YouTube. We love ArtforKidsHub, which is a dad and his kiddos who have daily How To Draw videos.
#5 Drawing Prompts
We often start our art classes with a simple drawing prompt. It gets the kids "warmed-up" (just like in sports!). Drawing prompts get them thinking and creating differently. In class, we write the prompt on the board, but at home, you could just write the prompt on the top of a sheet of drawing paper. Maybe you could have a box full of drawing prompts?! Drawing prompts don't have to be complicated. Just a question. Usually we keep it silly and short. Below are some of our examples.
Instead of starting with a blank page, you can also start with a printed prompt. Here are some great ones that you can print right at home!
#7 "Simon Says" Drawing
It's just like what it sounds like! Our classes and camps LOVE this one. Make it as complicated or as simple as you'd like. Everyone's drawings will turn out differently. Think outside the box on this one...it's not just "draw a dog" or "draw a cloud", it's also:
Be creative and silly. If you have multiple children, they can probably play this game by themselves. If not, you can probably multitask while you shout out goofy instructions! More Summer Ideas:
DISCLAIMER: This post contains affiliate links.
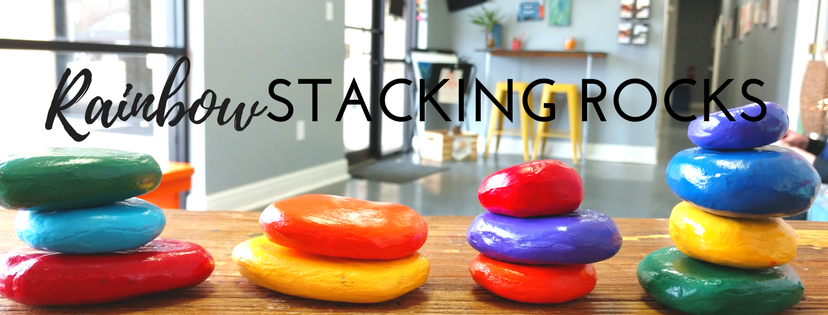
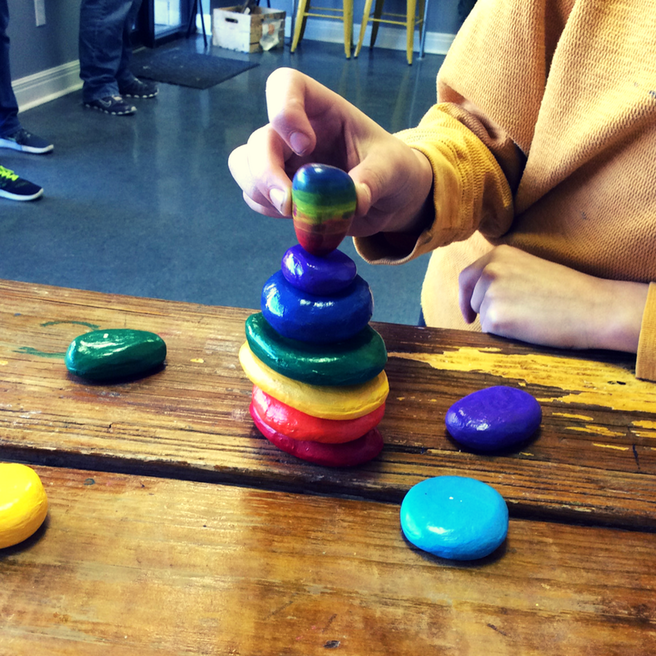
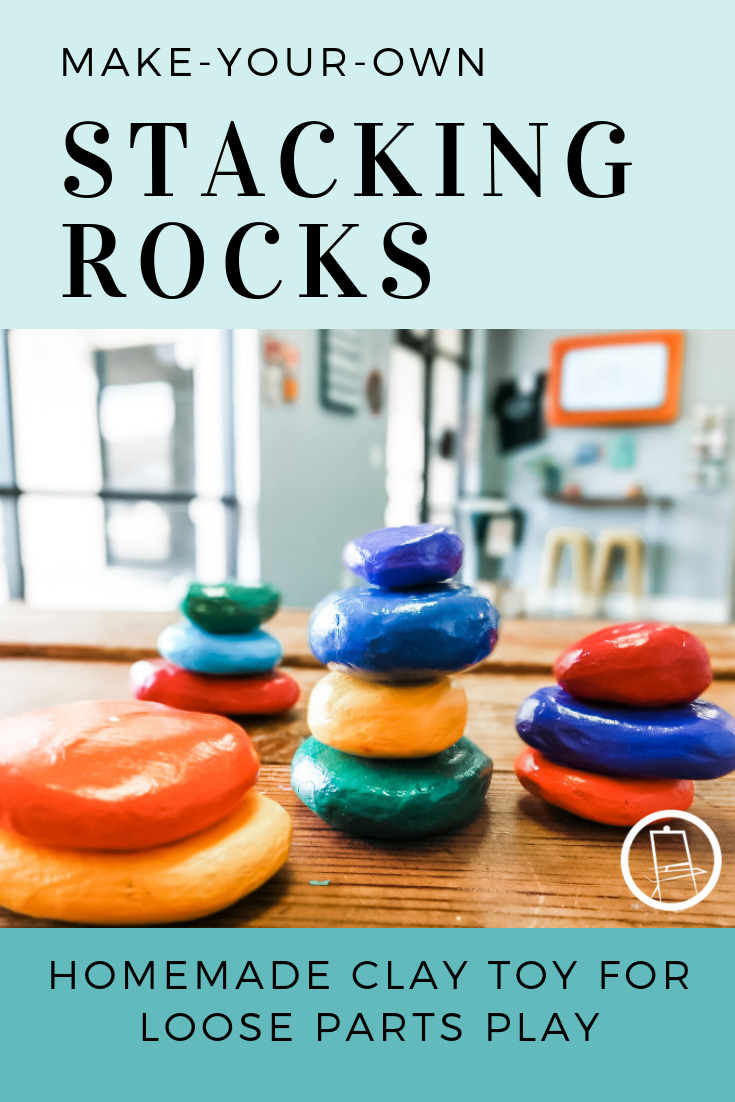
We've got this new fun toy on the front desk. Have you see them?
They totally ROCK! (<----cheesy pun)
We were inspired by these wooden stacking stones by Grimm's Spiel and Holz Design. As beautiful as they are, we couldn't justify almost 60 dollars for a set of 12 stacking stones.
So we set out to make our own. And we think you should too. DIY instructions at the bottom of this post. How to play with rainbow rocks
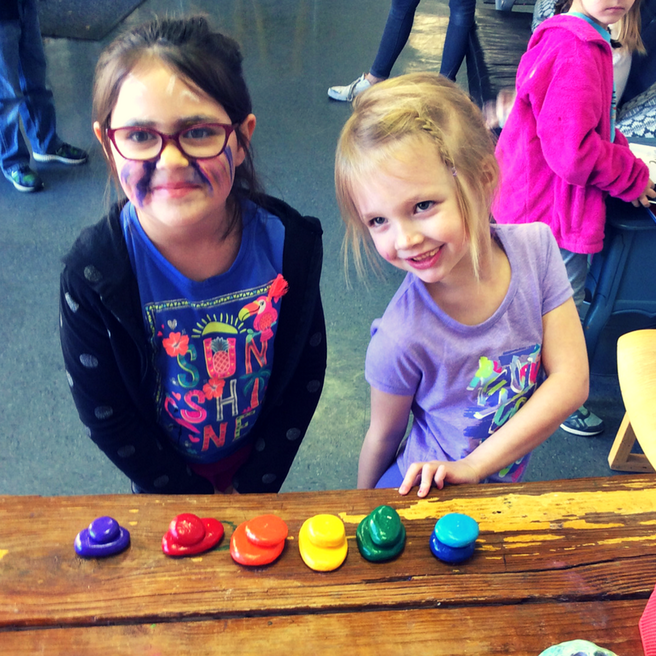
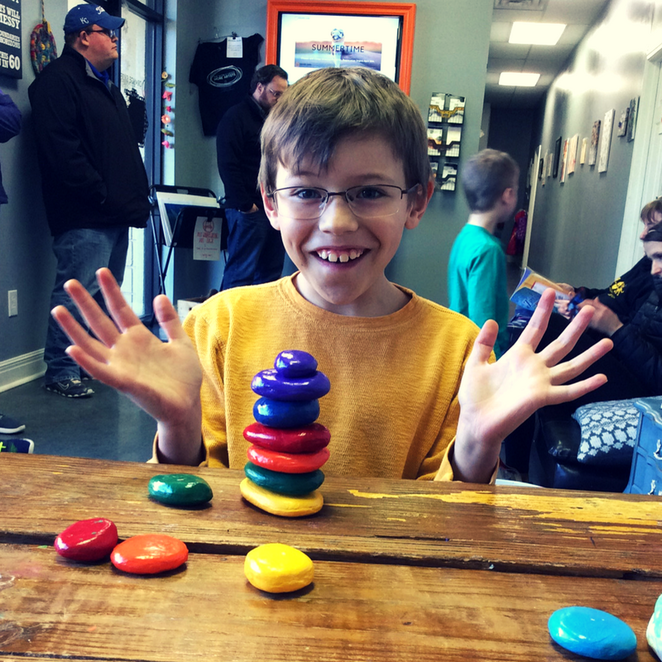
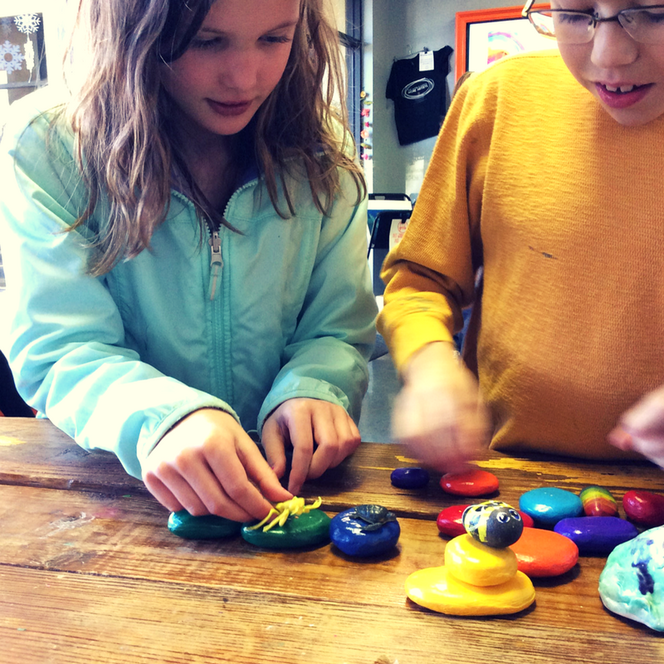
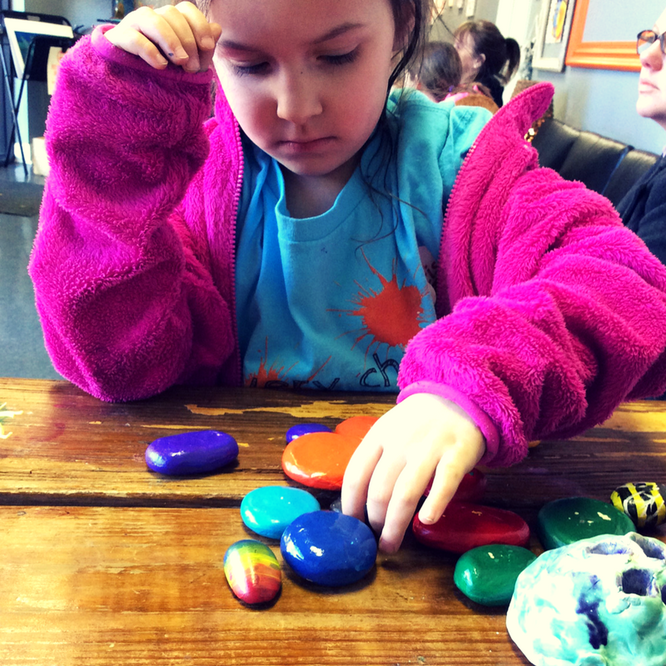
The most delightful part of having these toys on the front desk is seeing how each child plays with them differently. Some line them up into a train or a path. Some immediately begin building towers (though, four rocks is as high as we've been able to get them to balance). Some arrange them into a circle. Some match up the colors. Some hand out to the other guests in the lobby and pretend they are handing out candy.
There's no wrong way. And every child--of varying ages--seems enticed to touch, move, and PLAY with them somehow.
All of these candid and casual photos were snapped in one evening by our front desk staff.
THE IMPORTANCE OF LOOSE PARTS IN PLAY
In our experience, manipulatives like these rocks are some of the best toys. They are "loose parts" that will empower our creativity and challenge our problem solving skills.
In early childhood education settings, loose parts mean alluring, beautiful, found objects and materials that children can move, manipulate, control, and change while they play. Children can carry, combine, redesign, line up, take apart, and put loose parts back together in almost endless ways. The materials come with no specific set of directions, and they can be used alone or combined with other materials. Children can turn them into whatever they desire: a stone can become a character in a story; an acorn can become an ingredient in an imaginary soup. These objects invite conversations and interactions, and they encourage collaboration and cooperation.
If you're interested in learning more about loose parts, check out pinterest board for resources and inspirations.
STEP ONE: Shape
If your clay is too tough, break it into small pieces and gently condition it with the hands. You can also spray it with a mist of water to help soften it (but not too much!). Our rocks are varying sizes...round or oval and in between 1-3 inches in diameter. You can make your rocks any size, but be sure that they have a pretty flat top and bottom surface so that they can stack.
STEP TWO: Smooth
Once you have the general shape of your rocks, you can smooth out the clay by dipping your finger in water and rubbing it along the surface.
STEP THREE: Dry
Place the rocks on parchment paper or wax paper and let them dry completely for about a week. We flipped ours over halfway through just to make sure that some air got to the underside.
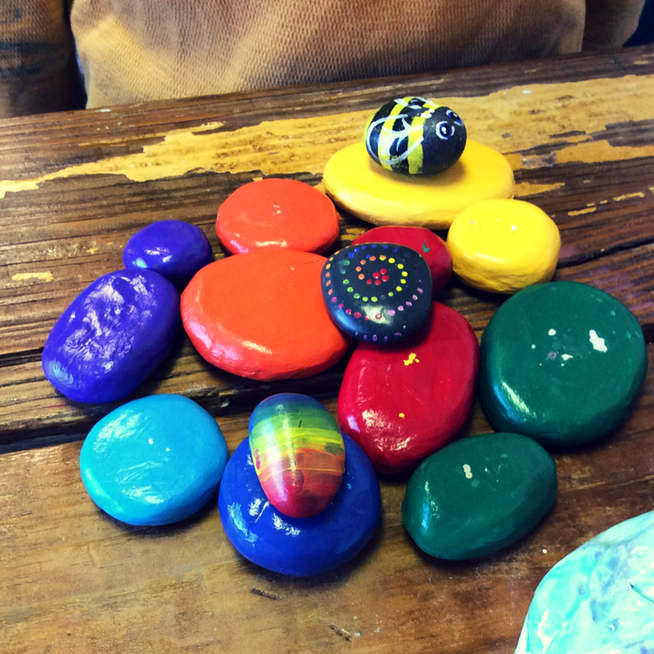
STEP FOUR: Paint
Acrylic paint works best. You can use any colors. We went with the rainbow on our first set, but the next one we made (for the Platte Woods studio front desk), we painted with blues and greens, and we even added some design details. On both sets, we made sure to get a couple good coats of paint and to wait for one side to dry before flipping them over. If you're impatient, a hair dyer works to speed up the drying time. 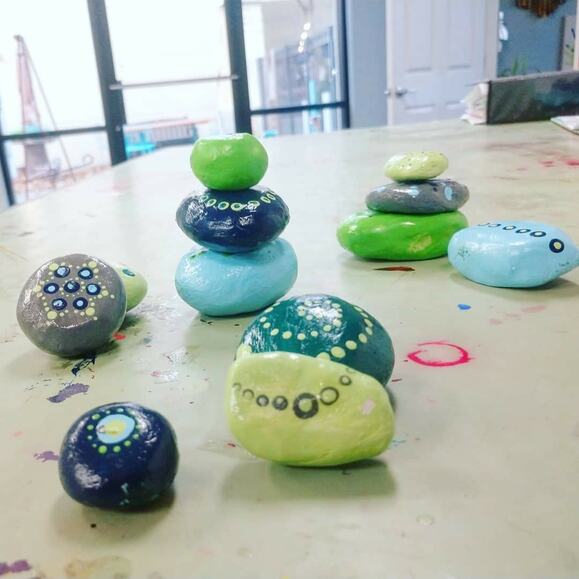
STEP FIVE: Spray
The clear coat will protect the paint. If you want your rocks to be shiny, use a glossy clear spray. Otherwise, a matte would be beautiful too. Watch our Video Tutorial
We went Live on Facebook recently to show how to make these popular clay rocks!
CARING FOR YOUR "ROCKS"
Obviously, these aren't really rocks. Clay will break if it is dropped on a hard surface. We've got our rocks sitting on the desk for easy accessibility. They have tumbled quite a few times and hit the tiles below. So far, aside from a few chips in the paint, our rocks seem to be doing pretty well. We anticipate that they will eventually split or break after enough falls. But, that's okay, we'll just make more. :)
For home use, we could recommend stacking your rocks on a surface above a rug or carpet to ensure longevity of your new toy. Or, just play with them directly on the floor to avoid the three-foot drop all together. ;) If you make rocks for your home, classroom, or to gift to a friend, please send me a picture or tag me on social media! I'd love to see! 
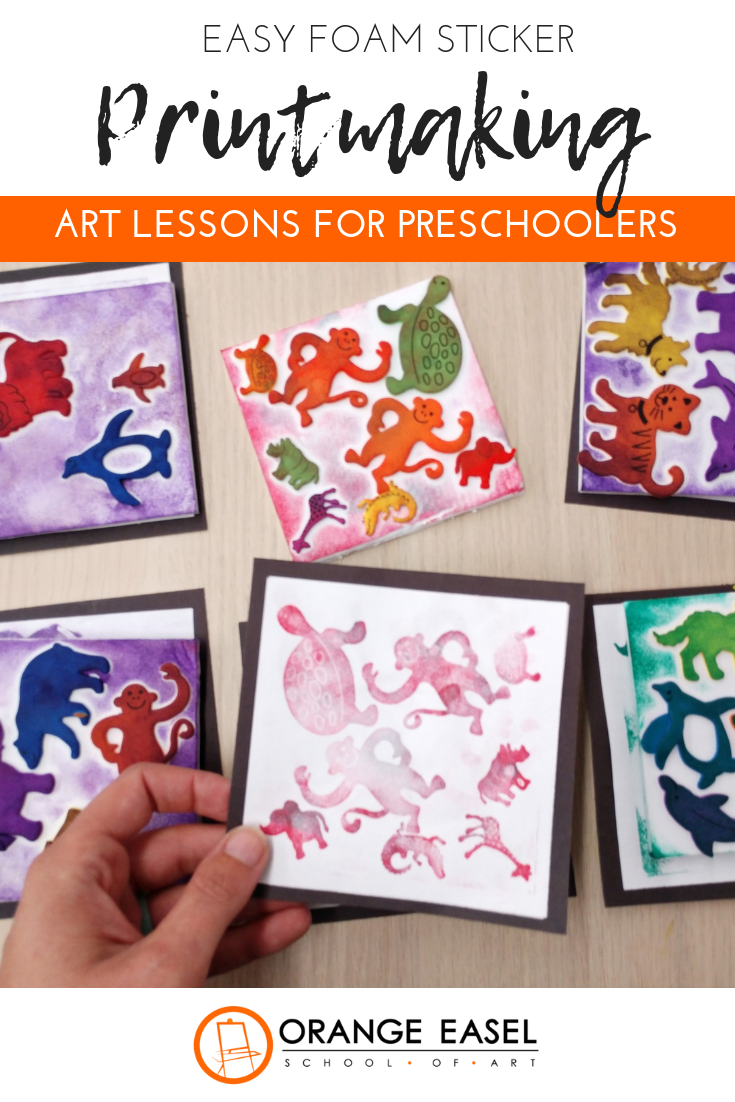
 Every March, our studio turns its attention to the art of printmaking. We explore both BLOCK PRINTING and MONOTYPE PRINTING here in the studio.
This is the second post and video that we've done on monotype prints. You can check out our previous post and video here. Monotyping Tutorial for Home
In our video below, we're using a small piece of glass that we removed from a dollar store picture frame (we used the frames for a weaving project) Other tools were are using:
There's no WRONG way to make prints but we do have some best practices to share with you! We usually encourage our artists to build up lots of layers and use different textures on their prints. Monotypes make wonderful backgrounds and collage papers. They are perfect for just enjoying the PROCESS of making art. Kids love to experiment and just see what happens! Make sure you have a STACK of paper...you're going to need it!
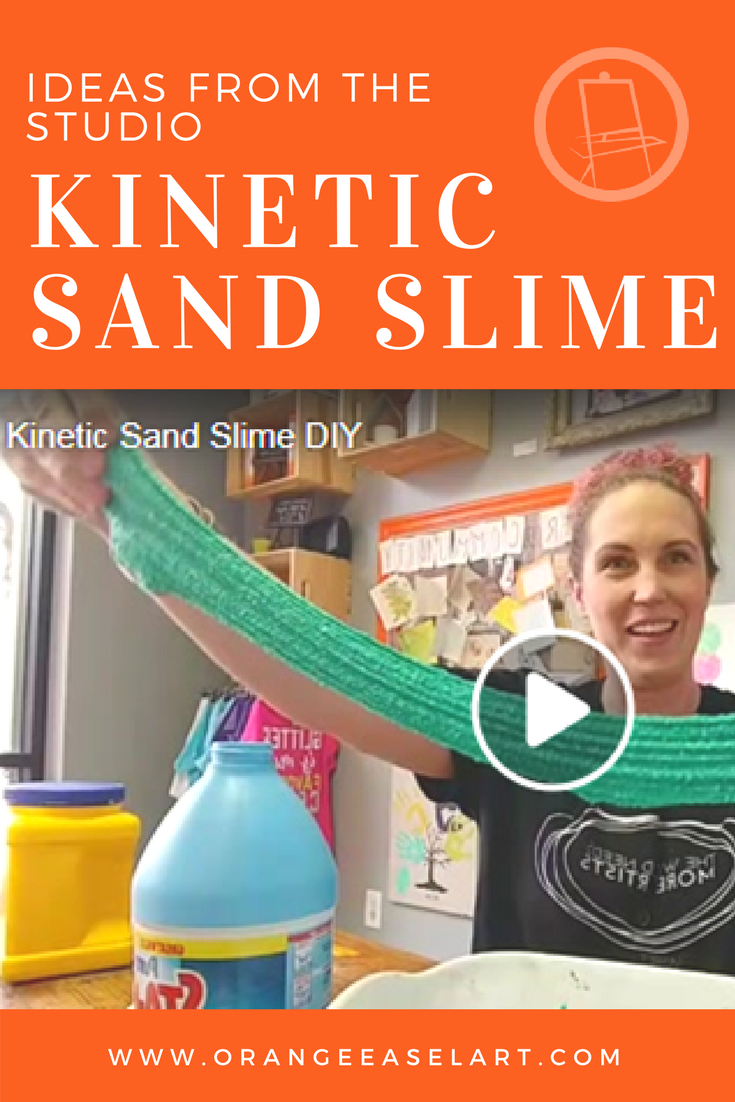
We stumbled across this amazing-sounding slime recipe from Momdot.com and we just had to give it a try on facebook live last week. You can watch the video below. I'll give you a spoiler...it was A-MAZ-ING (and we make a lot of slime in the studio so we know GOOD slime when we see it). It was mold-able and stretchy but not sticky!
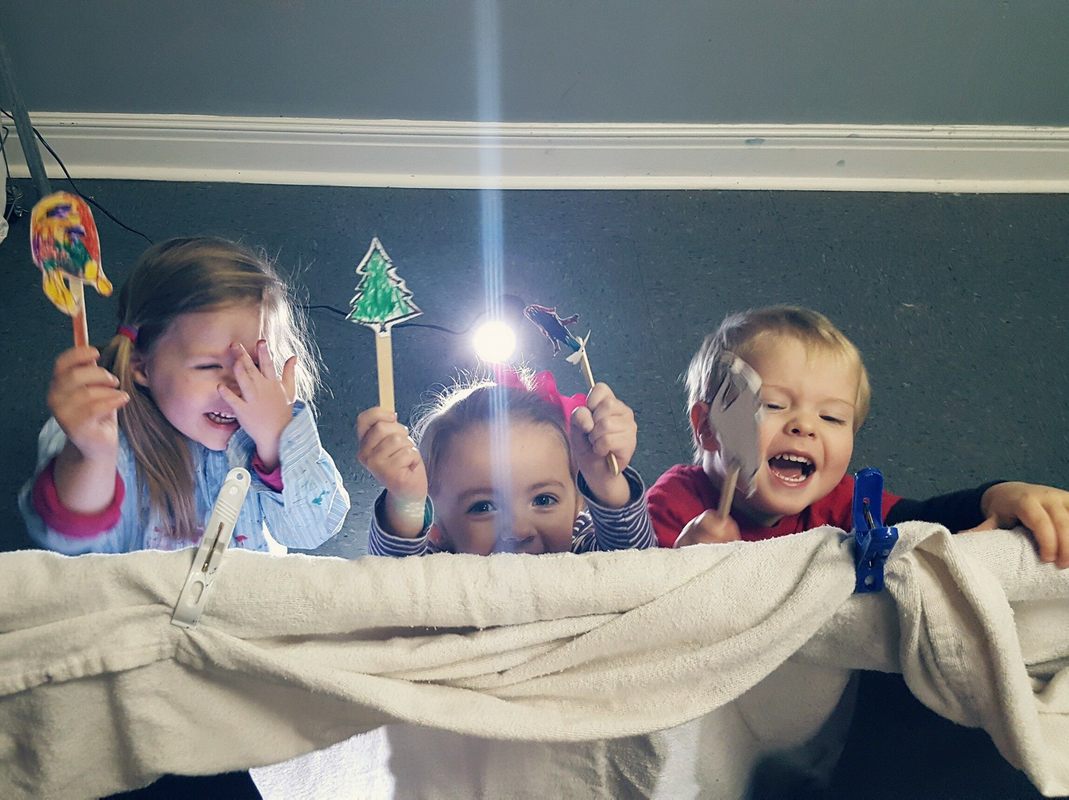
This is part two of my musings on art in the dark lately. We just finished our Light and Dark unit with our preschoolers (read more here) in the studio. I'm hoping THIS post inspires you to incorporate dark play into your home.
Although my kids are almost teenagers, I remember what winter was like with kids cooped up all day. I remember the post-nap, pre-dinner hours being the worst. It was cold. It was dark. And everyone was cranky. On these short winter days, my kids would BEG to play in the dark. They would help me pick up the main rooms in the house (I told them it was for safety) and once everything was clean...er, I mean, safe, we would turn off all the lights in the house. Then, we would get out the different lights and PLAY. The possibilities are limitless. Just normal play is novel when you have to use a flashlight to see it. But of course, art is our favorite kind of creative play. And since we're an art studio, I've compiled a list of some of my favorite Art-in-the-Dark ideas for home use. No fancy supplies needed. Just some basic art supplies and a light source. (there's a light source list at the end too) At-Home Ideas
Capture the Shadows
Shadow Building
Build a Light Box
Mess-Free Finger Painting
Paint right on top of the light and see those colors in a whole new way! Fill a gallon zip-top plastic bag with a few dollops of paint. Secure the edges and top with clear packing tape and tape flat to the light table**. Artists can squish the paint around in the bag to mix the colors. Older artists can even draw designs in the paint.
**You can do this same one in light too. Tape to a window or glass door and the sunshine will make a similar effect. Plus, the vertical work surface conditions those core stability muscles and shoulder muscles that all kids need for great fine motor skills.
Sand Drawings
Shadow Puppet Theatre
Lighting Options
Start building your collection of illuminating toys! Here are some of our favorites:
Valentine's Day Puffy Slime
Light and airy. Like playing with fresh-smelling marshmallow dough. This slime is great by itself, but for extra special occassions, try making a few different colors (different batches) and and swirl together to create a beautiful visual effect.
Click the video link below to watch our facebook live video for the recipe and instructions:
Valentine's Day Slime with Heart Confetti and Glitter
This slime is more dense than above and made with clear glue so that those pretty, sparkly add-ins can really shine.
Click the video link below to watch our youtube video for the recipe and instructions:
Borax Solution for Slime
More heart art:
Check our how to make this paper heart garland:
Today's lesson was to nail down what a horizon line was in a landscape picture. To help us teach the lesson, we shared the book, Freight Train by Donald Crews. It's a simple book with not very many words which enabled us plenty of time to talk about the illustrations. After reading the book, we took turns adding to a large-scale, collaborative drawing of a horizon with a train. Then each artist got a chance to make their own drawing on a smaller scale in their journals. We returned to our art tables to find paint, pencils, markers, brushes and sponges:  We used 11x14 inch paper which is larger than our typical drawing and painting paper. Using a marker, our artists began by drawing a horizon.  Artist worked so intently to create their trains.  The sponges we're using are just inexpensive kitchen sponges that we had cut into simple shapes. They shape could be combined to make cars, wheels, smokestacks, and roofs.  In addition to how wonderfully functional the sponges are, squishing them in paint is just fun.  The creativity on each artists' train and background was really fun to witness!
|
Orange EaselContent inspired by the artists and art created in our studio. 
Orange Easel began as a small art studio in my basement and continues to grow and serve our community. Read more about our story here.
Archives
April 2024
Categories
All
|


 RSS Feed
QUICK LINKS
|
|
|
|
LIBERTY STUDIO
249 W Mill St Ste 107 Liberty MO 64068 816-407-9266 |
PLATTE WOODS STUDIO
7617 NW Prairie View Rd Kansas City MO 64157 816-216-7126 |
|
Copyright © 2023 Orange Easel. All rights reserved.
Privacy Policy |
|