
|
All of our March classes have been exploring PRINTMAKING. Our preschoolers have had MANY opportunities to explore this concept through relief prints, stamping, and mono prints. Check out some of our favorites:
0 Comments
by Allison May Jensen {This post first appeared on Allison's blog, Miss Allison's Art} 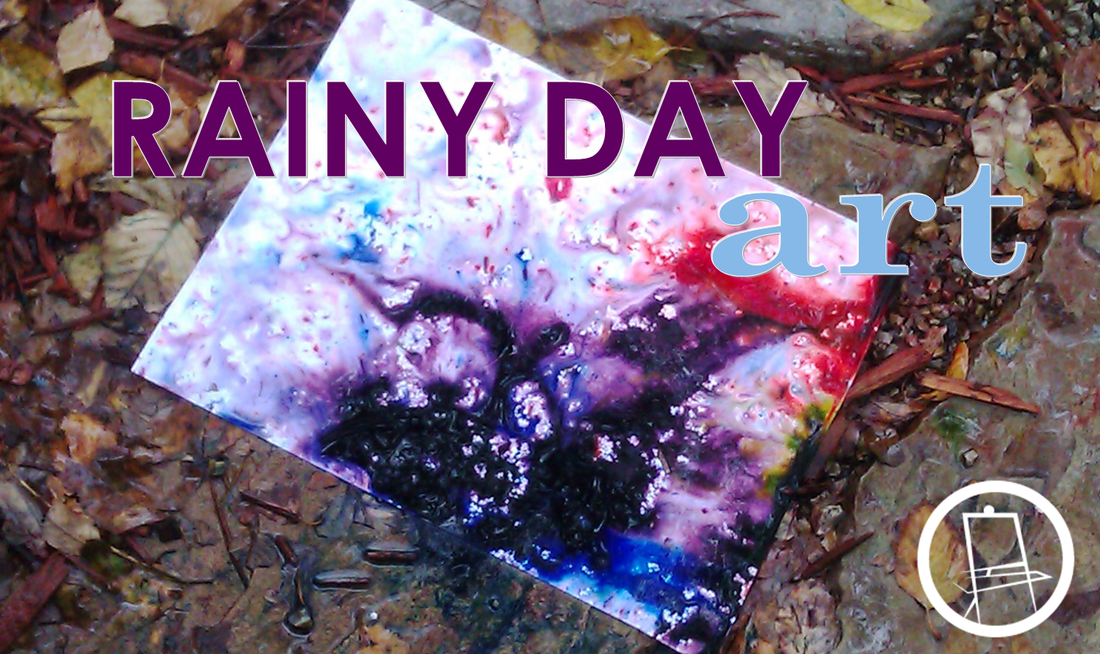 We spent the afternoon making art in a warm rain shower! We used a combination of neon food coloring and washable markers--plus the rain--to create some very colorful pictures!
Not a whole lotta explanation needed here. It was wet and messy and fun! Enjoy the pictures! We're spending our January the preschool room by focusing on science and art. We've got a full line-up of colorful chemical and physical reactions that produce art. On of our first experiments is making monoprints with bubbles! The result is a lacy, delicate painting. HERE'S HOW:You'll need: A pie plate, a small bowl, or something similar Food coloring A Straw Water Dish soap Paper OPTIONAL: We used a cookie sheet under the bowl for all the "runaway" bubbles! >> Read more about our uses for cookie sheets here Combine the food coloring, water, and dish soup in the bowl. It only takes a couple drops of dish soap to make some really great bubbles. The amount of food coloring you use will determine how dark or light your print is. Blow bubbles using a straw. Our young artists/scientist really liked blowing the bubbles until they overflow the sides of the bowl (hence the cookie sheet). Press the paper on top of the bubble-bowl. Voila! Video Clip of Bubble Printing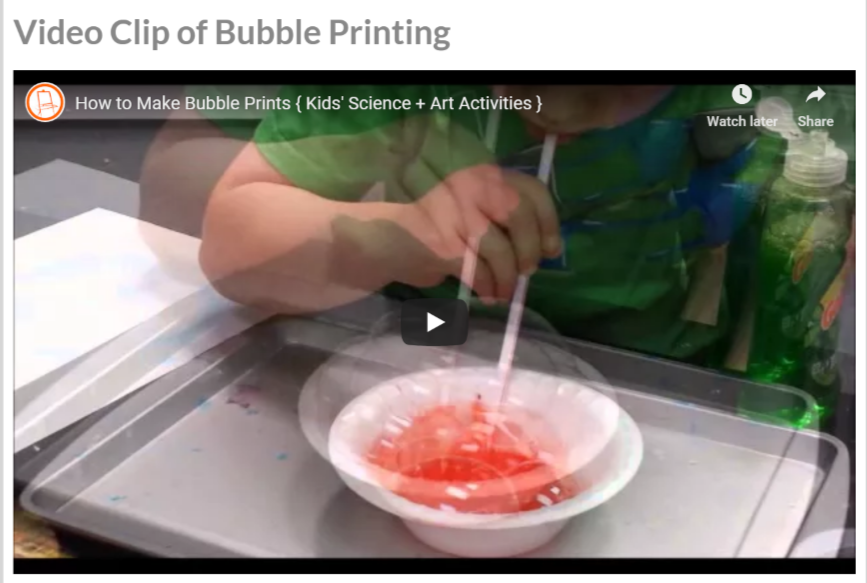 ![Use spray bottles to saturate your watercolor palettes! Brilliant! No more spilled water cups. Plus, it's really fast and kids love spray bottles. [Orange Easel Art]](/uploads/3/5/4/0/35406067/3150376.jpg?443)  Water cups on the tables can be a pain with little ones. Especially little ones who like to play IN the water. (Don't misunderstand us...we love waterplay. But during a painting lesson, sometimes it's better to remove the water distraction!) We've eliminated the risk of a cup of water spilling all over someone's art work. ![Use spray bottles to saturate your watercolor palettes! Brilliant! No more spilled water cups. Plus, it's really fast and kids love spray bottles. [Orange Easel Art]](/uploads/3/5/4/0/35406067/1415902686.png) Often times in our preschool classes, our instructors use spray bottles to wet our watercolors while the little ones paint. You can saturate all the color cakes with just a few sprays. The paint is ready quickly, which is important for sometimes-impatient lil' artists.
If we have a smaller class and time allows, we let the artists spray their own paint palettes. Preschoolers love spray bottles. These small bottles are from from Dollar Tree. If you've never been inside our studio, we'd love to give you a peek into one of our most special spaces. This is our preschool art room. We have ten classes a week in this room! This space is especially designed for our 12 -month-olds through our five-year-olds and can be used for group instruction as well as creative exploration.  Our decor is inspired by the principles of Reggio Emilia approach to the learning environment. Click the link below to get a short video tour:
 Last month we needed 20 rolling pins for our young artists who were learning to roll out clay slabs. Well, we didn't NEED 20 of them, but we didn't want them to have to share; we're not opposed to sharing, but in this case, the down-time would mean less practice and learning time. And we only have 60 minutes together. Rather than purchase a bunch of rolling pins, we fashioned our own from pvc pipes. They worked perfectly. They are smooth, durable, fairly light weight and inexpensive! They can be cut to any length. (Ours are approximately 12 inches.) We used a miter saw to cut them. 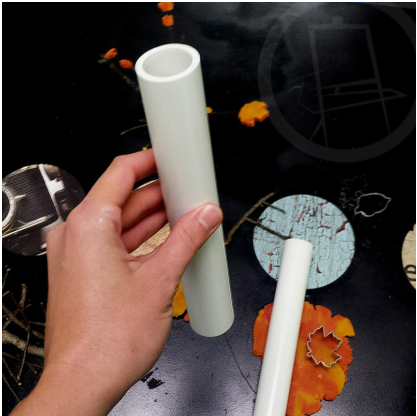 Since making our rolling pins, we've learned that they are also wonderful for rolling out playdough and for rolling out paint!
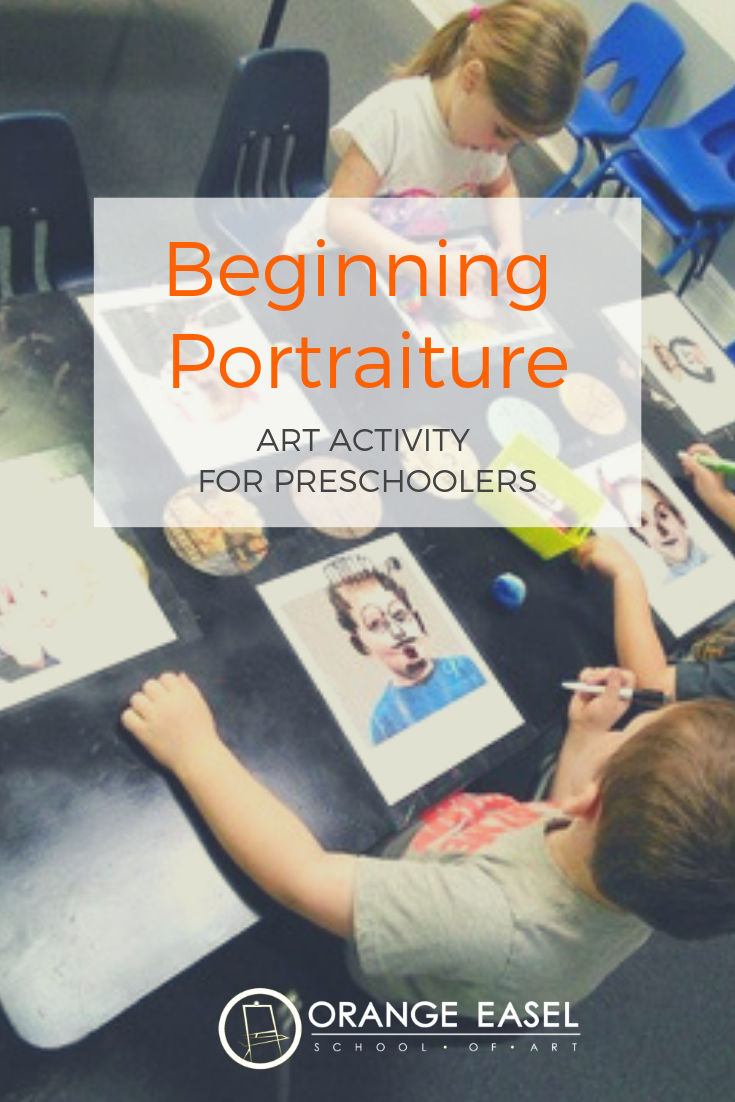
Art Activity Set-up
For our classes this week, we taped color photos to the table using clear packing tape. The photos are just printed from a google image search. You could also use photos from magazines.
An alternative to the packing would be to laminate your printed pictures or to place them in plastic page protectors. We set up our tables prior to the start of class. All that's left to do is play! The Art Invitation
Using dry erase markers, the artists can trace eyes, noses, mouths, ears, eyebrows, hairs, etc. Just for fun, we also added mustaches, glasses, hats, and other accessories!
We erased our drawings with colorful pom poms! 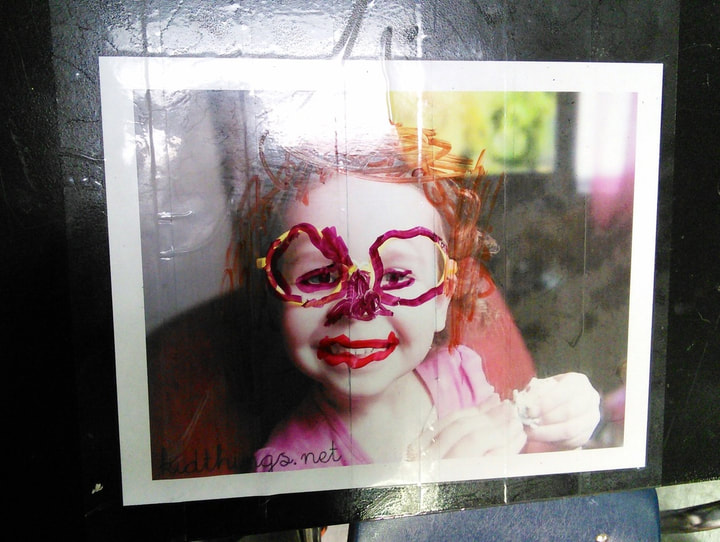
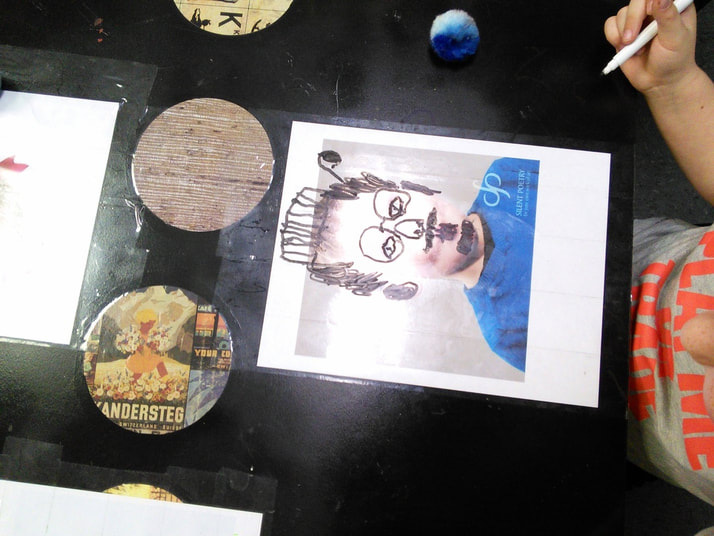
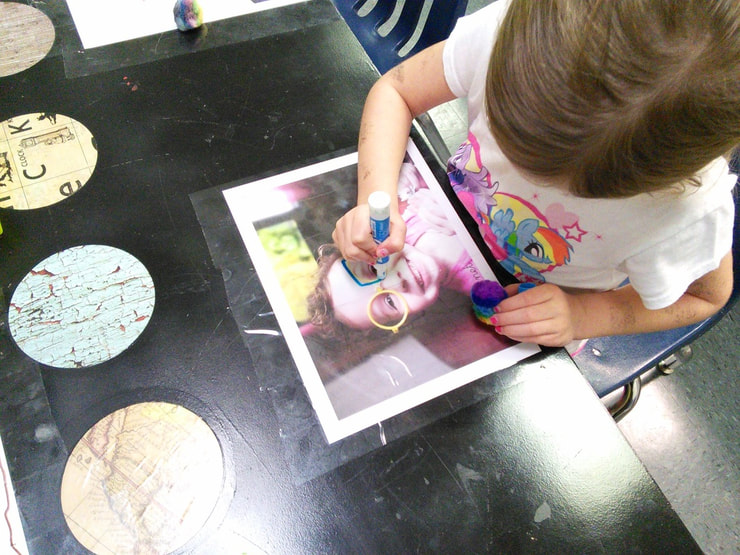
There were so many giggles during this drawing activity. And some really wonderful conversation. Some of our artists added accessories to the portrait but many of them simply reinforced the features that were already there...tracing over the eyes, coloring in the mouth, following the path of the nose, etc.
It was a playful and non-intimidating way to introduce portraiture to our class! I hope you get to try it out in your room! 
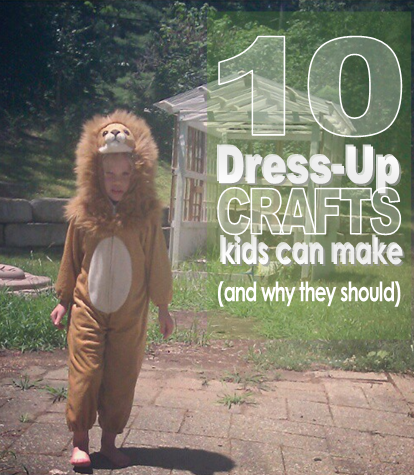
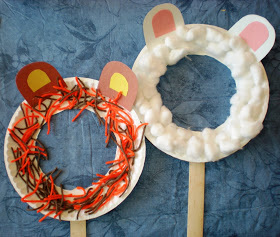
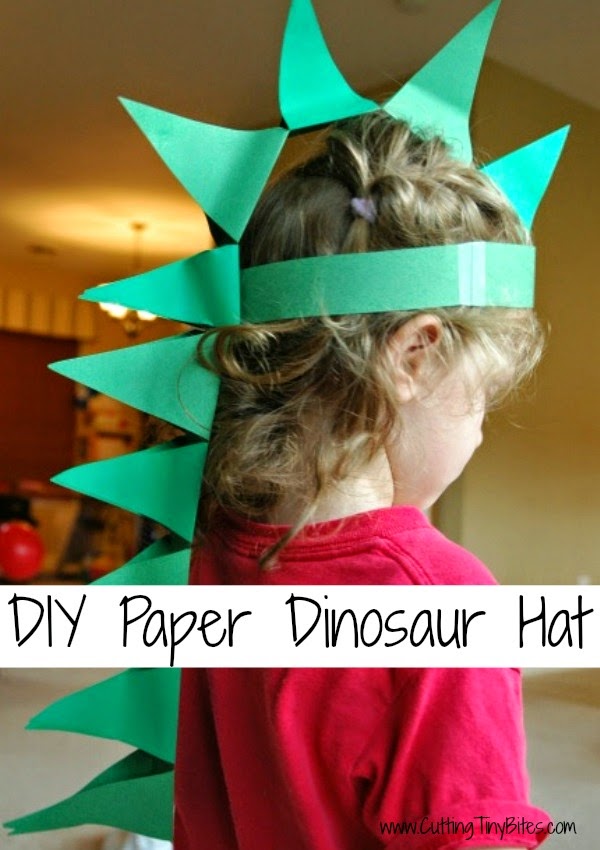
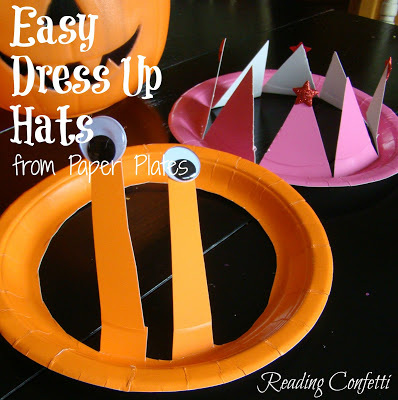
With Halloween around the corner, we're doing quite a bit of dress-up play in the Orange Easel studio. Wait...what? Dress-up? Is this ART??? 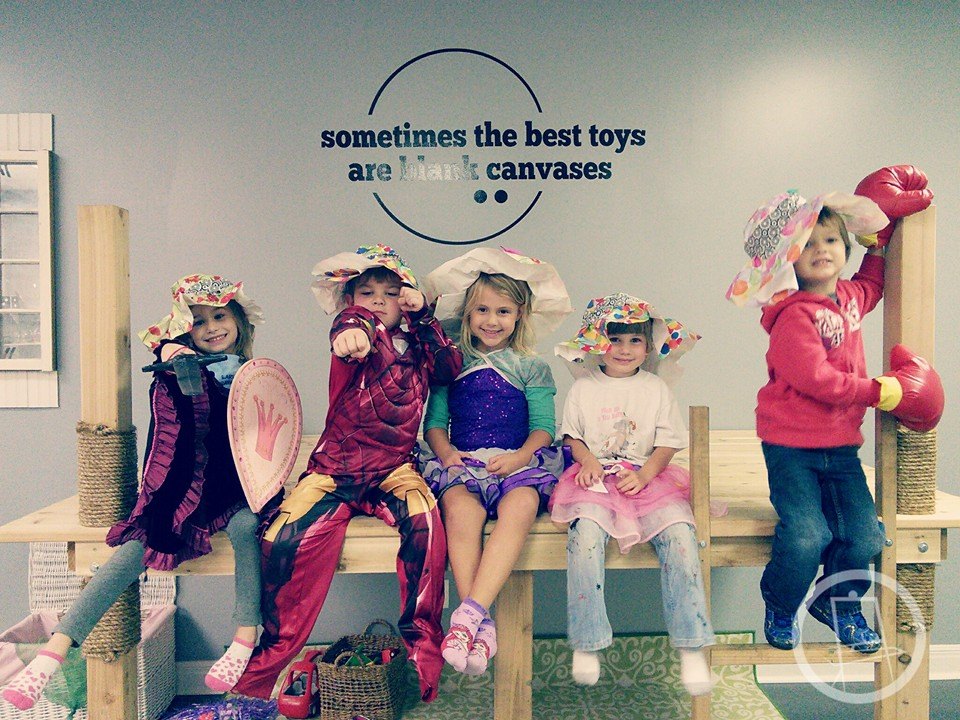 Playing dress-up exercises the imagination through role playing, acting, and plot development. Done properly, the game of dress-up demands a large selection: garage-sale-treasures, out-dated accessories, old Halloween costumes, and dance recital dresses. But, we believe that the dress-up bin has the potential to include a variety of homemade (CHILD-made) items. There's the possibility for CREATION. And THAT is the Art.  These are the types of invitations we're setting-up this month in the studio. Yes, there's still an Ironman costume, and a tutu, and a sword and shield. But where the supply is lacking there's the possibility of creation too. Encouraging the children to make their OWN costumes for play fosters an attitude of self-sufficiency, confidence, and independence. So, ORANGE EASEL doesn't have an Elsa costume? Let's make one! (And we're not talking about the picture-perfect one that you see on Pinterest that is a 24 page pdf pattern that Momma sew together. We're talking CHILD-directed, CHILD-created. It isn't going to look like something from the store. And that's okay. Actually it's better.)
Build your Dress-Up Bin
If your kids really get into making costumes, you can encourage this creativity and independence: keep a stash of recyclables, scrap fabric, old clothes, construction paper and craft supplies near your dress-up station!
What's the favorite item in your dress-up bin?
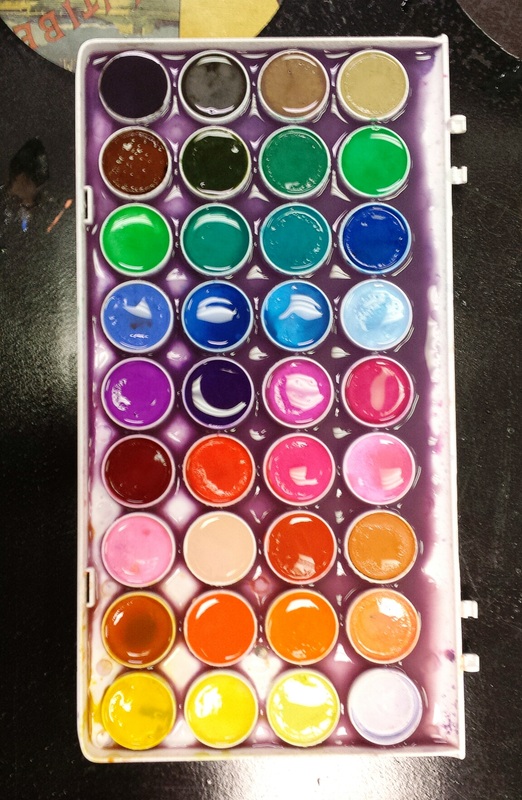
We made some watercolor hand prints in the studio this morning. Yes, you read that right! Hand prints from WATERCOLOR palettes! If you haven't used this type of paint to make hand prints, you should give it a try!

We used a watercolor paint tray (it's the Artist Loft brand from Michaels). Using a spray bottle we saturated the paint cakes. (That's our students' favorite part.)
I love the rainbow the colors that make up the hand print and the little splatters that just happen! Give it a try and let me know how it goes!


|
Orange EaselContent inspired by the artists and art created in our studio. 
Orange Easel began as a small art studio in my basement and continues to grow and serve our community. Read more about our story here.
Archives
April 2024
Categories
All
|
)
)


 RSS Feed
QUICK LINKS
|
|
|
|
LIBERTY STUDIO
249 W Mill St Ste 107 Liberty MO 64068 816-407-9266 |
PLATTE WOODS STUDIO
7617 NW Prairie View Rd Kansas City MO 64157 816-216-7126 |
|
Copyright © 2023 Orange Easel. All rights reserved.
Privacy Policy |
|