
DISCLAIMER: This post contains affiliate links.
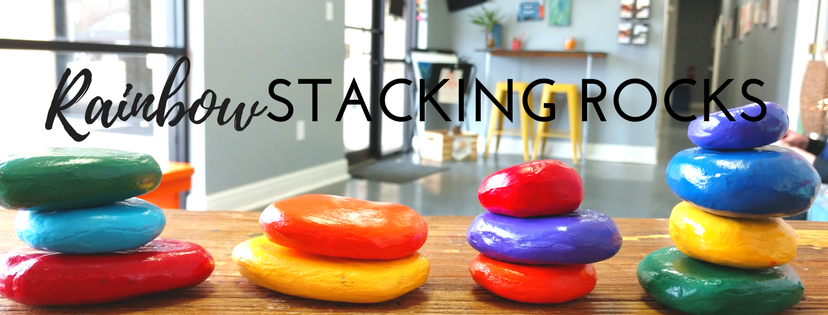
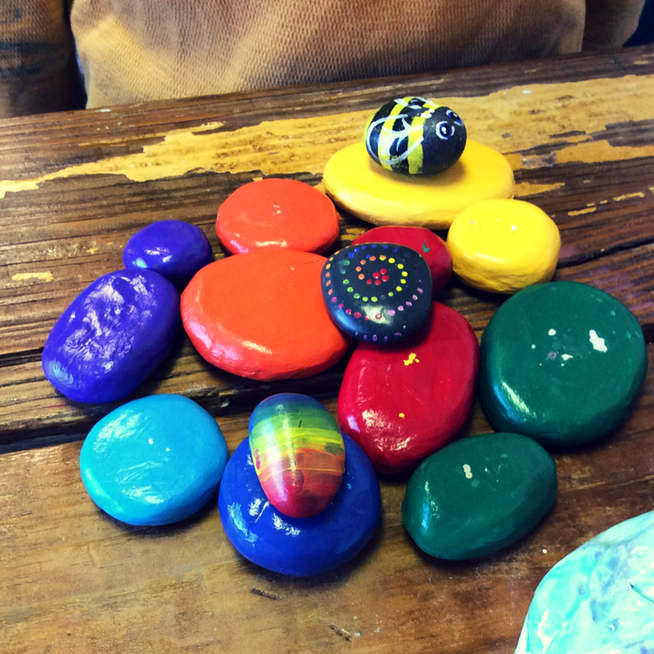
We've got this new fun toy on the front desk. Have you see them?
They totally ROCK! (<----cheesy pun)
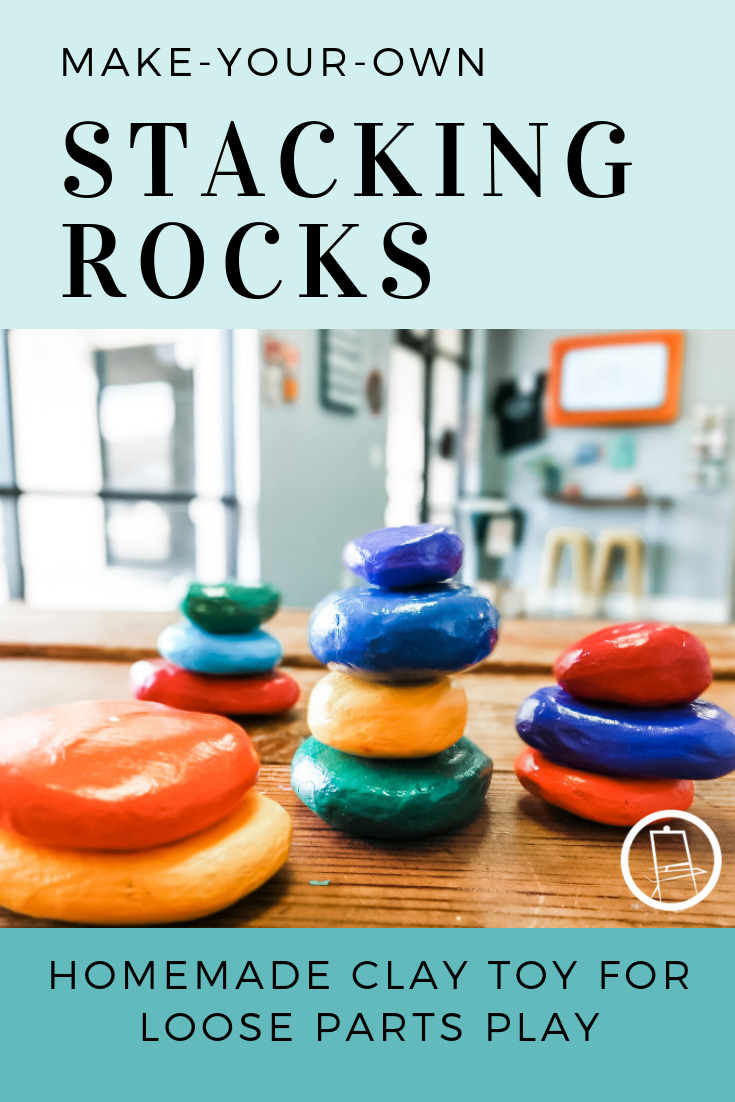
We were inspired by these wooden stacking stones by Grimm's Spiel and Holz Design. As beautiful as they are, we couldn't justify almost 60 dollars for a set of 12 stacking stones.
So we set out to make our own. And we think you should too. DIY instructions at the bottom of this post. How to play with rainbow rocks
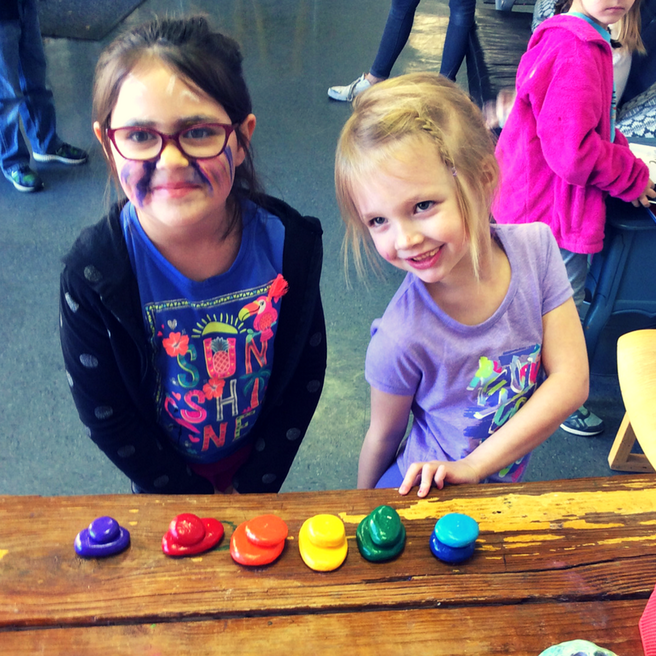
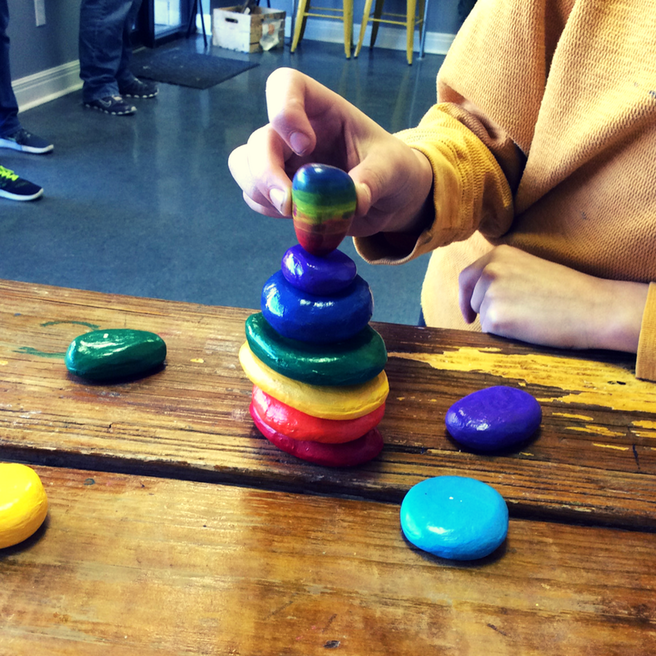
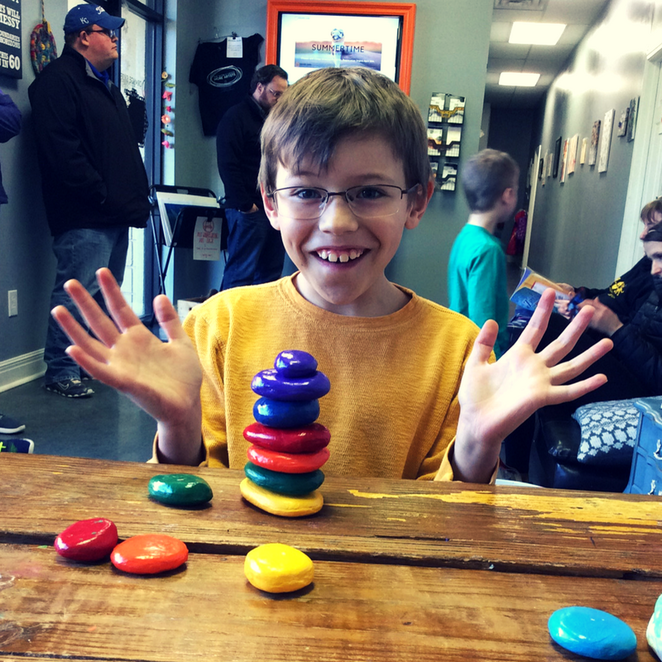
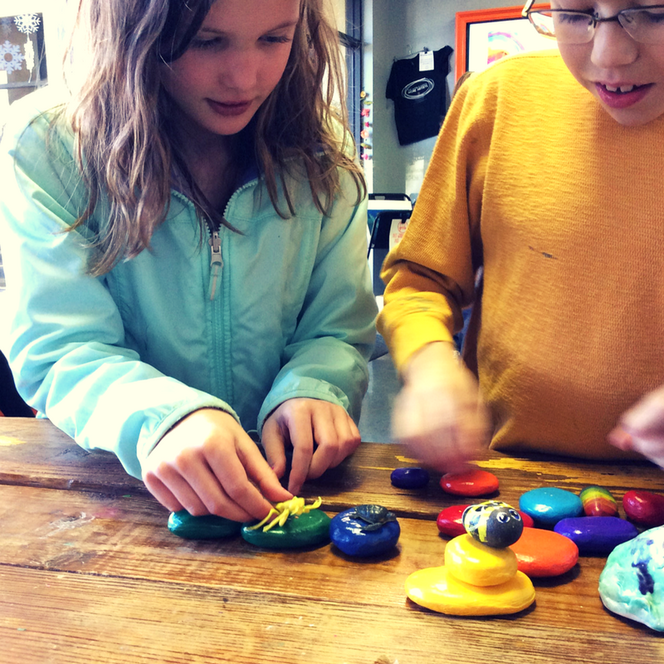
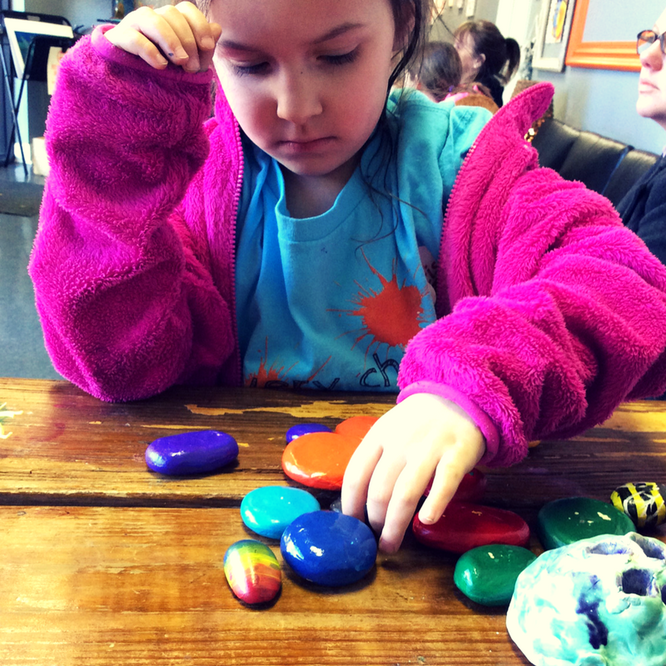
The most delightful part of having these toys on the front desk is seeing how each child plays with them differently. Some line them up into a train or a path. Some immediately begin building towers (though, four rocks is as high as we've been able to get them to balance). Some arrange them into a circle. Some match up the colors. Some hand out to the other guests in the lobby and pretend they are handing out candy.
There's no wrong way. And every child--of varying ages--seems enticed to touch, move, and PLAY with them somehow.
All of these candid and casual photos were snapped in one evening by our front desk staff.
THE IMPORTANCE OF LOOSE PARTS IN PLAY
In our experience, manipulatives like these rocks are some of the best toys. They are "loose parts" that will empower our creativity and challenge our problem solving skills.
In early childhood education settings, loose parts mean alluring, beautiful, found objects and materials that children can move, manipulate, control, and change while they play. Children can carry, combine, redesign, line up, take apart, and put loose parts back together in almost endless ways. The materials come with no specific set of directions, and they can be used alone or combined with other materials. Children can turn them into whatever they desire: a stone can become a character in a story; an acorn can become an ingredient in an imaginary soup. These objects invite conversations and interactions, and they encourage collaboration and cooperation.
If you're interested in learning more about loose parts, check out pinterest board for resources and inspirations.
STEP ONE: Shape
If your clay is too tough, break it into small pieces and gently condition it with the hands. You can also spray it with a mist of water to help soften it (but not too much!). Our rocks are varying sizes...round or oval and in between 1-3 inches in diameter. You can make your rocks any size, but be sure that they have a pretty flat top and bottom surface so that they can stack.
STEP TWO: Smooth
Once you have the general shape of your rocks, you can smooth out the clay by dipping your finger in water and rubbing it along the surface.
STEP THREE: Dry
Place the rocks on parchment paper or wax paper and let them dry completely for about a week. We flipped ours over halfway through just to make sure that some air got to the underside.
STEP FOUR: Paint
Acrylic paint works best. You can use any colors. We went with the rainbow on our first set, but the next one we made (for the Platte Woods studio front desk), we painted with blues and greens, and we even added some design details. On both sets, we made sure to get a couple good coats of paint and to wait for one side to dry before flipping them over. If you're impatient, a hair dyer works to speed up the drying time. 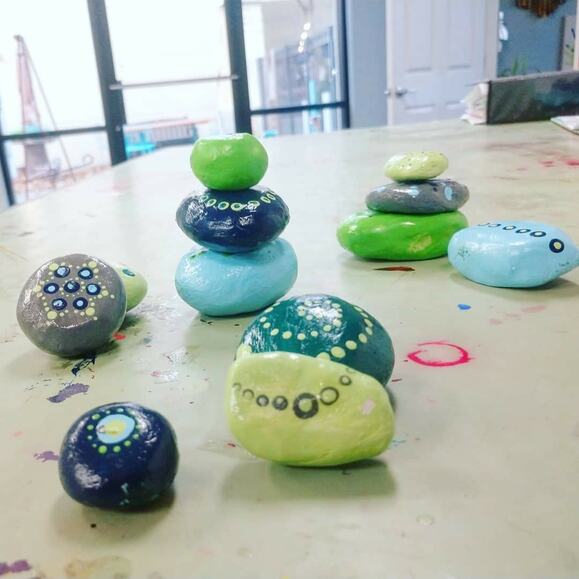
STEP FIVE: Spray
The clear coat will protect the paint. If you want your rocks to be shiny, use a glossy clear spray. Otherwise, a matte would be beautiful too. Watch our Video Tutorial
We went Live on Facebook recently to show how to make these popular clay rocks!
CARING FOR YOUR "ROCKS"
Obviously, these aren't really rocks. Clay will break if it is dropped on a hard surface. We've got our rocks sitting on the desk for easy accessibility. They have tumbled quite a few times and hit the tiles below. So far, aside from a few chips in the paint, our rocks seem to be doing pretty well. We anticipate that they will eventually split or break after enough falls. But, that's okay, we'll just make more. :)
For home use, we could recommend stacking your rocks on a surface above a rug or carpet to ensure longevity of your new toy. Or, just play with them directly on the floor to avoid the three-foot drop all together. ;) If you make rocks for your home, classroom, or to gift to a friend, please send me a picture or tag me on social media! I'd love to see! 
|
Orange EaselContent inspired by the artists and art created in our studio. 
Orange Easel began as a small art studio in my basement and continues to grow and serve our community. Read more about our story here.
Archives
April 2024
Categories
All
|
 RSS Feed
QUICK LINKS
|
|
|
|
LIBERTY STUDIO
249 W Mill St Ste 107 Liberty MO 64068 816-407-9266 |
PLATTE WOODS STUDIO
7617 NW Prairie View Rd Kansas City MO 64157 816-216-7126 |
|
Copyright © 2023 Orange Easel. All rights reserved.
Privacy Policy |
|