

The base for the dollhouse were these wooden dollhouse from Ikea.

Technically, Ikea lists them as shelves, but they work great for a floor toy. They are BIG...standing almost two feet high. They also take a minute to assemble. If you're putting together one dollhouse, no biggie. When you have 20+ that need to be assembled, it's a little more daunting.
Thankfully, we have a great team here: 
We never have any fun.

Our artists started their blank house and a design book. We got our book template from another incredible art studio, Make Art Studio (Heather creates the the most beautiful handouts and downloads). The book helped us to organize our ideas. There's only four rooms so each artist needed to decide on their floor plan.
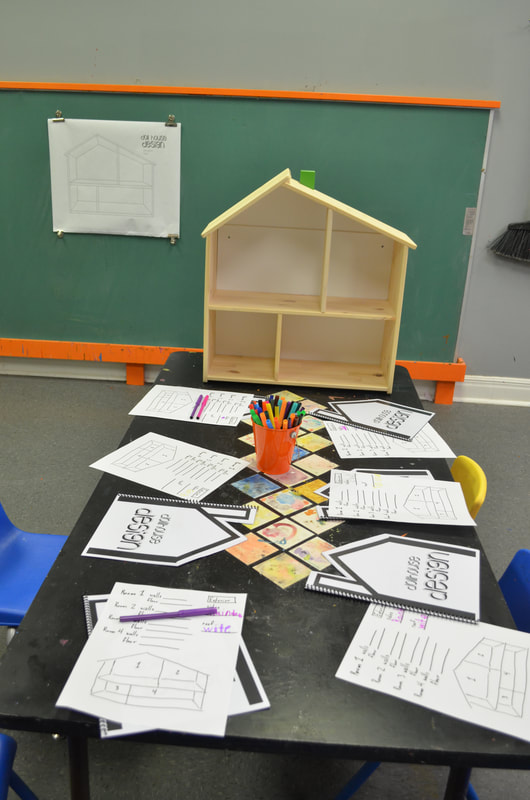
We had a special guest visit the studio on the first day of camp. Toska Tiemann, an interior designer and color expert from Unique Painting, met with our artists to talk about the task ahead of them. They had so many design choices to make...interior and exterior colors, wallpaper or paint, accent walls, flooring, etc.

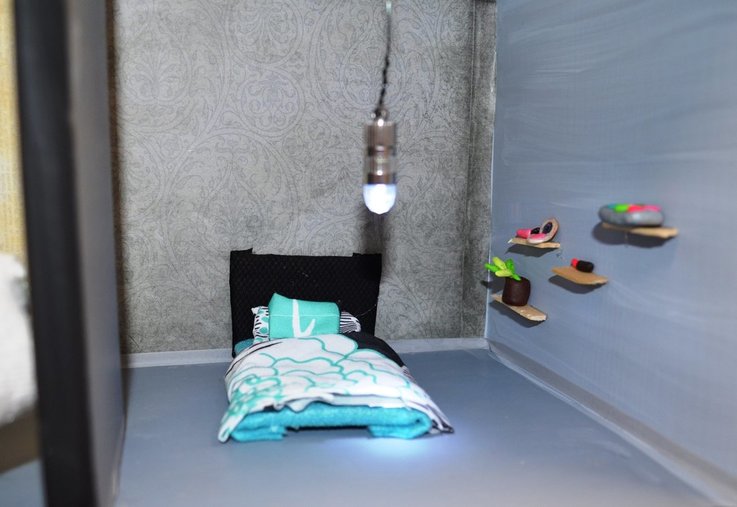
In addition to designing the walls and floors, our artists also had to create all of the furnishings for inside their houses. The studio's closets were empty this week because every single art material in the studio was sitting out in the large classroom. We used polymer clay, fabric, cardboard, beads, string, mosaic tiles, wire, pom poms, and recyclables. And lots and lots of hot glue.

The results were incredible. I love all the details. We've got pillows. And house plants. And even perfume bottles.


It was an epic week. This is how art camps SHOULD be: A whole week filled independent and passionate creation.
This is a project that could be completed in the home studio to whatever level of intricacy you desire. After you get everything painted, it would be fun to have as an ongoing project--something you continually add new furnishing and details too (just like our real homes!). I hope you enjoyed seeing pictures from our camp in the studio and that you get a chance to try this one out with your kids! 
If you want to see more, we took a live video tour of each of the houses. Our artists explained their choices and their favorite parts.
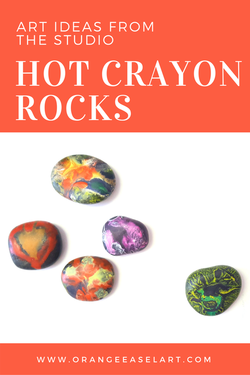 We call this "dangerous art." It gets their attention. The rocks are hot (heated in the oven) and the crayons just ooze over the top, encasing the rock in a marbled rainbow shell. The process is oh-so-satisfying in itself. But the product is also delightful: a silky, swirled treasure stone. We've created a video tutorial for you to try this out at home with your young artists (or old artists--Our instructors love doing this one!). Here's what you'll need:
Orange Easel Video TutorialAfter you've made your rocks, snap a picture of you with your little treasures so we get to see your creative products! #ArtistsInspireArtists Tag us @orangeeaselart.com on Facebook, Instagram, and Twitter!
DISCLAIMER: This post contains affiliate links.
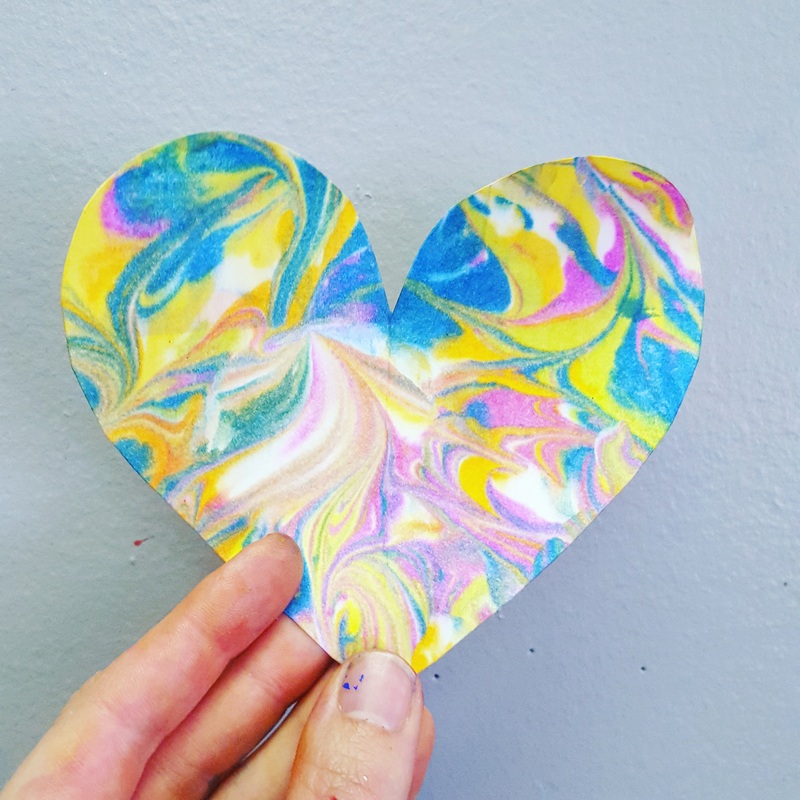
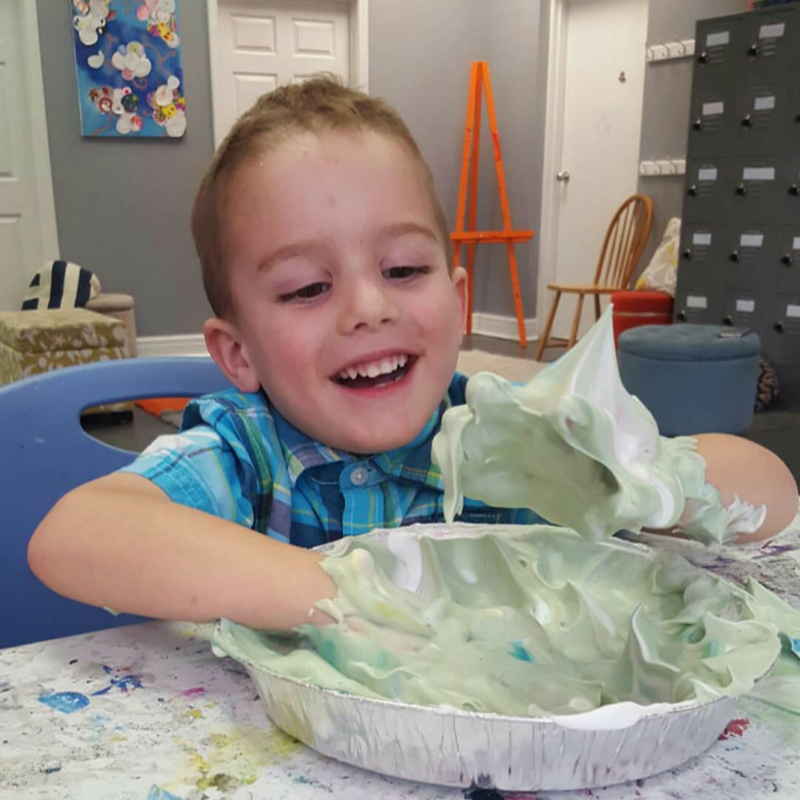
For older artist, the results are stunning and the design possibilities are endless. For younger artists, the process of squirting out the shaving cream and dropping the color is great for fine motor development (not to mention, it's fun to play in the colored shaving cream when your done!).
For a edible version, try whipped cream instead of shaving cream. The colors aren't as bright, but it's safe for the really young artists to put in their mouths. Quick Video
See below for detailed, written instructions. But here's a super quick tutorial that we did live on our Facebook page.
Step-by-Step
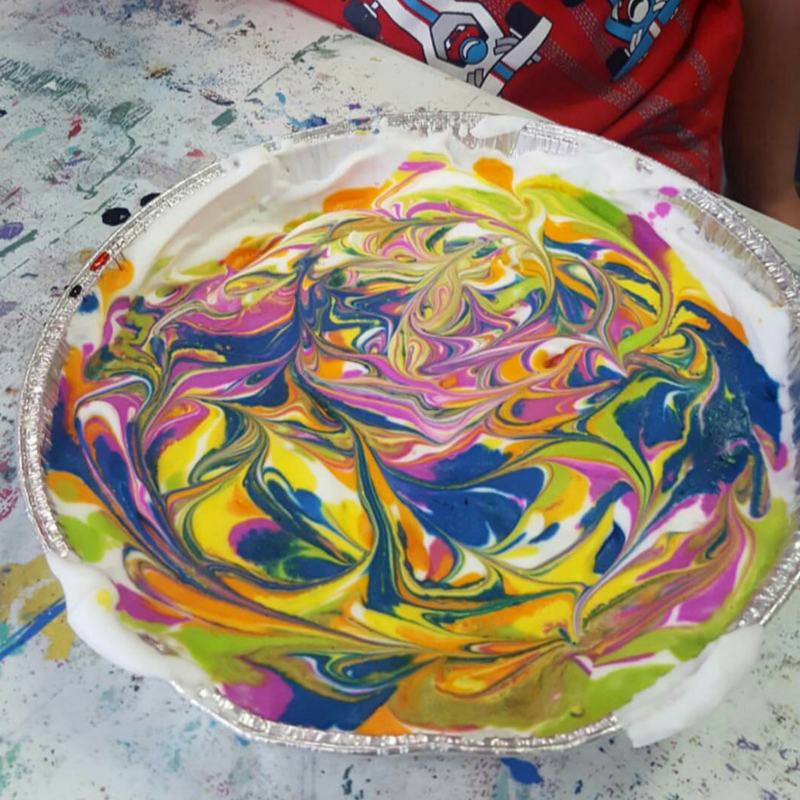
Step One: Squirt the shaving cream into the pie plate.
You need complete coverage but it doesn't need to be deep. We usually look for about half an inch. You can use a spatula to spread it evenly around when your done squirting it out.
Afterward, you can drop in more color, swirl again, and repeat the printing process. Or, you can just enjoy the shaving cream as a sensory play invitation.
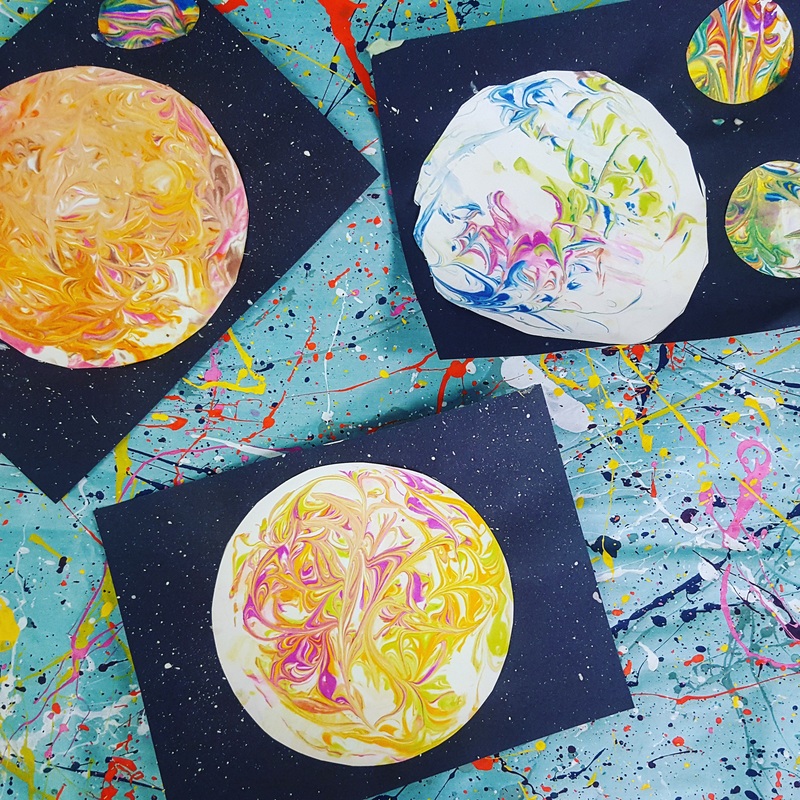
We recently use our shaving cream prints to make planets. We splatter painted a piece of black construction paper with white paint and then glued on the marbled planets.
These printed papers are perfect for collages (think spring flowers, fall leaves, etc). They also make a beautiful set of notecards!
Supplies used:Our February classed focused on mixed media. Below is a just a small sampling of our students' work. (we need to get better about taking pictures!) |
Orange EaselContent inspired by the artists and art created in our studio. 
Orange Easel began as a small art studio in my basement and continues to grow and serve our community. Read more about our story here.
Archives
April 2024
Categories
All
|

 RSS Feed
QUICK LINKS
|
|
|
|
LIBERTY STUDIO
249 W Mill St Ste 107 Liberty MO 64068 816-407-9266 |
PLATTE WOODS STUDIO
7617 NW Prairie View Rd Kansas City MO 64157 816-216-7126 |
|
Copyright © 2023 Orange Easel. All rights reserved.
Privacy Policy |
|