
|
Our regular May classes are exploring art with metal all month. We began our month with a metal tooling project using aluminum foil, tacky glue, and shoe polish; and, we're wrapping up our month with continuous line drawings turned into wire sculptures! The challenge in working in three-dimensions is that we have to abide by the laws of gravity!
0 Comments
So excited to share this project with our budding artists in June! Check it out: Artists will use sterling silver wire in two gauges to shape a bangle bracelet to the correct size. Once the metal is shaped, we'll use a wire-wrapping and beading technique to fill-in the design. Each artist will make one bracelet over the period of two classes.
Tools used: jeweler's pliers, small anvils, and hammers. We're gearing up for summer classes and that starts with our instructors making all sorts of examples! It's a rough job being an Orange Easel Instructor, but someone has to do it. First up is our Clay Action Figures. Young artists will design their own action figure and then bring it to life using a polymer clay. We'll design and sculpt during the first class period, and then apply paint and glossy varnish in the second class. Watch here to see a figure come to life:
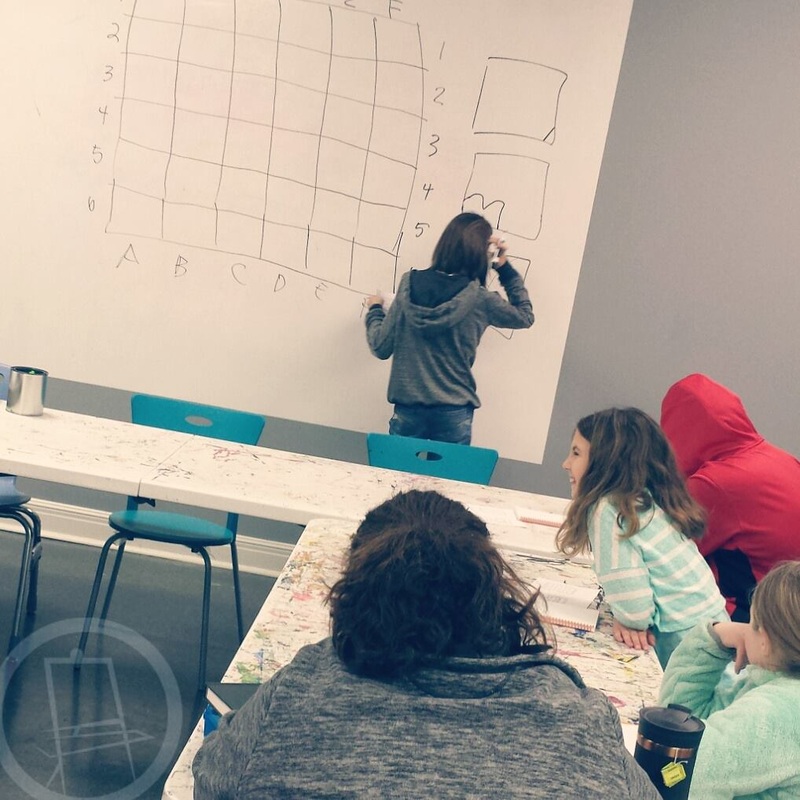
Our February classed focused on mixed media. Below is a just a small sampling of our students' work. (we need to get better about taking pictures!) Our Drawing Fundamentals class has spent the last two weeks focusing on ACCURACY. Accuracy in rendering a subject, either from a photo or from still-life, is one of the first skills that we work on. Angles and shapes fit together in the proper scale and proportions. Talented artists who can render accurately have amazing EYES. It's not just the hands that draw. We would even argue that hands aren't even the most important tool in drawing. Drawing begins with the eyes and an awareness of how these angles and shapes fit together. 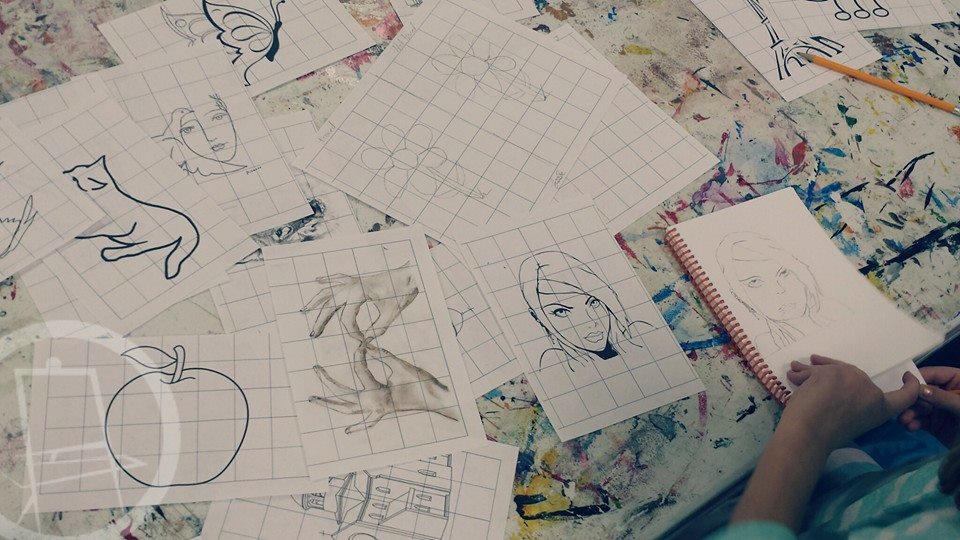
One of the best ways to train our eyes to SEE these relationships is through drawing on a grid. Grids break up the large page into smaller, more-manageable spaces. They give us a roadmap to follow. It's easier to plot a point and hit the target if we narrow the playing field! Below is an example of a simple grid drawing. 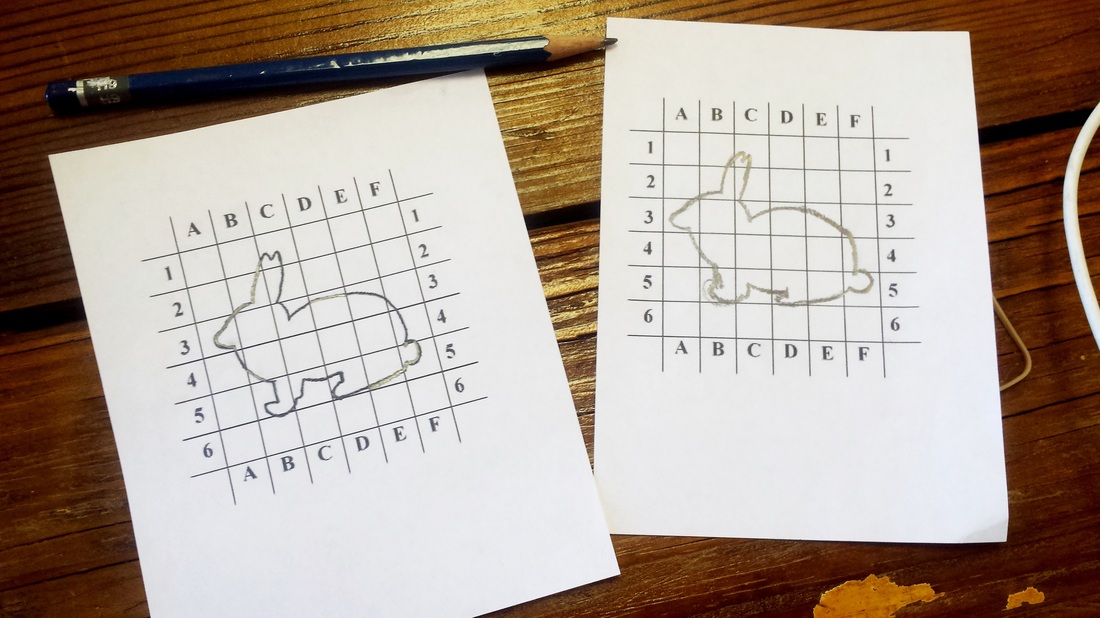
The original line drawing is on the left and the artist's rendering is on the right. Completing this drawing without a grid, is much more difficult! (We know. We tried!)
Click here to download a printable grid and simple line drawing that you can try at home!
(Easter-themed, because we're dreaming of spring!) We're spending our January the preschool room by focusing on science and art. We've got a full line-up of colorful chemical and physical reactions that produce art. On of our first experiments is making monoprints with bubbles! The result is a lacy, delicate painting. HERE'S HOW:You'll need: A pie plate, a small bowl, or something similar Food coloring A Straw Water Dish soap Paper OPTIONAL: We used a cookie sheet under the bowl for all the "runaway" bubbles! >> Read more about our uses for cookie sheets here Combine the food coloring, water, and dish soup in the bowl. It only takes a couple drops of dish soap to make some really great bubbles. The amount of food coloring you use will determine how dark or light your print is. Blow bubbles using a straw. Our young artists/scientist really liked blowing the bubbles until they overflow the sides of the bowl (hence the cookie sheet). Press the paper on top of the bubble-bowl. Voila! Video Clip of Bubble Printing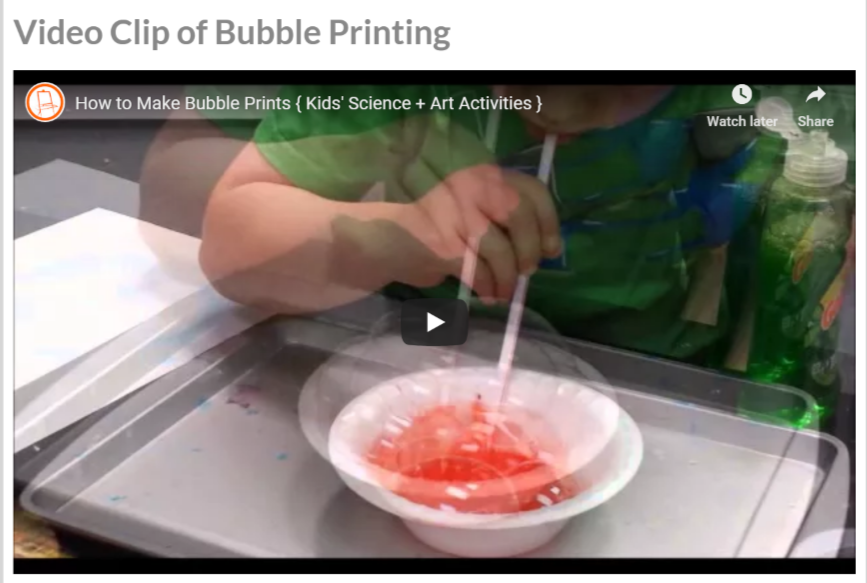 Our Kindergarten through 5th grade classes are all learning about acrylic paints this month. We started week one with the basics...how to mix without wasting paint, how to blend colors together on the canvas, how to keep their palettes from drying out, how to apply the paint with intentional brush strokes, how to care for their brushes... These are all important skills for our budding artists! Next week, we begin our paintings on canvas! 
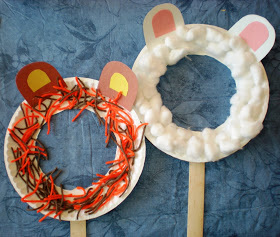
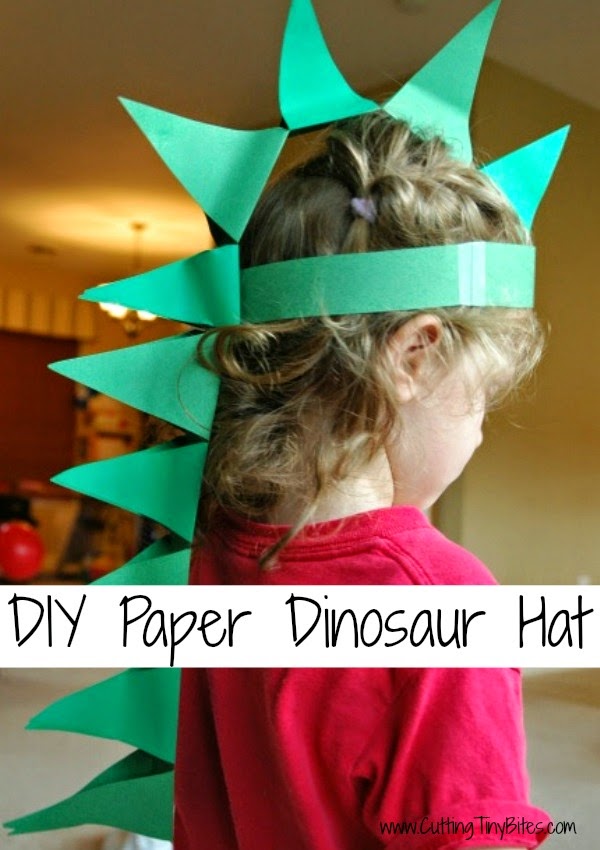
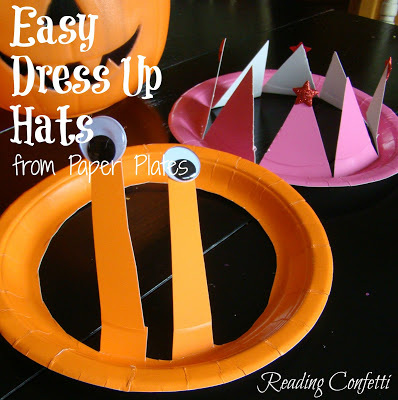
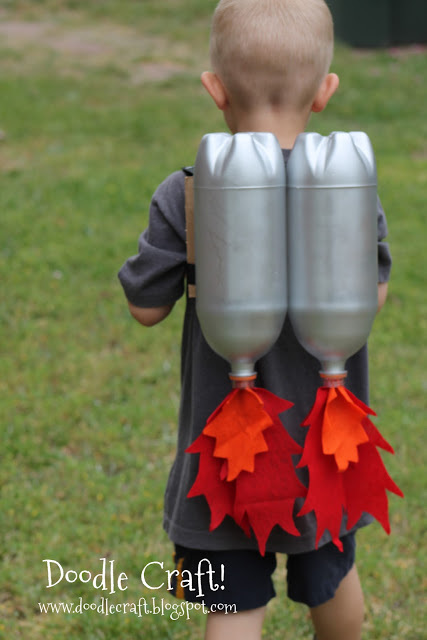
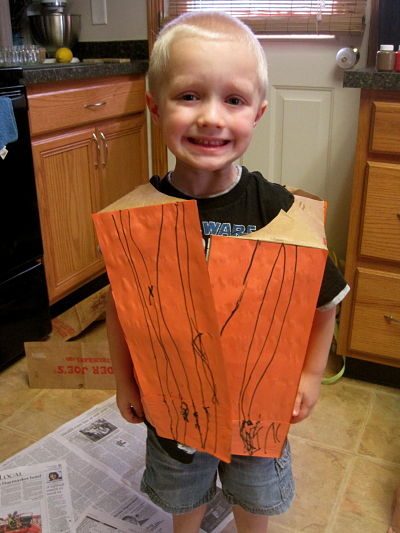
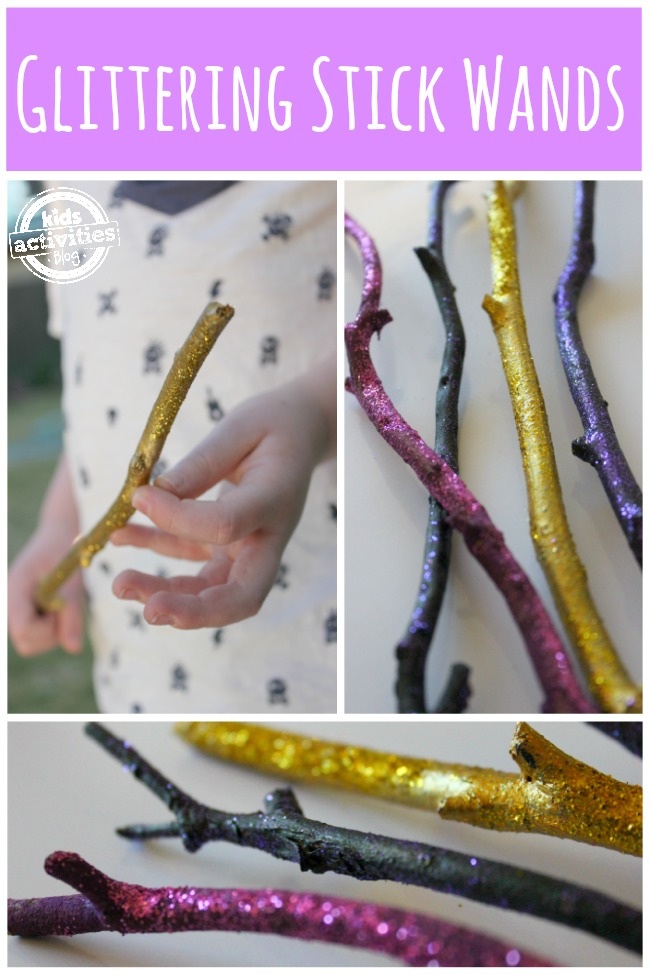
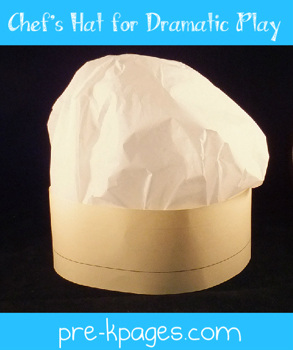
With Halloween around the corner, we're doing quite a bit of dress-up play in the Orange Easel studio. Wait...what? Dress-up? Is this ART??? 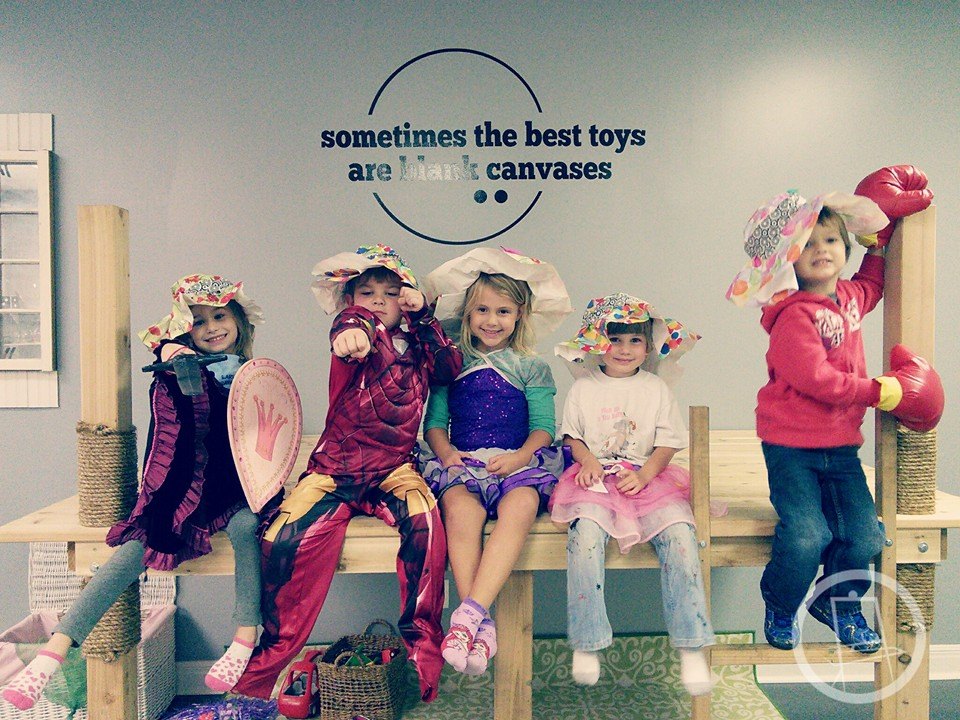 Playing dress-up exercises the imagination through role playing, acting, and plot development. Done properly, the game of dress-up demands a large selection: garage-sale-treasures, out-dated accessories, old Halloween costumes, and dance recital dresses. But, we believe that the dress-up bin has the potential to include a variety of homemade (CHILD-made) items. There's the possibility for CREATION. And THAT is the Art.  These are the types of invitations we're setting-up this month in the studio. Yes, there's still an Ironman costume, and a tutu, and a sword and shield. But where the supply is lacking there's the possibility of creation too. Encouraging the children to make their OWN costumes for play fosters an attitude of self-sufficiency, confidence, and independence. So, ORANGE EASEL doesn't have an Elsa costume? Let's make one! (And we're not talking about the picture-perfect one that you see on Pinterest that is a 24 page pdf pattern that Momma sew together. We're talking CHILD-directed, CHILD-created. It isn't going to look like something from the store. And that's okay. Actually it's better.)
Build your Dress-Up Bin
If your kids really get into making costumes, you can encourage this creativity and independence: keep a stash of recyclables, scrap fabric, old clothes, construction paper and craft supplies near your dress-up station!
What's the favorite item in your dress-up bin?  Come explore ART in an environment that encourages DISCOVERY, self-directed learning, and connections with others. Our Art PlayGroups and Art FUNdamentals classes are designed for our youngest artist...ages 8 months through Pre-K. We meet weekly in our studio for an hour of wildly colorful play.
|
Orange EaselContent inspired by the artists and art created in our studio. 
Orange Easel began as a small art studio in my basement and continues to grow and serve our community. Read more about our story here.
Archives
April 2024
Categories
All
|
)


 RSS Feed
QUICK LINKS
|
|
|
|
LIBERTY STUDIO
249 W Mill St Ste 107 Liberty MO 64068 816-407-9266 |
PLATTE WOODS STUDIO
7617 NW Prairie View Rd Kansas City MO 64157 816-216-7126 |
|
Copyright © 2023 Orange Easel. All rights reserved.
Privacy Policy |
|